
- What is a Roofing Material Mock-Up?
- Importance of Mock-Ups in Roofing
- Steps to Install a Roofing Mock-Up
- Benefits of Visualizing Small Sections
- Choosing the Right Roofing Materials
1. What is a Roofing Material Mock-Up?
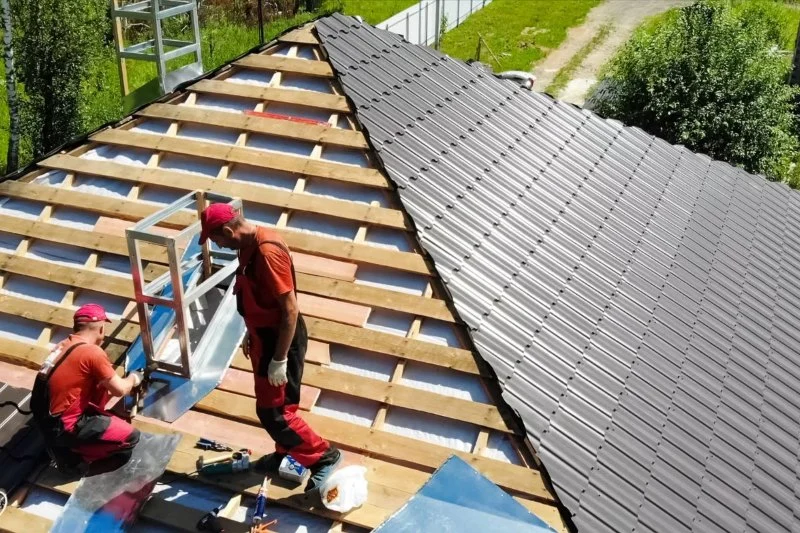
A roofing material mock-up is a small-scale sample or prototype of the roofing system, typically installed on a portion of the actual roof or a test section. It allows contractors, architects, and homeowners to visualize how specific materials will perform and look once installed on the roof. This process is often used in roofing projects to showcase various roofing materials like shingles, tiles, or metal roofing.
The mock-up serves as a proof of concept before committing to the entire roofing installation. It helps verify that the chosen materials are suitable for the design, climate, and aesthetic preferences of the building. Essentially, it provides a hands-on demonstration of how the final roof will appear, ensuring there are no surprises or miscommunications later in the project.

2. Importance of Mock-Ups in Roofing
Roofing material mock-ups play a crucial role in the decision-making process for both homeowners and professionals. Here’s why they are so important:

1. Ensuring Material Compatibility
Mock-ups allow you to test the compatibility of roofing materials with your existing structure. By installing a small section, you can determine if the materials work well together, if they provide the right level of insulation, or if any modifications are needed.
2. Verifying Aesthetic Appeal
Visualizing how different materials will look when applied to the entire roof helps homeowners choose the best options that match the style of their home. Whether you're selecting a classic asphalt shingle or a modern metal roof, the mock-up helps ensure the look aligns with your vision.
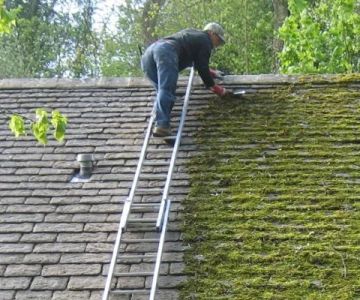
3. Testing Performance Under Different Conditions
Roofing materials behave differently under various weather conditions. A mock-up allows you to observe how materials will react to rain, snow, or extreme temperatures. It’s an opportunity to see if the materials will hold up against the elements, preventing issues like leaks or poor insulation.
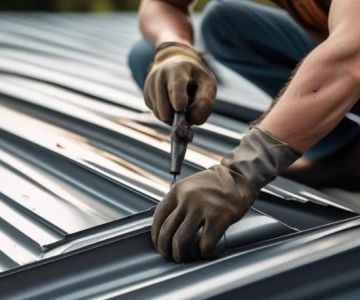
3. Steps to Install a Roofing Mock-Up
Installing a roofing material mock-up involves several key steps to ensure the mock-up is accurate and effective for testing purposes. Here’s how you can do it:
1. Select the Test Area
Choose a small section of the roof or a mock-up panel that will be representative of the final installation. The area should be easily accessible and suitable for applying the material in a way that mimics the full-scale installation.
2. Prepare the Substrate
Before applying any roofing material, ensure the underlying substrate is prepared properly. This might include ensuring the roof deck is clean, level, and free of any debris that could affect the mock-up’s adhesion or performance.
3. Apply the Roofing Material
Begin applying the chosen roofing material to the test area, following the manufacturer's instructions carefully. Ensure that each layer is properly aligned and secured to mimic the conditions of a full installation.
4. Monitor the Mock-Up Over Time
Allow the mock-up to undergo natural weather conditions for some time. This will help test how the material responds to rain, sun, or snow. It’s essential to observe how the material performs and if any issues arise, such as leaks, water pooling, or fading.
4. Benefits of Visualizing Small Sections
Installing a small section of your roof with the intended material has several benefits:
1. Reducing Uncertainty
It’s often difficult to gauge how roofing materials will perform without seeing them in context. By visualizing a small section of the roof, you reduce the uncertainty associated with choosing roofing materials, making the final decision process smoother.
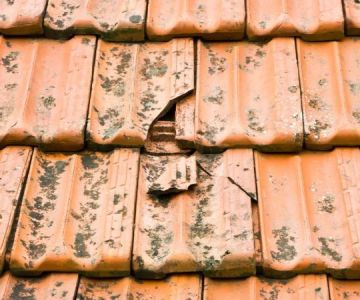
2. Identifying Potential Problems Early
A mock-up gives you the opportunity to identify any potential issues before they become major problems. For example, you might notice that certain materials don’t fit properly, or that a color choice clashes with the home’s exterior. Catching these issues early can save time and money in the long run.
3. Testing Different Materials
Installing small sections with different materials allows you to compare their appearance and performance side by side. You can evaluate which material looks best, handles weather conditions better, and is more cost-effective.
5. Choosing the Right Roofing Materials
Once you’ve visualized the small section of your roof with the materials you’re considering, it’s time to make your decision. Here are some tips for selecting the right roofing materials:
1. Consider the Climate
The climate in your area plays a significant role in determining the best roofing materials. For example, metal roofs are ideal for areas with heavy snowfall, while asphalt shingles are better suited for warmer climates. Consider both the aesthetic and functional qualities of the materials based on your region’s weather conditions.
2. Assess Longevity and Maintenance
Some roofing materials require more maintenance than others. Consider how much upkeep you’re willing to perform. Materials like slate and metal tend to last longer and require less maintenance than others like wood shingles.
3. Budgeting for the Roof
The cost of roofing materials varies significantly. It’s important to balance your budget with your desired aesthetic and performance goals. While higher-end materials like slate or metal roofing can be more expensive upfront, they may offer long-term savings due to their durability and low maintenance.
For more information on choosing roofing materials or help with your roofing project, visit BeachCo Roofing Hub to find the best products, expert advice, and services for your home.


 Starzec Builders4.0 (4 reviews)
 J&L Roofing, LLC5.0 (46 reviews)
 Quality Roofing Services of New London0.0 (0 reviews)
 Cachis roofing, llc0.0 (0 reviews)
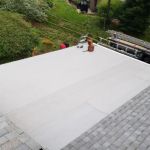 Elite Siding Gutters Roofing LLC4.0 (86 reviews)
 One New View Roof Repair5.0 (259 reviews)
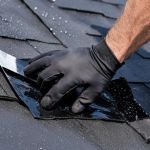 Roof Leak Repair: Temporary Fixes and Permanent Solutions Explained
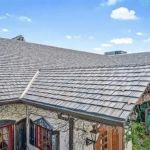 The Cost of a New Roof with a Class 4 Impact Rating and Class A Fire Rating: Everything You Need to Know
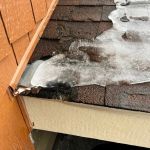 How to Fix a Roof Leak Caused by Ice Dams
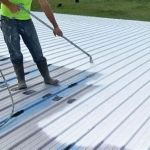 The Average Cost of a Roof Coating Application
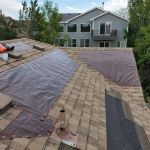 How to Repair a Roof Leak in a Building with a Fabric Tensile Roof Structure
 How to Choose the Best Roofing Material for a Building with a Green Roof System