
How to Install Roof Vents on a Hip Roof Design
Proper ventilation is critical to maintaining your roof’s health and extending its lifespan — especially for complex roof types like hip roofs. Learning how to install roof vents on a hip roof design can help prevent moisture buildup, heat accumulation, and even structural damage. In this guide, we’ll walk through key steps, professional insights, and safety considerations to help homeowners and contractors achieve the best results. For reliable roofing tools, materials, and expert guidance, visit BeachCo Roofing Hub.
- 1. Understanding Hip Roof Ventilation
- 2. Choosing the Right Roof Vents for a Hip Roof
- 3. Preparing for Roof Vent Installation
- 4. Step-by-Step Installation Process
- 5. Safety and Sealing Considerations
- 6. Real-Life Example and Pro Tips
- 7. Maintaining Your Roof Ventilation System
1. Understanding Hip Roof Ventilation
A hip roof has slopes on all four sides, which makes ventilation slightly more challenging than traditional gable roofs. Proper airflow prevents condensation, mold growth, and attic heat buildup. For this reason, a balanced system of intake and exhaust vents is crucial — typically soffit vents (intake) paired with ridge or box vents (exhaust).

Why Ventilation Matters
Without sufficient airflow, trapped heat can shorten shingle life, while moisture accumulation can damage the roof deck. Correct vent installation ensures consistent air circulation from the eaves to the ridge, maintaining the roof’s integrity year-round.
Tecta America Jessup Commercial Roofing
7340 Montevideo Rd, Jessup, MD 20794, USA
Ventilation Ratio
Building codes generally recommend a 1:150 ventilation ratio — one square foot of vent area for every 150 square feet of attic space. Adjustments can be made depending on the roof’s slope and climate zone.
2. Choosing the Right Roof Vents for a Hip Roof
Selecting the right vent type for a hip roof design depends on structure, attic size, and local weather conditions. Common options include ridge vents, box vents, and turbine vents.
Ridge Vents
Ridge vents run along the roof’s peak and provide even exhaust ventilation. For hip roofs with short ridges, multiple smaller vents may be required to maintain proper airflow.
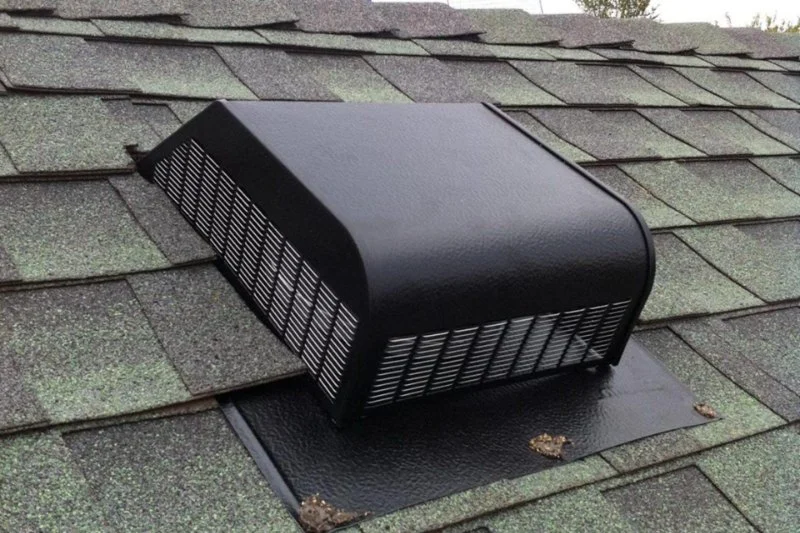
Box or Static Vents
Box vents are ideal for hip roofs because they can be strategically placed across multiple slopes. They work well in combination with soffit vents and are easier to install in shorter ridge areas.
Turbine and Solar Vents
Turbine vents spin with wind power, while solar-powered units actively pull air out. These are excellent options for larger attics or homes in warm climates where passive airflow isn’t sufficient.
3. Preparing for Roof Vent Installation
Before installing vents, assess your attic layout and mark ideal vent locations. You’ll need to ensure balanced air intake and exhaust, proper spacing between vents, and accessibility for installation.
Tools and Materials
Common tools include a circular saw, hammer, roofing nails, sealant, utility knife, measuring tape, and safety equipment. Always use weather-resistant flashing and caulking to prevent leaks.
Checking Weather and Safety
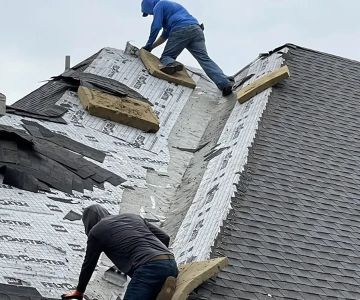
Plan your project for a dry day to avoid moisture issues. Safety harnesses and roof brackets are essential when working on hip roof slopes, which can be steeper than other designs.
4. Step-by-Step Installation Process
Here’s a detailed guide to installing roof vents on a hip roof design:
Step 1: Mark and Cut the Openings
From inside the attic, identify vent positions between rafters. Drill pilot holes through the sheathing, then use a circular saw on the roof exterior to cut the openings. Be sure to avoid cutting into rafters or structural elements.
Step 2: Install Flashing and Vents
Slide the flashing under the upper shingles and over the lower ones to create a watertight seal. Secure the vent base with roofing nails and ensure the vent is aligned correctly with airflow direction.
Step 3: Seal the Edges
Apply roofing sealant around the vent flange and replace removed shingles, ensuring all edges are covered. This step prevents water penetration during heavy rainfall.
Step 4: Balance Intake and Exhaust
Check that the number of soffit vents complements your new exhaust vents. An unbalanced system may trap air or cause backflow instead of proper circulation.
5. Safety and Sealing Considerations
Roof work involves height, tools, and exposure to weather elements. Always use proper protective gear and ensure secure footing. After installation, inspect the roof for any loose shingles or gaps around the vent bases.
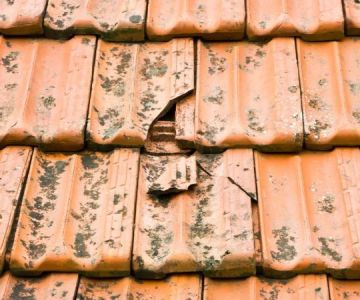
Preventing Leaks
Even small cracks can cause long-term water damage. Apply a second layer of sealant if your area experiences frequent storms or high humidity. Professional-grade flashing from BeachCo Roofing Hub can significantly reduce the risk of leaks.
Local Building Codes
Always verify local building codes before installation. Some areas may require specific vent types or minimum spacing guidelines based on attic volume and roof pitch.
6. Real-Life Example and Pro Tips
When Mark, a Florida homeowner, noticed attic condensation and rising energy bills, he decided to install additional box vents on his hip roof. By spacing vents evenly and sealing them carefully, he improved ventilation and reduced attic temperature by nearly 15°F.
Professionals often recommend combining multiple vent types for complex roof shapes. For instance, pairing ridge vents with supplemental box vents can ensure complete coverage, especially on multi-sloped roofs.
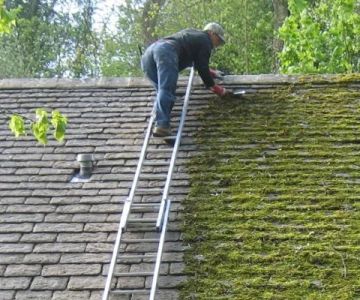
7. Maintaining Your Roof Ventilation System
Regular inspections are key to maintaining efficient ventilation. Check for blockages caused by debris, nests, or insulation buildup at least twice a year. Replace any cracked or rusted vents promptly to prevent leaks or airflow disruption.
Seasonal Maintenance
Before winter or rainy seasons, clear all intake vents and reapply sealant where needed. At BeachCo Roofing Hub, you can find specialized cleaning tools and weatherproof materials to keep your roof in optimal shape.
Knowing how to install roof vents on a hip roof design ensures your attic stays dry, cool, and well-ventilated year-round — extending the life of your roof and improving overall home comfort.


 Keystone Advanced Remodeling, LLC5.0 (86 reviews)
 O'Donnell Co.4.0 (54 reviews)
 Malki Home Solutions5.0 (69 reviews)
 Impriano Roofing & Siding Inc.5.0 (31 reviews)
 Wilcox Roofing LLC4.0 (19 reviews)
 Framingham1.0 (1 reviews)
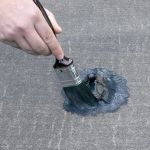 How to Repair a Roof Leak from a Rooftop Water Feature or Pond
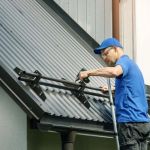 How to Properly Install Roof Snow Fences to Prevent Drifting
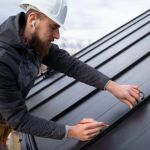 The Benefits of a Roofing Manufacturer's Approved Installer Program
 How to Fix a Roof Leak Caused by Ice Dams | BeachCo Roofing Hub
 What is a Roofing Square? How to Convert Measurements for Your Project
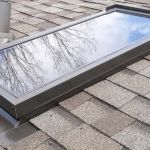 How to Install a Roof Cricket Behind a Skylight: Step-by-Step Guide