
- Why Roof Anchors Are Crucial for Safety
- Tools Needed for Installing a Roof Anchor
- Step-by-Step Guide to Installing a Roof Anchor
- Common Mistakes to Avoid When Installing Roof Anchors
- Gibby Roofing Safety Products
Why Roof Anchors Are Crucial for Safety
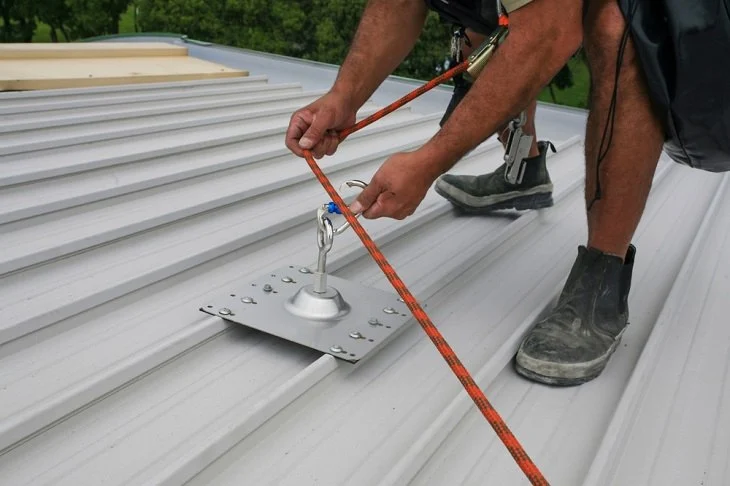
When working on a roof, safety should be your top priority. Whether you’re performing routine maintenance or handling a larger roof repair, one of the most essential safety measures you can take is installing a roof anchor. A roof anchor is a secure point of attachment that allows workers to connect a safety harness or lanyard to ensure they remain safe while working at heights.
Roof anchors are particularly important in areas with steep slopes, high winds, or when working on roofs made from slippery materials. Without proper fall protection, the risks of falling and sustaining serious injuries are significant. Installing a roof anchor gives workers peace of mind, allowing them to focus on their tasks without worrying about safety hazards.

Jersey Roofing Company
556 NJ-17, Paramus, NJ 07652, USA
Tools Needed for Installing a Roof Anchor
Installing a roof anchor is a task that requires specific tools and equipment to ensure the anchor is securely fastened. Here’s a list of essential tools you will need to install a roof anchor:
- Roof Anchor Kit: Make sure to choose a high-quality roof anchor kit that is designed for the specific type of roof you’re working on. These kits generally include the anchor point, screws, and brackets needed for installation.
- Drill and Drill Bits: A power drill is essential for creating holes for the anchor. Be sure to use the correct drill bit size for the screws included in your roof anchor kit.
- Wrench or Socket Set: To tighten the bolts securely, you will need a wrench or socket set. Ensure that the anchor is fastened tightly to prevent any movement during use.
- Measuring Tape: Accurate measurements are essential when installing a roof anchor. A measuring tape will help you mark the correct location for the anchor on your roof.
- Level: Using a level will help ensure that the roof anchor is aligned correctly, providing a safe and stable point of attachment.
- Safety Harness and Lanyard: To ensure your own safety while installing the anchor, you will need a harness and lanyard to prevent falls while you work on the roof.
Step-by-Step Guide to Installing a Roof Anchor
Now that you have the necessary tools, here is a step-by-step guide to installing a roof anchor safely and securely:
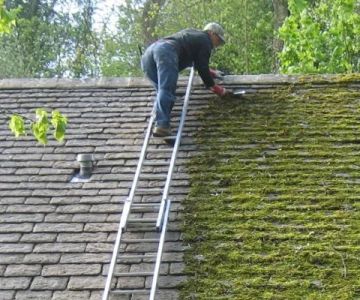
- Step 1: Plan the Installation – Before starting the installation, assess the area where you will install the roof anchor. Choose a spot that is structurally sound and free from obstructions. It’s essential to check that the installation site can support the weight and stress of a fall.
- Step 2: Measure and Mark the Spot – Use a measuring tape to mark the location of the roof anchor. The anchor should be positioned in an area where it will provide the best support and safety for the worker. Mark the spot with a pencil or chalk to ensure proper placement.
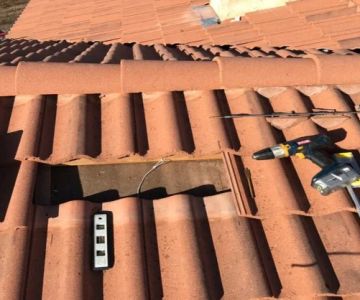
- Step 3: Drill the Holes – Using the power drill, carefully drill holes in the marked locations. Be sure to drill at the proper depth and angle to ensure that the anchor fits securely into the roof material.
- Step 4: Attach the Roof Anchor – Insert the roof anchor into the drilled holes and use the appropriate bolts and screws to secure it in place. Tighten the bolts using a wrench or socket set, ensuring that the anchor is firmly attached to the roof.
- Step 5: Test the Anchor – Before using the roof anchor for safety, test it by applying pressure to ensure it is securely installed. Check that the anchor doesn’t move or shift when force is applied.
Common Mistakes to Avoid When Installing Roof Anchors
While installing a roof anchor may seem straightforward, there are several common mistakes that can undermine the safety and effectiveness of the installation. Here are some common mistakes to avoid:
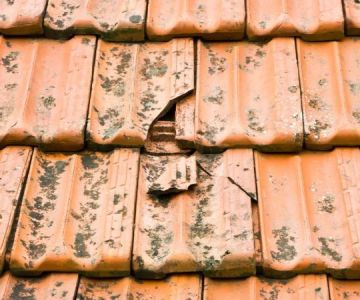
- Choosing an Insecure Location: Always ensure that the area where you’re installing the roof anchor is structurally sound. Avoid areas with weak roofing material or places where the anchor won’t be able to bear weight in the event of a fall.
- Not Using the Correct Tools: Using the wrong size drill bits or inadequate tools can compromise the stability of the roof anchor. Always use the recommended tools to ensure the anchor is properly installed.
- Overtightening or Undertightening the Anchor: Both over-tightening and under-tightening the anchor can lead to issues. Over-tightening can damage the roof material, while under-tightening can make the anchor less secure.
- Skipping Safety Precautions: Installing a roof anchor is a task that involves working at heights. Never skip essential safety precautions such as wearing a safety harness and lanyard to prevent accidents while you install the anchor.
Gibby Roofing Safety Products
If you’re looking for top-quality roof anchors and other roofing safety products, visit [Gibby Car Wash]. We offer a wide range of reliable safety equipment to help ensure that your roofing projects are completed safely. From roof anchor kits to fall protection gear, Gibby Roofing Hub provides the tools you need to protect yourself and others during roof repairs.
Our products are designed to meet safety standards and ensure that every roofing job is done with the utmost care. Whether you're a professional roofer or a DIY enthusiast, we have everything you need to keep your repairs safe and efficient.


 CoolWater LLC5.0 (61 reviews)
 Unified Home Remodeling4.0 (32 reviews)
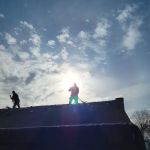 Winchester Roofing5.0 (1 reviews)
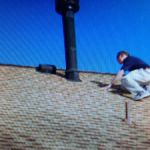 TriStar Roofing Company5.0 (6 reviews)
 Melava llc5.0 (11 reviews)
 Rutter Roofing & Exteriors4.0 (327 reviews)
 How to Maintain Roof Valleys and Downspouts to Prevent Ice Dams
 How to Choose a Roofing Material for a Noisy Urban Environment
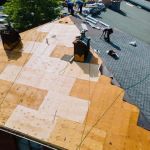 The Cost of a New Roof with a 50-Year Warranty: What You Need to Know
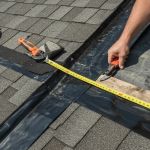 How to Install Roof Flashing on a Complex Roof with Multiple Pitches
 The Cost of Roofing Labor vs. Materials: Breaking Down the Invoice
 What is a Roofing Project Closeout Package? Essential Documents You Should Receive