

- 1- Why a Roof Cricket is Essential for Proper Drainage
- 2- Materials You’ll Need for Installing a Roof Cricket
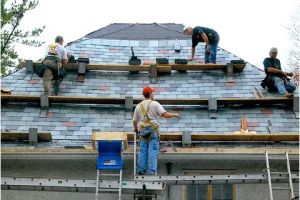
- 3- Step-by-Step Guide to Installing a Roof Cricket
- 4- Common Mistakes to Avoid When Installing a Roof Cricket
- 5- Expert Tips for Maintaining Your Roof Cricket
1. Why a Roof Cricket is Essential for Proper Drainage
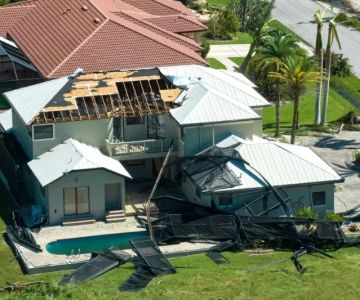
A roof cricket is a small, peaked structure installed on roofs behind mechanical equipment or other features that may obstruct the flow of water. These crickets are crucial for ensuring that water is redirected away from critical areas, preventing pooling and potential water damage. Without a roof cricket, water may accumulate around the base of rooftop features, leading to leaks and other structural issues.
Roof crickets are especially necessary behind mechanical screens, chimneys, vents, or any protruding features where water can collect. Installing a cricket behind these obstacles ensures proper drainage, which is vital for prolonging the life of your roof and preventing costly repairs down the line.
Roofing Contractor of Addison
GlastonburyCapitol Planning RegionConnecticut
37 Addison Rd, Glastonbury, CT 06033, USA
2. Materials You’ll Need for Installing a Roof Cricket
Before starting the installation process, gather all the necessary materials. Here's what you'll need to build and install a roof cricket:
- Wood or plywood: To construct the framework of the cricket. Use durable, weather-resistant materials like pressure-treated wood for the best results.
- Roofing felt or underlayment: To create a moisture barrier under the roofing material and prevent leaks.
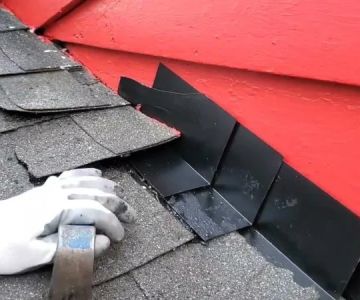
- Metal flashing: To ensure a watertight seal around the cricket, especially at the edges where it meets the roof surface.
- Roofing nails and staples: To fasten the cricket structure to the roof securely.
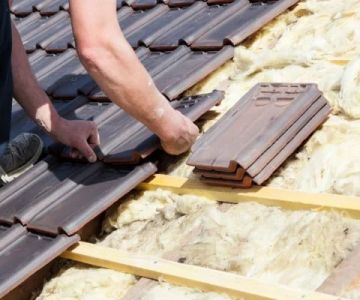
- Roofing shingles or roofing material: To finish the surface of the cricket and make it blend seamlessly with the rest of the roof.
- Sealant: High-quality roofing sealant to prevent leaks around the edges of the cricket.
Having the right materials will ensure a smooth and successful installation process, helping you achieve long-lasting results.
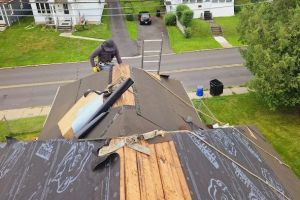
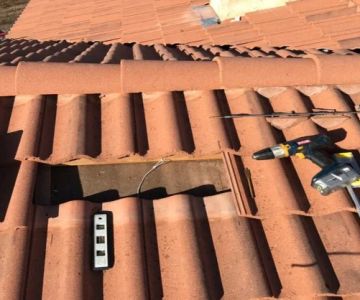
3. Step-by-Step Guide to Installing a Roof Cricket
Installing a roof cricket is a manageable task if you follow these steps carefully. Here's how you can do it:
- Prepare the area: Clear the roof area where you’ll be installing the cricket. Ensure the surface is dry and free from debris that could interfere with the installation.
- Measure and cut the framework: Measure the area behind the rooftop mechanical screen and determine the appropriate size for the cricket. Cut your wood or plywood to the correct dimensions to create the framework for the cricket.
- Install the base layer: Lay down the roofing felt or underlayment in the area where the cricket will be placed. This will act as a moisture barrier and prevent any water from seeping beneath the cricket.
- Attach the cricket framework: Position the plywood or wooden frame on the roof. Use roofing nails or staples to secure the structure, ensuring it is level and aligned properly behind the mechanical screen.
- Apply the metal flashing: Cover the edges of the cricket with metal flashing to create a watertight seal. Make sure the flashing overlaps with the roofing material to direct water away from the cricket.
- Install roofing materials: Install roofing shingles or roofing materials to cover the cricket and match the rest of the roof. Use roofing nails to secure the shingles, ensuring they are properly aligned with the flashing.
- Seal all edges: Apply roofing sealant to all edges of the cricket and flashing to ensure there are no gaps where water can seep in.
Once completed, inspect the cricket to make sure it is securely attached, and ensure there are no gaps where water could accumulate. Proper installation will provide optimal drainage and prevent damage to your roof.
4. Common Mistakes to Avoid When Installing a Roof Cricket
While installing a roof cricket is a straightforward process, there are common mistakes that homeowners and roofers should avoid:
- Improper measurements: Ensure you measure the space behind the mechanical screen carefully. Incorrect measurements can result in an ineffective cricket that doesn't properly divert water.
- Neglecting flashing: Skipping the metal flashing or improperly sealing it can lead to leaks and water damage. Always ensure that the flashing is installed correctly to prevent water from seeping in.
- Inadequate support: Ensure the cricket framework is securely fastened to the roof. An unstable cricket can be damaged by wind or rain, which will lead to further complications.
- Not aligning shingles correctly: Shingles should be installed in a way that they overlap and integrate with the cricket. Improper alignment can allow water to flow into unintended areas.
By avoiding these mistakes, you ensure that your roof cricket will function properly and provide effective drainage for years to come.
5. Expert Tips for Maintaining Your Roof Cricket
To ensure your roof cricket continues to function well, regular maintenance is essential. Here are some expert tips to maintain your roof cricket:
- Inspect regularly: Check the cricket and its surrounding areas for signs of wear, damage, or debris buildup. Regular inspections can help you spot potential problems before they become serious.
- Clear debris: Keep the area around the cricket free from leaves, twigs, and other debris that could obstruct water flow. Ensure that the flashing and shingles are clear and functioning as intended.
- Check for leaks: After heavy rainfall or storms, inspect the cricket for leaks. If you find any, apply sealant or replace damaged flashing to maintain a watertight seal.
Proper maintenance will help your roof cricket perform its role effectively, preventing water damage and preserving the integrity of your roof.
If you're looking for professional help with your roof cricket installation or need high-quality roofing materials, visit BeachCo Roofing Hub for expert advice and product recommendations tailored to your needs.


 Caldwell Exteriors LLC4.0 (99 reviews)
 Accurate Roofing0.0 (0 reviews)
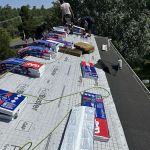 Spartan Exteriors5.0 (19 reviews)
 Ben's Construction Inc5.0 (24 reviews)
 Angst Carpentry5.0 (13 reviews)
 Supreme Seal Roofing0.0 (0 reviews)
 How to Install Roof Ice and Water Shield on Complex Roof Details
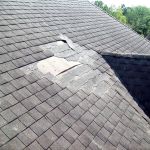 How to Prevent Roof Damage from Improper Foot Traffic
 How to Fix a Roof Leak Caused by Ice Dams | BeachCo Roofing Hub
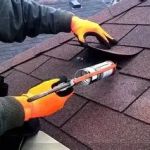 How to Repair a Roof Leak in a Building with a Slate Roof
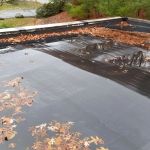 How to Identify and Repair Roof Damage from Long-Term Ponding Water on Flat Roofs
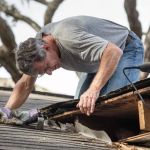 How Much Does It Cost to Repair a Roof Leak Around a Vent Pipe?