
How to Install Roof Ice and Water Shield on Complex Roof Details
Installing a roof ice and water shield is an essential step to protecting your home from water damage, especially in areas prone to heavy snow and ice. Roof valleys, ridges, and other complex roof details are particularly vulnerable to ice dams and water leakage. In this guide, we'll walk you through the process of installing an ice and water shield, offering practical tips to ensure your roof remains protected throughout the year.
Tip Top Roofing
West BoylstonWorcester CountyMassachusetts
245 W Boylston St, West Boylston, MA 01583, USA
Why Ice and Water Shields Are Important
Ice and water shields are designed to prevent water from infiltrating your roof, especially in the winter months when ice dams form. These shields are typically made of a self-adhesive membrane that sticks to the roof decking, providing an extra layer of protection against water damage. They are particularly useful for areas where ice dams are common, such as valleys, eaves, and around chimneys or skylights. Here’s why they are crucial:
- Prevents water penetration: The shields create a watertight barrier that prevents ice and water from seeping through your roof.
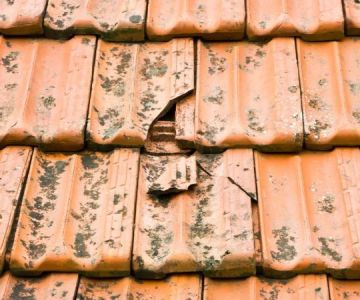
- Protects vulnerable areas: Roof valleys and other complex areas are prone to water accumulation and ice buildup, making them more susceptible to leaks.
- Reduces the risk of ice dams: Ice dams can cause severe damage by forcing water back under shingles, leading to leaks and costly repairs.
Tools and Materials Required for Installation
Before you begin installing an ice and water shield, make sure you have the following tools and materials:
- Roof ice and water shield membrane
- Roofing nails or staples
- Roofing hammer
- Utility knife
- Measuring tape
- Chalk line
- Roofing adhesive (if necessary)
- Roofing tar or cement (for sealing edges)
Step-by-Step Guide to Installing Roof Ice and Water Shield
Follow these steps to properly install the ice and water shield on your roof, especially around complex details like valleys, eaves, and ridges:
Green Star Exteriors
South PlainfieldMiddlesex CountyNew Jersey
629 Montrose Ave, South Plainfield, NJ 07080, USA
1. Measure and Mark Areas for Coverage
Start by measuring the areas where the ice and water shield will be applied. Use a chalk line to mark the areas on the roof where the shield will be installed, making sure to cover the eaves, valleys, and any other vulnerable spots. For best results, the ice shield should extend at least 3 feet up from the edge of the roof or as per local building codes.
2. Clean and Prepare the Roof Surface
Ensure the roof decking is clean, dry, and free of any debris or dirt. Any dust or moisture can prevent the ice and water shield from adhering properly. If there are any repairs needed on the roof decking, perform them before proceeding with the installation.
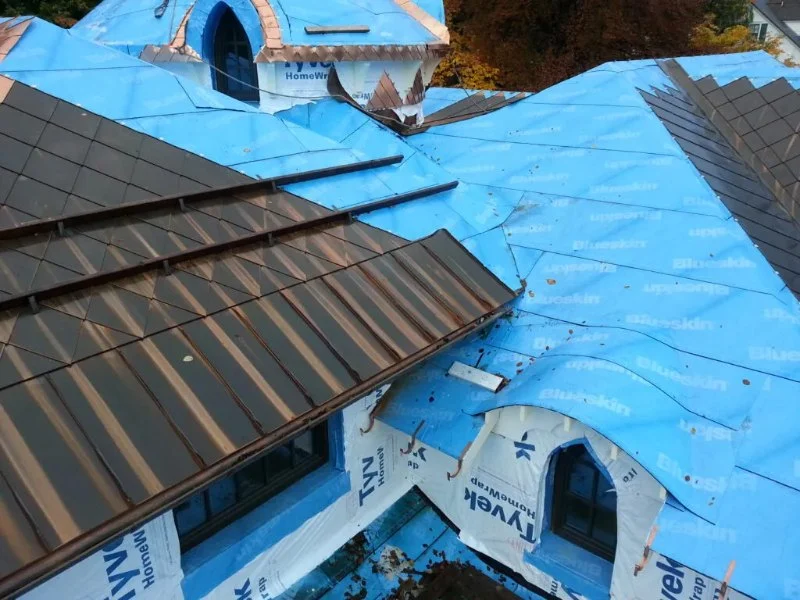
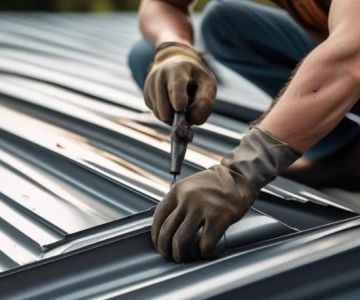
3. Install the Ice and Water Shield
Peel back the protective backing from the ice and water shield membrane. Starting from the eaves, press the membrane down onto the roof decking, ensuring it adheres tightly. Use a roller or your hands to press down on the membrane, eliminating air bubbles and ensuring full contact with the surface. Overlap the edges of each section by at least 6 inches to create a secure seal. Continue applying the membrane up the roof, covering all vulnerable areas such as valleys and ridges.
4. Seal the Edges and Joints
Once the membrane is in place, use roofing adhesive or tar to seal the edges and joints. This step is essential to ensure water doesn’t penetrate the seams. Pay particular attention to areas around chimneys, skylights, and valleys where water is likely to flow.
5. Install Shingles Over the Ice and Water Shield
Once the ice and water shield is securely in place, you can begin installing the shingles over the membrane. Make sure the shingles overlap the shield to provide an additional layer of protection. Follow standard shingle installation procedures, ensuring the shield remains fully covered by the roofing material.
When to Contact a Professional Roofer
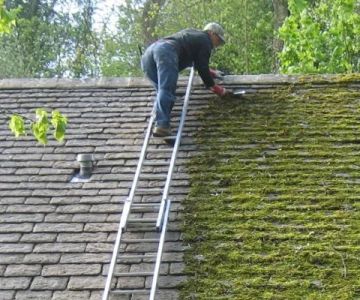
While DIY roof repairs can be rewarding, installing an ice and water shield on a complex roof may require professional expertise, especially if you're dealing with hard-to-reach areas like valleys or steep roofs. A professional roofer from BeachCo Roofing Hub can ensure the installation is done correctly and that your roof remains well-protected from water damage and ice buildup.
Common Mistakes to Avoid When Installing Ice and Water Shields
- Insufficient coverage: Not extending the shield far enough up the roof can leave the eaves vulnerable to water penetration.
- Improper installation: Not adhering the membrane properly can lead to air bubbles and inadequate sealing.
- Skipping the sealant: Failing to seal the edges and joints leaves gaps for water to enter.
By following these guidelines and taking the necessary precautions, you can effectively protect your roof from ice and water damage and extend its lifespan. For expert assistance and high-quality roofing products, visit BeachCo Roofing Hub.

 Clark Brothers Roofing & Construction4.0 (32 reviews)
 Royal One Construction4.0 (8 reviews)
 Doda Brothers Roofing and Chimney5.0 (20 reviews)
 Pace Roofing LLC4.0 (170 reviews)
 St Joseph's Roofing Inc5.0 (2 reviews)
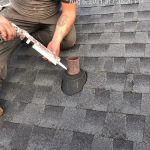 Mr. T's Roofing0.0 (0 reviews)
 The Lifespan of Roof Coatings: How Often They Need to be Reapplied
 How to Choose the Best Roofing Material for a Building with a Green Roof System
 What is a Roofing System Design Professional? When to Hire an Engineer
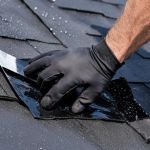 Roof Leak Repair: Temporary Fixes and Permanent Solutions Explained
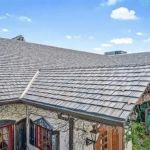 The Cost of a New Roof with a Class 4 Impact Rating and Class A Fire Rating: Everything You Need to Know
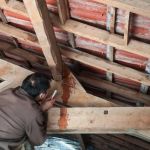 How to Repair a Roof Leak in a Building with a Seamless Metal Roof