
How to Install Roof Ice Melt Systems to Prevent Ice Dams
- 1. Understanding Ice Dams and Their Impact
- 2. Why You Need a Roof Ice Melt System
- 3. Step-by-Step Guide to Installing Ice Melt Systems
- 4. Tips for Maintaining Your Ice Melt System
- 5. When to Call a Professional for Installation
1. Understanding Ice Dams and Their Impact
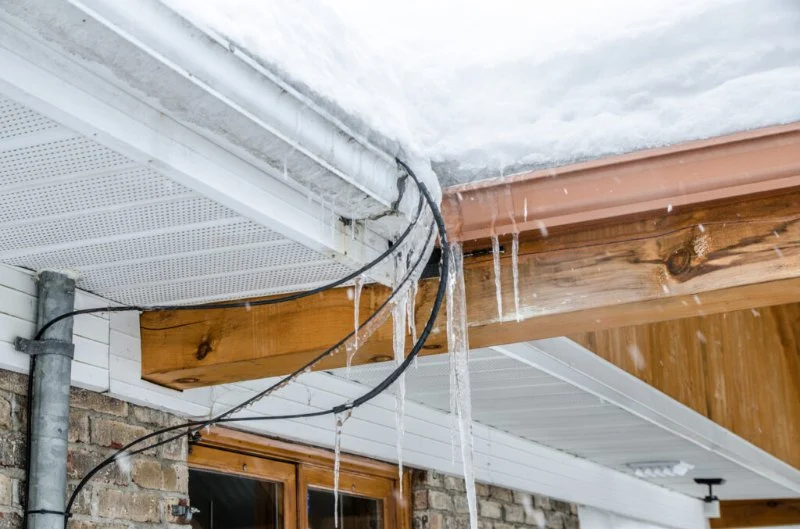
Ice dams are a common issue for homeowners in colder climates. They occur when snow on the roof melts, then refreezes at the eaves, creating a dam that traps water behind it. This trapped water can leak into your home, causing significant water damage to ceilings, walls, and insulation. Understanding how ice dams form is crucial to preventing them and protecting your home.
- Cause of Ice Dams: The primary cause is uneven heating of the roof, often due to poor insulation or ventilation. Warm air from the attic causes the snow to melt, while the colder eaves cause it to refreeze.
- Consequences: Ice dams can lead to roof leaks, water damage, mold growth, and expensive repairs. Addressing the root cause is essential to prevent these issues.
2. Why You Need a Roof Ice Melt System
Roof ice melt systems are designed to prevent the formation of ice dams by keeping the roof temperature even. These systems help melt the snow before it has a chance to refreeze at the eaves. Here's why installing an ice melt system is a smart investment:
- Prevents Ice Dams: By melting the snow on the roof, these systems eliminate the conditions that cause ice dams to form.
- Protects Your Home: Prevents water damage from leaking into the home, saving you from costly repairs and structural damage.
- Reduces Risk of Injury: By melting snow and ice from walkways and gutters, it reduces the risk of accidents caused by slipping on ice.
3. Step-by-Step Guide to Installing Ice Melt Systems
Installing a roof ice melt system may seem complicated, but with the right approach, it can be a manageable DIY project. Follow these steps to install your own system:
- Step 1 - Choose the Right System: There are two main types of ice melt systems: heat cables and heated mats. Heat cables are installed along the roof's edge, while mats are laid out over larger areas. Choose based on your roof size and the severity of your ice dam problem.
- Step 2 - Prepare Your Roof: Clean your roof by removing any debris or loose snow. Ensure the area is clear of obstructions, and that the roof is in good condition before starting installation.
- Step 3 - Install the Heating System: For heat cables, run the cables along the edge of your roof, making sure they are spaced evenly. For mats, lay them flat across the roof, following manufacturer instructions. Both systems require proper placement for maximum effectiveness.
- Step 4 - Connect to Power: Make sure the system is connected to an outdoor power source, and that the wiring is waterproof and properly sealed to prevent any damage from the elements.
- Step 5 - Test the System: Once installed, test the system to ensure it is working properly. It should start heating as soon as it is powered on, and you should notice the snow begin to melt along the eaves.
4. Tips for Maintaining Your Ice Melt System
To ensure your ice melt system works effectively throughout the winter season, it's important to perform regular maintenance. Here are some tips:
- Check for Damage: Before winter sets in, inspect the system for any signs of wear, damage, or malfunction. Replace any faulty cables or mats to ensure proper function.
- Clear Debris: Keep the roof clear of leaves, twigs, and other debris that can obstruct the system's effectiveness. Clean the gutters and downspouts regularly to avoid blockage.
- Test Annually: Run a test before the first snowfall to make sure the system is working as expected. This will help prevent any surprises during the cold season.
5. When to Call a Professional for Installation
While installing an ice melt system can be a DIY project, there are cases where professional help is recommended. Consider hiring an expert if:
- Complicated Roof Design: If your roof has a complex design or steep pitch, it may be dangerous or difficult to install the system yourself.
- Electrical Concerns: If you are unsure about the wiring and electrical connections, it's best to have a professional handle the installation to ensure safety.
- Large Roof Areas: For larger roofs or homes with significant ice dam issues, professional installation can ensure maximum coverage and effectiveness.
Hiring a professional ensures that your roof ice melt system is installed correctly and safely, providing long-term protection for your home.
For more information on selecting and installing an ice melt system, or to find the best products for your home, visit BeachCo Roofing Hub for expert advice and recommendations.


 All-Star Home Improvement5.0 (9 reviews)
 NY Home Remodeling Contractors5.0 (4 reviews)
 MDX Roofing0.0 (0 reviews)
 TC Roofing LLC4.0 (29 reviews)
 Top Guard Roofing & Construction5.0 (36 reviews)
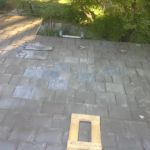 J Wilson Enterprises Slate Roofing5.0 (79 reviews)
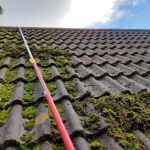 The Pros and Cons of a Nano-Coated Roof Surface for Easy Cleaning
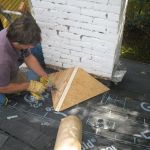 How to Install a Roof Cricket Behind a Rooftop Stairwell Enclosure
 What is a Roofing Maintenance Plan and Is It Worth It? | Benefits and Considerations
 Skylight Leak Repair: Common Causes and How to Waterproof Your Skylight
 How to Install a Roof Vent for a Commercial Kitchen Exhaust System
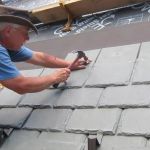 How to Install a Roof Underlayment for a Synthetic Slate Roof: A Complete Guide