
- 1-Introduction: Why Roof Crickets Are Necessary for Roofs
- 2-Preparing for Roof Cricket Installation
- 3-Step-by-Step Guide to Installing a Roof Cricket
- 4-Choosing the Right Materials for Your Roof Cricket
- 5-Maintaining Your Roof Cricket for Long-Term Protection
1-Introduction: Why Roof Crickets Are Necessary for Roofs
Roof crickets are essential roofing components designed to direct water flow away from critical areas, such as a roof's valleys or behind structures like stairwell enclosures. If you’ve ever noticed pooling water or excessive wear around these areas, a roof cricket could be the solution. For homeowners looking to maintain the longevity and integrity of their roof, especially in areas prone to heavy rain or snow, installing a roof cricket is crucial for preventing water damage.

Bestoration Contracting Inc
White PlainsWestchester CountyNew York
15 Home St, White Plains, NY 10606, USA
2-Preparing for Roof Cricket Installation
Before you begin installing a roof cricket behind your rooftop stairwell enclosure, proper preparation is necessary to ensure the job goes smoothly. Follow these steps to get started:

HammerHead Roofing LLC
KillinglyNortheastern Connecticut Planning RegionConnecticut
542 Main St, Danielson, CT 06239, USA
2.1-Assess the Roof Structure
Examine the area where the roof cricket will be installed. Check for any damage to the roof’s surface and ensure that the structure is sound. You'll want to address any issues such as rot, loose shingles, or leaks before proceeding with the installation.
2.2-Gather Tools and Materials
To install the roof cricket properly, gather the following tools and materials:
- Roofing cement or flashing adhesive
- Metal flashing (typically copper, aluminum, or galvanized steel)
- Roofing nails
- Hammer or roofing nail gun
- Measuring tape
- Utility knife
- Shovel or roof rake for debris removal
2.3-Determine the Size of the Cricket
The size of your roof cricket will depend on the width of the area behind the stairwell enclosure and the amount of water flow you expect. A typical roof cricket will slope at a 2:12 pitch or steeper to efficiently direct water away from the structure. Properly sizing the cricket ensures that water is effectively diverted.
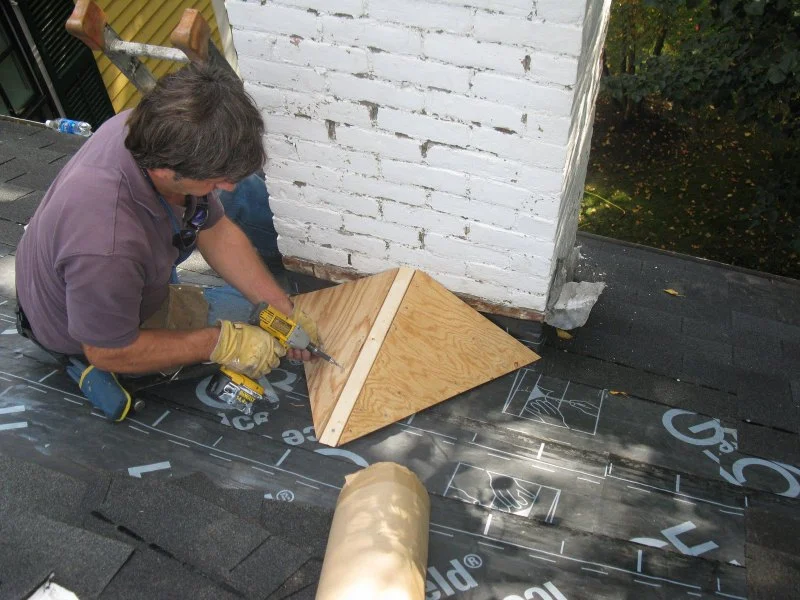
3-Step-by-Step Guide to Installing a Roof Cricket
Once you're prepared, follow these detailed steps to install a roof cricket behind your rooftop stairwell enclosure:
3.1-Prepare the Roof Surface
Start by cleaning the area where you’ll install the roof cricket. Remove debris, moss, or old roofing materials that could hinder the installation process. If there is any existing flashing, remove it carefully to ensure a smooth surface for the new cricket.
3.2-Install the Base Flashing
Begin by laying the base flashing down the middle of the cricket’s location. This will serve as the foundation for your cricket. Use roofing cement or flashing adhesive to secure the flashing in place. Make sure the flashing is properly fitted to the roof’s slope, leaving enough overlap with the roofing materials to prevent water from seeping underneath.
3.3-Build the Roof Cricket Frame
Next, create a frame using metal flashing that forms the triangular shape of the cricket. Start from the edge of the roof and work your way up, ensuring each piece is securely attached with roofing nails. The cricket should have a gradual slope that diverts water away from the roof and into gutters or drainage systems.
3.4-Secure the Flashing and Finish the Cricket
Once the frame is set, apply a generous amount of roofing cement along the seams and edges to ensure a watertight seal. Check the stability of the cricket by lightly tapping it with a hammer to make sure there are no loose sections. Finally, install the roofing shingles or tiles over the cricket, making sure they overlap the flashing for full protection against leaks.
4-Choosing the Right Materials for Your Roof Cricket
When installing a roof cricket, the materials you use are crucial to ensuring its effectiveness and durability. Here are some of the most commonly used materials for roof cricket installation:
4.1-Metal Flashing
Metal flashing, such as copper, aluminum, or galvanized steel, is the most common material used for creating a roof cricket. These materials are durable, long-lasting, and resistant to water damage. Copper is particularly effective in resisting corrosion, making it a popular choice for areas with heavy rainfall.
4.2-Roofing Cement
Roofing cement or adhesive is used to seal the flashing and ensure that water doesn’t penetrate beneath the roofing materials. It’s important to use a high-quality roofing cement that can withstand the elements, especially in areas prone to harsh weather conditions.
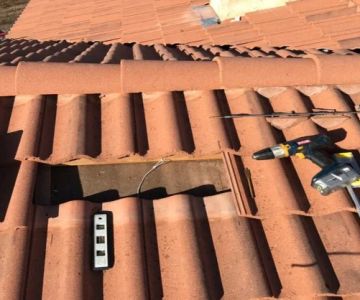
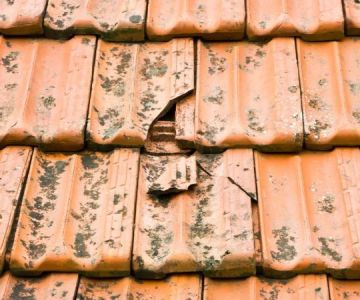
4.3-Shingles or Tiles
The shingles or tiles you use to cover the cricket should match the rest of the roof for aesthetic purposes. Asphalt shingles, clay, or slate tiles are commonly used for roofing projects and should be installed properly to create a secure and leak-free barrier.
5-Maintaining Your Roof Cricket for Long-Term Protection
After installing your roof cricket, it’s important to maintain it properly to ensure its effectiveness over time. Regular inspections and maintenance can prevent leaks and prolong the life of your roof:
5.1-Regular Inspections
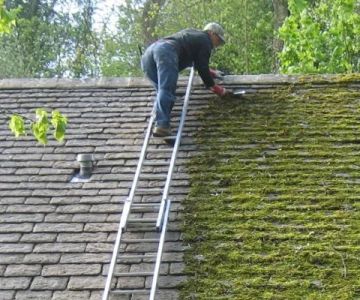
Inspect your roof cricket at least once a year, especially after heavy storms or snowmelt. Look for any signs of damage, such as loose flashing, cracked shingles, or areas where water might be pooling. Promptly address any issues to prevent further damage.
5.2-Clean the Drainage Areas
Ensure that the drainage areas around the roof cricket are free from debris. Leaves, twigs, and dirt can clog the drainage system and cause water to pool around the cricket. Regularly clean these areas to keep water flowing freely.
5.3-Repair Any Damage Immediately
If you notice any damage to the roof cricket, such as punctured flashing or worn-out shingles, repair it as soon as possible to avoid larger issues down the road. Ignoring small repairs can lead to more expensive and extensive damage over time.
For more information on how to install a roof cricket behind a rooftop stairwell enclosure or if you need professional roofing services, visit BeachCo Roofing Hub for the best products and services.


 J.L. Goode Roofing and Building Contractors4.0 (9 reviews)
 Tri-County Construction & Roofing5.0 (10 reviews)
 Multi-State Roofing Inc0.0 (0 reviews)
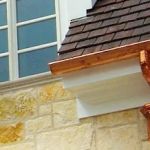 Charlie Parsons Custom Sheet Metal LLC4.0 (4 reviews)
 Royal Roofing & Siding NYC4.0 (53 reviews)
 Fair View Roofing Repair Co.5.0 (8 reviews)
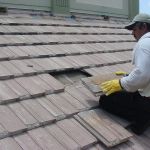 Tile Roof Repair: How to Handle Cracked and Broken Tiles
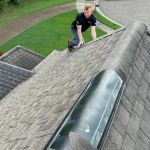 How to Choose a Roofing Contractor That Offers a Comprehensive Maintenance Program
 How to Choose a Roofing Contractor That is Certified by Major Manufacturers
 The Lifespan of a Roof in a Hurricane-Prone Area: Key Factors and Tips
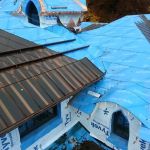 How to Install Roof Ice and Water Shield on Complex Roof Details
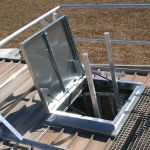 How to Install a Roof Access Hatch for Easy Attic Entry – Step-by-Step Guide