
- How to Install a Roof Access Hatch for Easy Attic Entry
- 1. Why Install a Roof Access Hatch?
- 2. Choosing the Right Roof Access Hatch
- 3. Step-by-Step Installation Guide
- 4. Tips for Installing a Roof Access Hatch
- 5. When to Call a Professional
- 6. Why Choose BeachCo Roofing Hub for Your Roof Access Hatch Installation
1. How to Install a Roof Access Hatch for Easy Attic Entry
If you're looking to access your attic more easily, installing a roof access hatch is an excellent solution. It allows you to safely and efficiently enter your attic for storage or maintenance without the hassle of climbing up ladders or navigating through tight spaces.
In this article, we'll guide you through the process of installing a roof access hatch, from selecting the right hatch to the step-by-step installation process. Whether you're a DIY enthusiast or seeking professional help, this guide will give you the knowledge you need to improve attic access with ease.
2. Why Install a Roof Access Hatch?
Installing a roof access hatch offers several practical benefits:
- Convenience: A roof hatch provides easy and direct access to your attic, eliminating the need for cumbersome ladders and helping you navigate your space more efficiently.
- Storage: The attic is an often-underused space. A roof hatch makes it easier to store items in the attic without difficulty or danger.
- Maintenance: Regular maintenance on the attic, including checking insulation or repairing roofing issues, becomes much easier when you have proper access.
Whether you're storing seasonal items or performing routine inspections, a roof access hatch makes it simpler and safer.
ALITA CONSTRUCTION LLC
North HaledonPassaic CountyNew Jersey
41 Roosevelt Ave, North Haledon, NJ 07508, USA
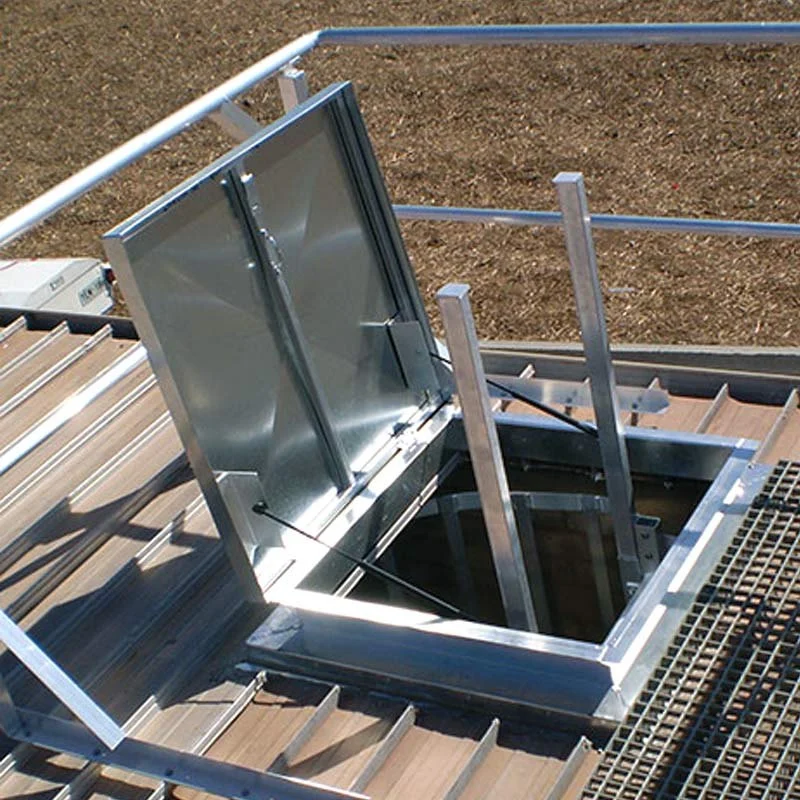
3. Choosing the Right Roof Access Hatch
Selecting the right roof access hatch is key to ensuring functionality and safety. There are several factors to consider:
- Size and Dimensions: Consider the size of the hatch. Make sure it’s large enough for comfortable access but still fits within your roof structure.
- Material: Roof hatches come in various materials, including steel, aluminum, and fiberglass. Choose a material that suits your climate and roof type.
- Insulation: For energy efficiency, consider a hatch with proper insulation to prevent heat loss or gain through the attic.
- Safety Features: Look for features such as locking mechanisms, weatherproof seals, and non-slip steps to enhance safety when using the hatch.
By selecting the right hatch, you ensure ease of access while maintaining the integrity and safety of your home.
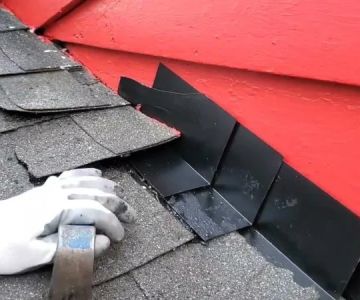
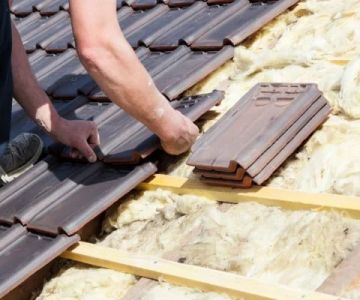
4. Step-by-Step Installation Guide
Installing a roof access hatch can be a manageable DIY project if you follow the right steps. Here’s a step-by-step guide:
- Preparation: Clear the area around the installation site and gather the necessary tools, including a measuring tape, saw, drill, and safety gear.
- Measure and Mark: Measure the location where you want to install the hatch and mark the dimensions on the roof. Ensure the spot aligns with the roof's structural integrity.
- Cut the Opening: Use a saw to carefully cut along the marked lines to create the opening for the hatch. Make sure the edges are smooth and even.
- Install the Hatch Frame: Secure the hatch frame into the opening using screws or bolts. Make sure the frame is level and flush with the roof surface.
- Attach the Hatch Door: Once the frame is in place, attach the hatch door according to the manufacturer’s instructions. Ensure it opens and closes easily and securely.
- Seal and Insulate: Apply a weatherproof sealant around the edges of the hatch to prevent leaks and add insulation to enhance energy efficiency.
Follow these steps carefully, and you'll have a functional and durable roof access hatch installed in no time.
5. Tips for Installing a Roof Access Hatch
To ensure a smooth and successful installation, here are some expert tips:
- Safety First: Always wear protective gear, such as goggles and gloves, to prevent accidents during installation.
- Check the Roof Structure: Before cutting, ensure that the area you plan to install the hatch won’t interfere with any structural elements, such as beams or vents.
- Use Proper Tools: Invest in high-quality tools to make the job easier and ensure precise cuts and measurements.
- Consider Professional Help: If you’re unsure about cutting into your roof or installing a hatch yourself, consider consulting a professional roofer or contractor.
By taking these precautions, you can ensure your roof access hatch is installed safely and correctly.
6. When to Call a Professional
While installing a roof access hatch is a manageable task for many DIY enthusiasts, there are situations where it’s best to call a professional:
- If you’re unfamiliar with roof work or cutting through the roof material.
- If your roof has complex structural elements, such as beams or insulation, that need to be taken into consideration.
- If you lack the proper tools or equipment to make precise cuts and secure the hatch correctly.
If any of these situations apply to you, don’t hesitate to reach out to a professional roofer or contractor for assistance. Installing a roof access hatch is an investment in convenience and safety, and getting it done right the first time is worth the extra effort.
7. Why Choose BeachCo Roofing Hub for Your Roof Access Hatch Installation
At BeachCo Roofing Hub, we specialize in professional roof access hatch installations. Our team of experienced roofers can help you select the best hatch for your needs and provide expert installation services to ensure your attic entry is both safe and efficient.
Whether you’re looking to install a simple access hatch or need assistance with more complex roofing projects, BeachCo Roofing Hub is your go-to source for all your roofing needs.


 Affordable Roofing & Contracting1.0 (12 reviews)
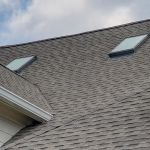 Wilber's Roofing5.0 (4 reviews)
 Nisi Home Improvement Inc.5.0 (196 reviews)
 Hancin Construction LLC0.0 (0 reviews)
 Trama Roofing0.0 (0 reviews)
 H. Recinos Roofing Contractors4.0 (29 reviews)
 How to Maintain Roof Valleys and Downspouts to Prevent Ice Dams
 Choosing the Right Roofing Materials for Green Roof Systems
 How to Choose a Roofing Material for a Noisy Urban Environment
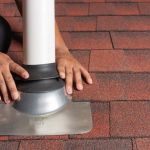 How to Install Roof Flashing on a Complex Roof with Multiple Pitches
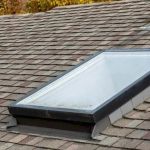 How to Install Roof Flashing on a Roof with Multiple Skylights and Penetrations
 How to Choose a Roofing Contractor That Handles Permits and Inspections