
- 1. Understanding Roof Flashing and Its Importance
- 2. Why Installing Flashing on Complex Roofs is Crucial
- 3. Materials Needed for Installing Roof Flashing
- 4. Step-by-Step Guide to Installing Roof Flashing on Complex Roofs
- 5. Common Mistakes to Avoid During Roof Flashing Installation
- 6. Maintaining Your Roof Flashing for Long-Lasting Protection
1. Understanding Roof Flashing and Its Importance
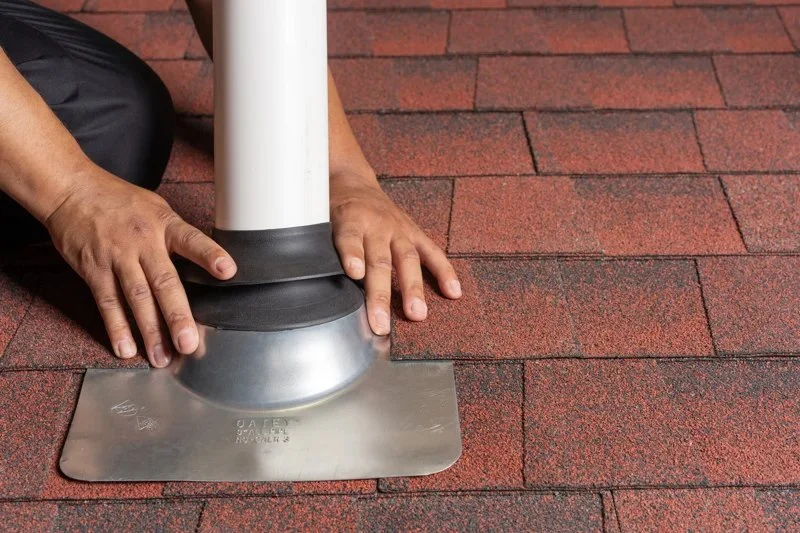
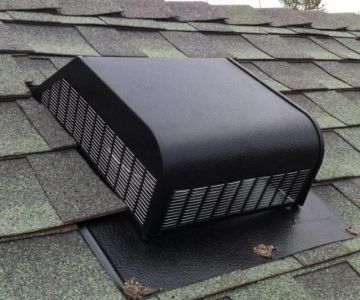
Roof flashing is an essential part of any roofing system, designed to protect the most vulnerable areas of your roof from water infiltration. It acts as a barrier that directs water away from areas like joints, chimneys, skylights, vents, and valleys. Without proper flashing, these critical areas would be prone to leaks, leading to potential structural damage, mold growth, and expensive repairs.
Flashing is typically made from materials like aluminum, copper, or galvanized steel, and it is installed in overlapping layers to create a watertight seal. Understanding how flashing works is especially important when dealing with complex roofs with multiple pitches, as these roofs have numerous seams and angles where water can easily collect.

Jay's Roofing And Siding
LinwoodDelaware CountyPennsylvania
168 E Ridge Rd STE 104, Linwood, PA 19061, USA
2. Why Installing Flashing on Complex Roofs is Crucial
Installing flashing on complex roofs with multiple pitches is particularly important for a few key reasons:
- Multiple Pitches Create More Vulnerable Areas: Roofs with varying slopes and angles create more seams and joints, which are prone to leaks if not properly sealed with flashing. Flashing is critical in these areas to ensure the roof is watertight.
- Water Flow is More Complicated: On a multi-pitched roof, water flow is more unpredictable, which means water is more likely to pool in certain areas. Flashing helps guide the water to appropriate drainage points, preventing water damage.
- Protection Against Wind-Driven Rain: In complex roof designs, wind-driven rain can easily enter cracks or gaps. Flashing helps protect against this by acting as a barrier, especially around penetrations like vents or skylights.
Properly installed flashing ensures that your roof will withstand harsh weather conditions, offering long-term protection and preventing costly water damage repairs.
3. Materials Needed for Installing Roof Flashing
To install flashing on a complex roof with multiple pitches, it’s important to have the right materials on hand. Here's a list of the essential tools and materials you'll need:
- Roof Flashing Material: Depending on your preference, flashing can be made from aluminum, copper, galvanized steel, or PVC. Each material has its own advantages, such as copper's durability or aluminum's corrosion resistance.
- Sealant: Roofing sealant is essential for creating a watertight bond around the flashing. Be sure to choose a high-quality sealant designed specifically for roofing applications.
- Roofing Nails or Screws: To secure the flashing in place, you’ll need corrosion-resistant nails or screws that are specifically designed for roofing.
- Roofing Felt: Roofing felt helps provide an additional layer of protection beneath the flashing, adding extra waterproofing to the structure.
- Utility Knife or Tin Snips: A sharp utility knife or tin snips are necessary for cutting the flashing to the right size and shape, especially around angles and joints.
- Measuring Tape and Chalk Line: Accurate measurements are crucial for proper flashing installation, so make sure you have a measuring tape and chalk line to mark guidelines on the roof.
- Ladder and Safety Equipment: Safety should always be your top priority when working on a roof. Use a sturdy ladder and appropriate safety gear, including harnesses and non-slip footwear.
Having these materials on hand ensures that the installation process goes smoothly and safely, helping to create a secure, watertight roof.
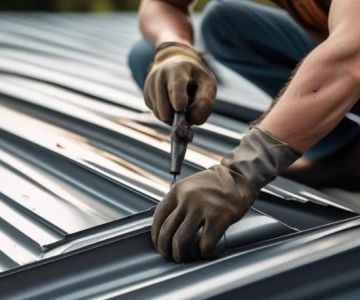
4. Step-by-Step Guide to Installing Roof Flashing on Complex Roofs
Now that you have the right materials, here’s a step-by-step guide to installing roof flashing on a complex roof with multiple pitches:
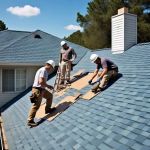
- Step 1: Prepare the Roof – Before installing flashing, ensure the roof surface is clean and dry. Remove any debris, nails, or old flashing material from the area where you will be working.
- Step 2: Measure and Cut the Flashing – Measure the dimensions of the area where you need to install the flashing. Use your measuring tape and chalk line to mark the areas, then carefully cut the flashing material to fit using a utility knife or tin snips.
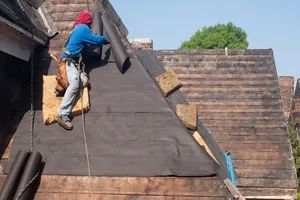
- Step 3: Apply Roofing Felt – Lay roofing felt in the areas where the flashing will go, overlapping the edges to ensure there are no gaps. This provides an additional waterproofing layer under the flashing.
- Step 4: Position the Flashing – Place the flashing over the measured areas, ensuring it overlaps edges and seams to direct water away from vulnerable points. Align the flashing with the roof’s pitches, cutting it as necessary to fit around valleys, chimneys, or other roof penetrations.
- Step 5: Secure the Flashing – Using roofing nails or screws, secure the flashing in place, making sure not to penetrate through the flashing’s overlap areas. Leave a small gap between the nails to allow for expansion and contraction.
- Step 6: Seal the Edges – Apply roofing sealant along the edges and seams of the flashing to prevent water from entering. Smooth the sealant with a putty knife to ensure a tight, uniform seal.
- Step 7: Inspect the Installation – Once the flashing is in place, inspect your work carefully. Ensure that all areas are securely sealed, and that the flashing is properly positioned to channel water away from the roof’s vulnerable points.
By following these steps, you can effectively install flashing on a complex roof, ensuring long-lasting protection against water damage.
5. Common Mistakes to Avoid During Roof Flashing Installation
While installing flashing may seem straightforward, there are a few common mistakes to avoid that could undermine the effectiveness of your installation:
- Improper Sealing: Failing to apply enough roofing sealant or leaving gaps in the sealant can lead to leaks. Be sure to seal all overlapping areas and seams thoroughly.
- Incorrect Flashing Material: Choosing the wrong type of flashing material can lead to corrosion or damage over time. Make sure to select a material suitable for your climate and roof type.
- Poor Measurement: Incorrectly measuring the flashing can result in pieces that don’t fit properly. Always take precise measurements to ensure a snug and secure fit.
- Skipping the Underlayment: Failing to add roofing felt or underlayment beneath the flashing can expose the roof to water infiltration. Always use a protective layer before installing flashing.
Avoiding these mistakes will help you achieve a professional, watertight installation that ensures the longevity and performance of your roof.
6. Maintaining Your Roof Flashing for Long-Lasting Protection
Once your roof flashing is installed, regular maintenance is key to ensuring its continued performance. Here are some tips for maintaining your roof flashing:
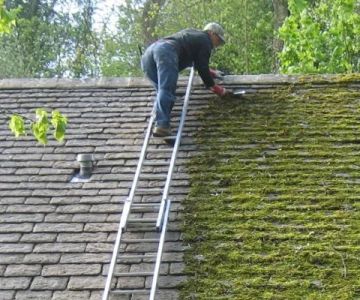
- Inspect Regularly: Check your roof flashing at least once a year and after any major storms to ensure it remains intact and functional.
- Clean the Flashing: Remove any debris, such as leaves or branches, that may collect around the flashing. This will help prevent water buildup and ensure proper drainage.
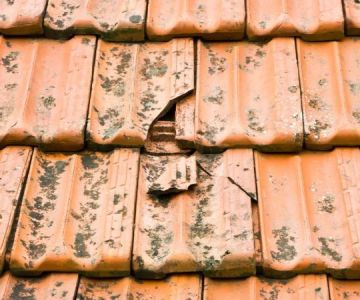
- Repair Damage Promptly: If you notice any damage, such as cracks, gaps, or loose flashing, repair it immediately to prevent water from seeping in.
By keeping your flashing in good condition, you’ll ensure that your roof remains protected for years to come.
If you’re looking for expert advice on roof flashing installation or need professional roofing services, visit BeachCo Roofing Hub for all your roofing needs.


 Gutter Brothers5.0 (1 reviews)
 A1 Quality Roofing & Siding0.0 (0 reviews)
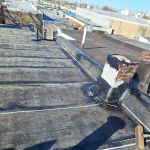 Moore and Sons Roofing and Contracting4.0 (25 reviews)
 Venture Window LLC0.0 (0 reviews)
 Fox-Co Roofing & Construction LLC4.0 (22 reviews)
 Keystone Exterior Solutions4.0 (21 reviews)
 How Much Does It Cost to Repair a Roof Leak Around a Vent Pipe?
 How Agricultural Chemicals Affect the Lifespan of Your Roof
 The Lifespan of a Roof Under Extreme Heat Conditions: What You Need to Know
 The Cost of a New Roof with a Class 4 Impact-Resistant Rating
 How to Install Roof Ice and Water Shield on Complex Roof Details
 How to Choose a Certified Roofing Contractor for Your Roof