
How to Install Roof Flashing on a Roof with Multiple Skylights and Penetrations
- Introduction - Understanding Roof Flashing for Complex Roofs
- Preparation - Getting Ready for Roof Flashing Installation
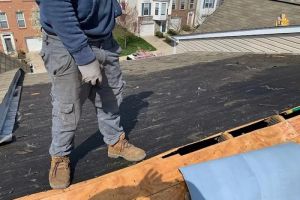
- Step-by-Step Installation - A Comprehensive Guide
- Common Issues When Installing Roof Flashing
- When to Call a Professional - Avoiding Mistakes
- BeachCo Roofing Hub Recommendations - Quality Flashing Materials
Understanding Roof Flashing for Complex Roofs
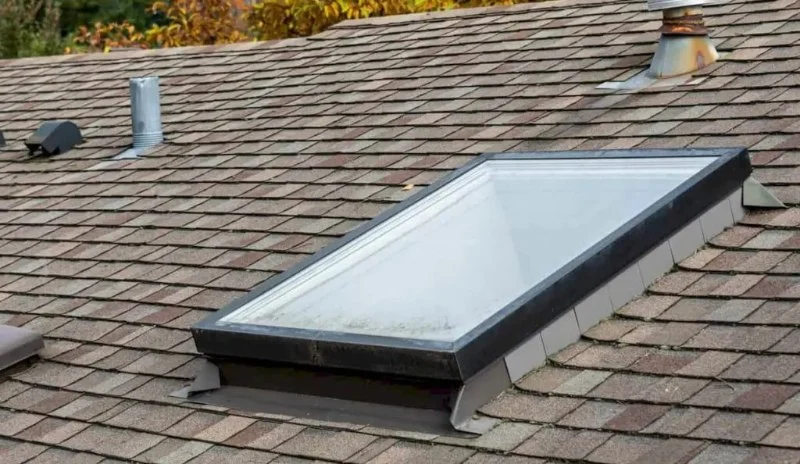
When installing a roof flashing on a roof with multiple skylights and penetrations, proper planning and technique are essential to ensure a secure, waterproof seal. Roof flashing is the material used to direct water away from joints in a roof, such as around skylights, chimneys, and vent pipes. These areas, often referred to as "penetrations," are highly prone to leaks if not sealed correctly. In this guide, we will walk you through the process of installing roof flashing on a roof with several skylights and penetrations, covering key steps, potential challenges, and helpful tips to get the job done right.
Keystone Building and Restoration, LLC
GaithersburgMontgomery CountyMaryland
9 N Summit Ave suite 200, Gaithersburg, MD 20877, USA
Getting Ready for Roof Flashing Installation
Before you begin installing roof flashing, there are a few critical steps to ensure everything goes smoothly. Proper preparation not only makes the installation process easier but also improves the longevity and effectiveness of your flashing.
Tri State Roofing And Masonry
WashingtonDistrict of Columbia
5252 Wisconsin Ave NW unit 543, Washington, DC 20015, USA
1. Gather the Necessary Tools and Materials
To install roof flashing, you will need a few essential tools and materials, including:
- Roof flashing material (such as aluminum or copper)
- Roof sealant and roofing nails
- Hammer or nail gun
- Utility knife
- Measuring tape
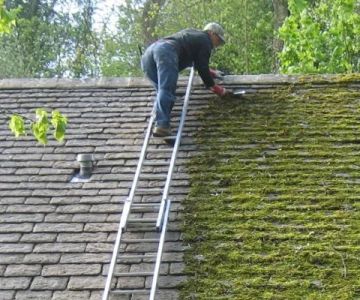
- Ladder or scaffolding for safety
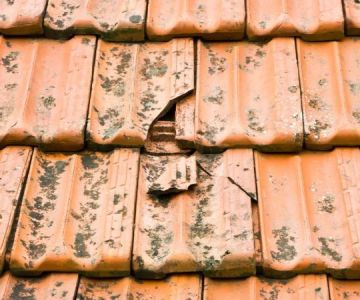
2. Inspect the Roof Penetrations
Ensure all penetrations, such as skylights, vents, and chimneys, are clean and free of debris. Inspect the flashing around these areas to see if they are damaged or improperly installed. If there are existing flashing systems that need replacing, carefully remove them before beginning the new installation.
3. Choose the Right Flashing Material
Depending on the type of roof and the severity of weather conditions in your area, you may need to choose specific materials. Aluminum flashing is widely used for its durability and affordability, while copper flashing provides a more aesthetically pleasing look, although it may be more expensive. For roofs with many penetrations or complex structures, using high-quality flashing material is essential for long-term water resistance.
Step-by-Step Installation - A Comprehensive Guide
Now that you're prepared, let's walk through the process of installing roof flashing on a roof with multiple skylights and penetrations.
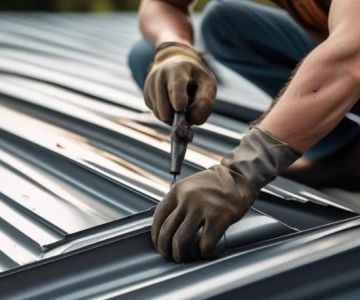
1. Start with the Skylights
Begin by measuring and cutting the flashing material around the skylights. Make sure to overlap the edges of the flashing to create a waterproof seal. Secure the flashing to the roof using roofing nails and sealant, ensuring the edges are properly sealed to prevent water from seeping under the flashing.
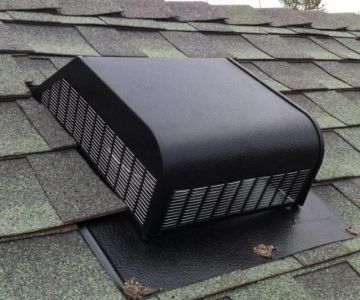
2. Install Flashing Around Other Penetrations
Repeat the process for other penetrations, such as chimneys, vent pipes, and skylights. Each penetration will require individual flashing to ensure a watertight seal. Pay close attention to the flashing’s overlap with roofing shingles to avoid any gaps that could lead to leaks.
3. Seal the Joints and Edges
Once all the flashing is in place, apply a layer of roof sealant along the joints and edges of the flashing to enhance the waterproofing. This is especially important around complex areas where the flashing overlaps or meets other roofing materials.
4. Ensure Proper Drainage
Ensure that the flashing allows water to drain away from all roof penetrations. This is particularly important for roofs with multiple skylights, as water can pool around the edges of the flashing if not properly directed. A good flashing installation should channel water away from the joints and into the gutters.
Common Issues When Installing Roof Flashing
Even with careful preparation and installation, you may encounter some common issues when installing roof flashing. Here are a few to watch out for:
1. Improper Sealing
If the flashing is not sealed correctly, water can seep in around the edges, leading to leaks. Ensure all seams are tightly sealed and that the edges are overlapping correctly to prevent any gaps.
2. Flashing Material Wear
Over time, flashing materials can become damaged due to exposure to the elements. It’s essential to choose durable materials and periodically check for wear and tear, especially around high-traffic areas such as skylights and vent pipes.
3. Poor Drainage
Inadequate drainage can lead to water pooling around penetrations, causing damage to both the roof and interior. Make sure the flashing is installed with proper drainage in mind to direct water away from vulnerable areas.
When to Call a Professional - Avoiding Mistakes
Installing roof flashing on a roof with multiple skylights and penetrations can be challenging, especially if you’re dealing with complex roof structures. If you're unsure about your ability to handle the installation, it's wise to call a professional roofer. A trained roofer can ensure the flashing is properly installed and provide advice on maintaining your roof for long-term performance. Hiring a professional can also save you time and prevent costly mistakes in the future.
BeachCo Roofing Hub Recommendations - Quality Flashing Materials
If you're in need of high-quality roof flashing materials, be sure to check out BeachCo Roofing Hub. We offer a wide range of flashing materials, from durable aluminum to aesthetic copper options, all designed to help you protect your roof from leaks and water damage. Visit us for expert recommendations and premium roofing products to ensure your roof remains in top condition for years to come.

 Glick's Exteriors4.0 (27 reviews)
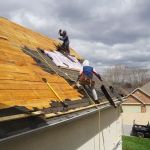 Nyack Roof Repair & Roofing Installation5.0 (8 reviews)
 Lion Roofing LLC0.0 (0 reviews)
 Garden State Roofing Flat Roof Specialist5.0 (112 reviews)
 Klaus Roofing Systems of Upstate NY4.0 (55 reviews)
 AR Contracting & Services Corp4.0 (19 reviews)
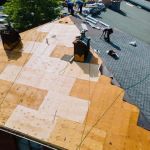 The Cost of a New Roof with a 50-Year Warranty: What You Need to Know
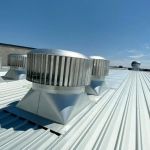 How to Install a Roof Vent for a Commercial Kitchen Exhaust System
 What is a Roofing Warranty Transfer and How Does it Work When You Sell?
 How to Choose a Roofing Contractor That Handles Permits and Inspections
 What is a Roof Deck and How to Repair or Reinforce It
 The Cost of a New Roof with an Energy Star Rated Reflective Coating