
How to Install a Roof Vent for a Commercial Kitchen Exhaust System
- Pre-Installation Preparation
- Selecting the Right Roof Vent
- Step-by-Step Installation Process
- Regular Maintenance for Optimal Performance
1. Pre-Installation Preparation
Before installing a roof vent for your commercial kitchen exhaust system, there are several important steps to take. Proper preparation ensures the installation is efficient, safe, and effective. First, evaluate the kitchen's ventilation needs, taking into consideration the size of the space, the type of cooking equipment, and the volume of air that needs to be exhausted. A professional HVAC contractor can help assess these factors to determine the appropriate vent size and configuration.
You'll also need to check local building codes and regulations, as some jurisdictions may have specific requirements for commercial kitchen exhaust systems. This may include considerations for fire safety, noise levels, and airflow rates. Ensuring compliance will help avoid future issues and ensure the installation is legally sound.

Garcia & Sons Roofing Company
WestfieldUnion CountyNew Jersey
1102 South Ave W, Westfield, NJ 07090, USA
2. Selecting the Right Roof Vent
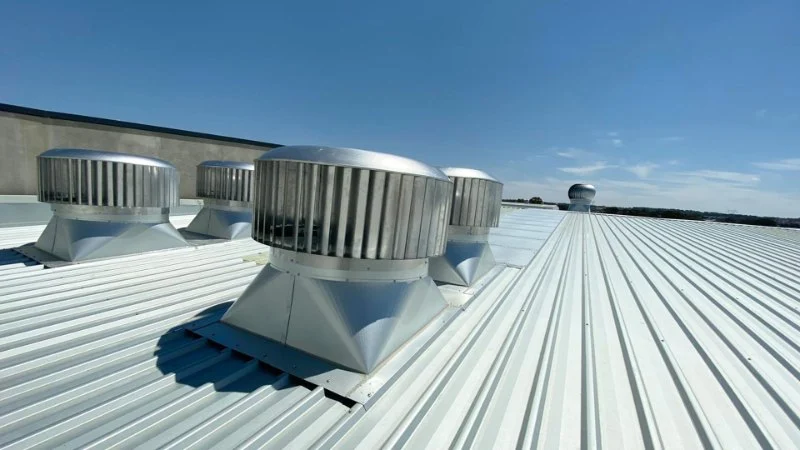
Choosing the right roof vent for a commercial kitchen exhaust system is crucial for optimal airflow and performance. The vent must be able to handle the exhaust volume and temperature generated by the kitchen appliances. There are different types of roof vents available, such as static vents, power-assisted vents, and turbine vents, each offering varying degrees of airflow.
For commercial kitchens, power-assisted roof vents are typically preferred, as they provide enhanced airflow and can handle higher volumes of air. It’s important to select a vent designed for the specific needs of your kitchen, including factors like the type of cooking equipment used and the size of the building.
Monmouth County Roofing
Howell TownshipMonmouth CountyNew Jersey
98 Seattle Slew Dr, Howell Township, NJ 07731, USA
3. Step-by-Step Installation Process
Once you've selected the right roof vent, it's time to begin the installation process. While this task may require professional assistance, here’s an overview of the steps involved:
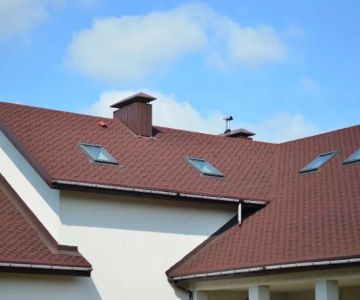
Step 1: Mark the Location
First, determine the optimal location for the vent on the roof. The vent should be placed away from other vents or obstructions to allow for maximum airflow. It’s also important to ensure the vent is installed in an area that allows for easy access to the kitchen's exhaust system.
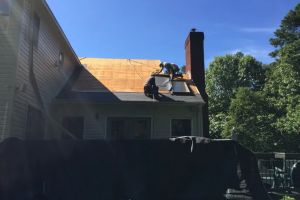
Step 2: Cut the Opening
Next, you'll need to cut the opening in the roof where the vent will be installed. Use a saw or other cutting tool to carefully cut the hole, ensuring it’s the right size for the vent. Be sure to wear appropriate safety gear to protect yourself during this step.
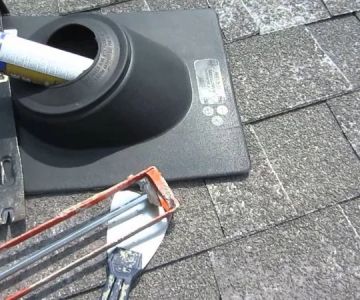
Step 3: Install the Vent Collar and Flashing
Before placing the vent in position, install a vent collar around the opening. This collar will help secure the vent to the roof and prevent leaks. Flashing is then placed around the collar to seal the edges and ensure waterproofing. Proper flashing is essential to prevent water from entering the building, which could damage the roof and cause mold or mildew growth.
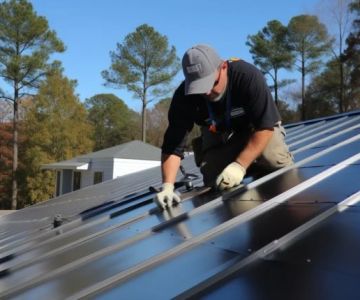
Step 4: Attach the Vent
Now, you can attach the vent to the collar. Secure the vent with screws or bolts, making sure it is tightly in place to prevent any air leaks. If you’re installing a power-assisted vent, ensure all electrical connections are properly made to ensure safe operation.
Step 5: Connect to the Exhaust System
Finally, connect the roof vent to the kitchen's exhaust system. Use high-quality ductwork to ensure there are no leaks and that the exhaust system functions efficiently. Double-check that all connections are secure, and inspect the entire system for any potential issues.
4. Regular Maintenance for Optimal Performance
To ensure your roof vent continues to perform optimally, regular maintenance is crucial. Check the vent periodically for any blockages, debris, or wear and tear. Clean the vent regularly to ensure proper airflow, and inspect the ductwork for any signs of leaks or damage.
In addition to cleaning, consider scheduling professional inspections to check for any issues with the exhaust system, including airflow, noise, and energy efficiency. Regular maintenance will prolong the lifespan of your roof vent and ensure your kitchen’s ventilation system operates efficiently.
For more information on roof vent installations or to purchase the best products for your kitchen exhaust system, visit BeachCo Roofing Hub for reliable products and services.


 AWR Roofing0.0 (0 reviews)
 Preferred Home Improvement4.0 (82 reviews)
 Hanover Roofing Systems0.0 (0 reviews)
 Realistic Exterior5.0 (43 reviews)
 NextGen Roofing5.0 (22 reviews)
 All Island Roofing and Siding LLC5.0 (1 reviews)
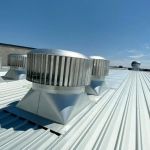 How to Install a Roof Vent for a Commercial Kitchen Exhaust System
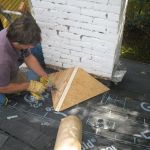 How to Install a Roof Cricket Behind a Rooftop Stairwell Enclosure
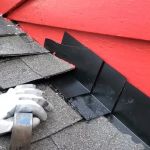 How to Install Roof Flashing on a Roof with Unconventional Shapes and Angles
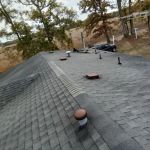 Best Roofing Materials for Mid-Century Modern Homes: Top Options for Style and Durability
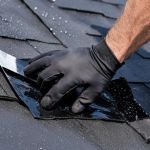 Roof Leak Repair: Temporary Fixes and Permanent Solutions Explained
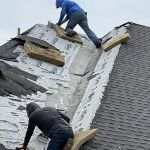 The Cost of a New Roof with a Class 4 Impact-Resistant Rating