
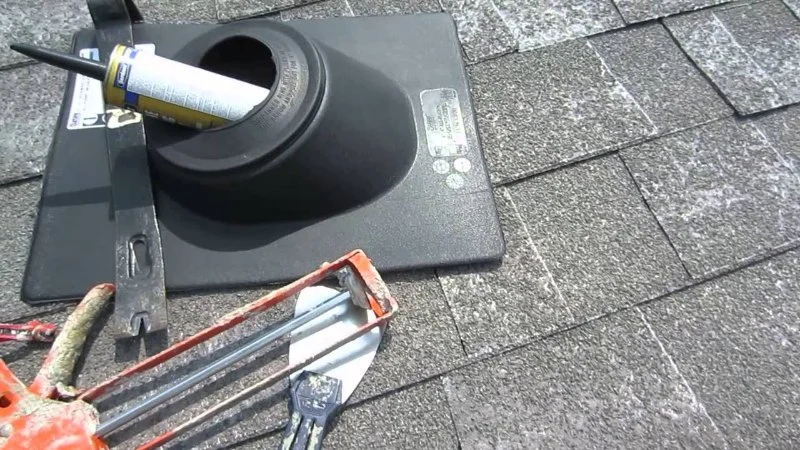
- 1-Understanding Roof Vent Pipe Boots and Their Function
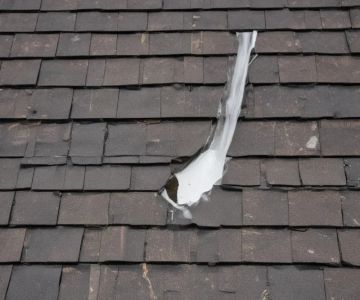
- 2-Why Roof Vent Pipe Boots Are a Common Source of Leaks
- 3-Tools and Materials Needed for Replacing a Roof Vent Pipe Boot
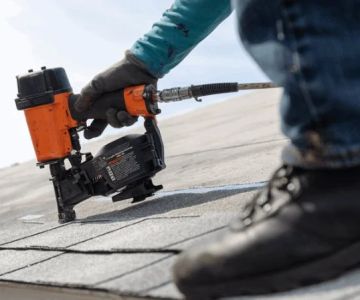
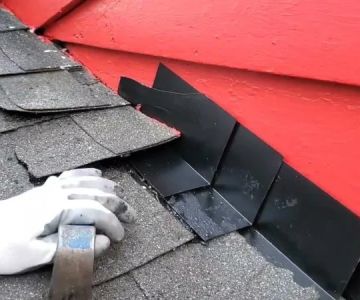
- 4-Step-by-Step Process for Replacing a Roof Vent Pipe Boot
- 5-Maintenance and Prevention Tips for Roof Vent Pipe Boots


 David General Contractors4.0 (114 reviews)
 Saddle River Roofing5.0 (54 reviews)
 Robles General Contracting, LLC5.0 (75 reviews)
 New Look Roofers5.0 (6 reviews)
 Pyramid Roofing0.0 (0 reviews)
 NV Roofing4.0 (206 reviews)
 The Average Cost of a New Roof for a 2,000 Square Foot House
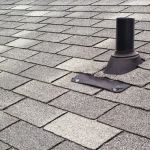 How to Install Roof Vents on a House with a Finished Attic – A Step-by-Step Guide
 How to Identify and Repair Roof Damage from Long-Term Shade and Moisture
 How to Handle Roof Damage Caused by Fallen Tree Branches
 The Average Cost of a Roof Warranty Transfer When Selling a Home
 Best Roofing Materials and Costs for 2024 – Complete Guide