
How to Install Roof Ice and Water Shield on Complex Roof Details
- Why Roof Ice and Water Shield is Essential
- Understanding Complex Roof Details
- Preparing for Installation
- Step-by-Step Guide to Installing Roof Ice and Water Shield
- Common Installation Mistakes to Avoid
- Maintaining Roof Ice and Water Shield
Why Roof Ice and Water Shield is Essential
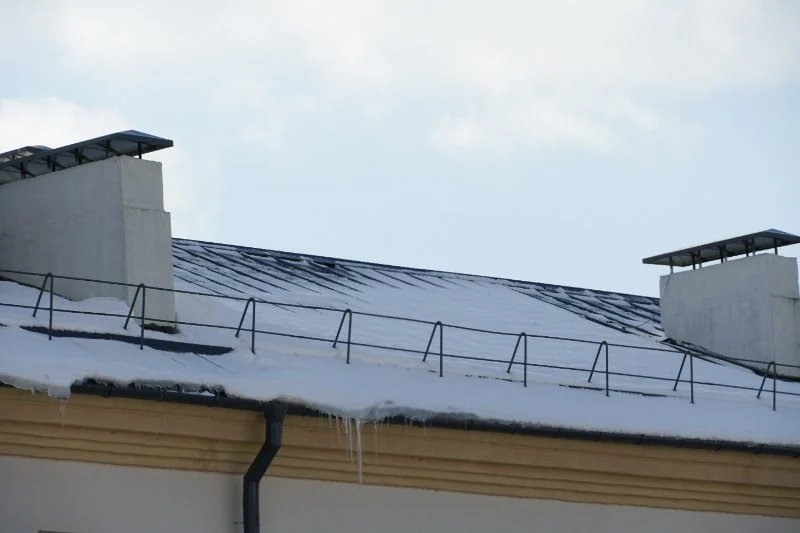
Ice and water shield is a crucial component of any roofing system, especially in areas prone to heavy snowfall or freezing rain. It provides an extra layer of protection by preventing water from seeping into the home through vulnerable areas such as valleys, eaves, and roof penetrations. Without this protection, ice dams can form, leading to water damage and costly repairs.
This shield is especially important when dealing with complex roof details, such as steep slopes, multiple valleys, and areas with many roof protrusions. These roof sections are particularly susceptible to leaks if not properly sealed. Installing a roof ice and water shield is a preventive measure that can help homeowners avoid expensive damage in the long run.
Understanding Complex Roof Details
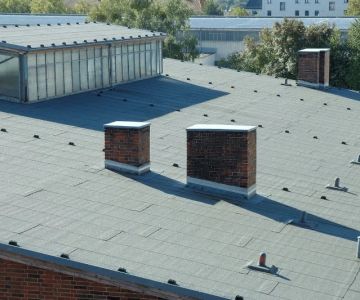
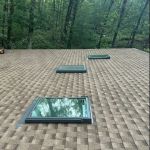
Complex roofs often feature intricate designs with multiple peaks, valleys, and penetrations such as chimneys, skylights, and vent pipes. These areas are more prone to water infiltration because they typically have more seams and joints than a standard roof. Properly installing ice and water shield in these areas requires careful attention to detail to ensure the entire roof is protected.
Complex roof details include:
- Valleys: Where two slopes meet, creating a high-risk area for water buildup.
- Eaves: The edges of the roof, particularly vulnerable to ice damming.
- Roof Penetrations: Areas around chimneys, vents, and skylights that require extra attention to seal properly.
Understanding how to properly address these areas with ice and water shield is key to a successful roof replacement or repair project.
Preparing for Installation
Before you begin installing roof ice and water shield, it’s important to ensure that the roof surface is properly prepared. This involves cleaning the roof of debris, inspecting for any damage, and ensuring that the surface is dry. Applying the shield to a clean, dry surface ensures the material will adhere correctly and provide the best protection.
Additionally, gather all necessary materials, including:
- Ice and water shield rolls
- Roof adhesive or primer (if needed)
- Roofing nails or staples
- Utility knife for cutting the shield
- Measuring tape for accurate placement
Take time to review the manufacturer's instructions for the specific product you're using, as installation guidelines can vary slightly depending on the brand.
Step-by-Step Guide to Installing Roof Ice and Water Shield
Here’s a detailed, step-by-step guide to help you install roof ice and water shield on complex roof details:
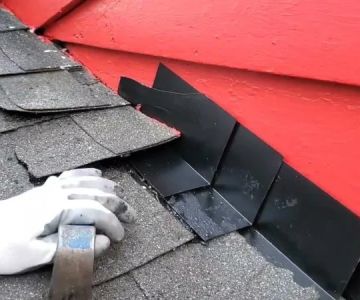
- Start at the Eaves: Begin by installing the ice and water shield at the eaves, as this is the most vulnerable area of the roof. Unroll the shield horizontally, making sure it overhangs the edge of the roof slightly. Use nails or staples to secure it in place.
- Overlap the Shield: As you move up the roof, ensure that each subsequent layer of shield overlaps the previous layer by at least 4-6 inches. This overlapping ensures that water won’t seep through the seams.
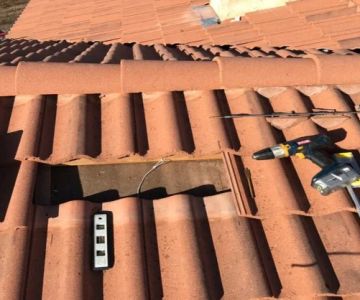
- Install in Valleys: When you reach the valleys, apply the shield all the way up the length of the valley to prevent any water from entering at these high-risk areas. In some cases, it may be necessary to cut the shield to fit the valley perfectly.
- Cover Roof Penetrations: Pay special attention to areas where the roof penetrates, such as around chimneys, skylights, and vents. Apply the shield around these areas, ensuring that there are no gaps that could allow water to infiltrate.
- Secure and Check Placement: After applying the shield, press down on it to ensure good adhesion. Double-check the placement to make sure there are no wrinkles or areas where the shield is not properly sealed.
Installing the shield in these high-risk areas will provide your roof with an extra layer of protection against ice dams and water infiltration.
Common Installation Mistakes to Avoid
Installing roof ice and water shield can be tricky, and there are some common mistakes that can undermine the effectiveness of your installation. Here are some pitfalls to avoid:
- Not Overlapping Properly: Overlapping the shield by at least 4-6 inches is crucial for ensuring proper protection. Failing to do this can leave gaps that water can penetrate.
- Improper Placement on Roof Penetrations: Skipping or improperly sealing roof penetrations (like chimneys or vents) can result in leaks. Always pay extra attention to these areas.
- Ignoring Manufacturer Guidelines: Different brands may have slightly different installation requirements. Always refer to the manufacturer’s instructions to ensure you’re applying the product correctly.
Maintaining Roof Ice and Water Shield
Once your roof ice and water shield is installed, maintenance is minimal, but it’s important to regularly inspect your roof, especially after severe weather. Look for signs of damage or wear and tear, such as lifted edges or cracks. Ensuring the shield remains intact will keep your roof protected against water damage.
If you notice any damage, it's best to address it promptly by either replacing the damaged section of the shield or applying additional sealant to prevent water infiltration.
Regular roof inspections can help you catch potential issues before they become costly repairs.


 Right Service 08 Roof Repair and Replacement4.0 (52 reviews)
 Coldsmith Roof & Home Impvmnt5.0 (6 reviews)
 Mastrangelo and Sons4.0 (4 reviews)
 Tip Top Roofing4.0 (365 reviews)
 Elite Roofing Group5.0 (8 reviews)
 Contractors Solutions4.0 (3 reviews)
 The Average Cost of a Roof Warranty Transfer When Selling a Home
 How to Install a Roof Cricket Behind a Complex Wall Intersection: A Detailed Guide
 What is a Roofing System Design Professional? When to Hire an Engineer
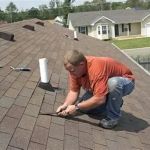 How to Repair a Roof Leak in a Mobile Home or Manufactured Home
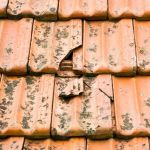 Tile Roof Repair: How to Handle Cracked and Broken Tiles
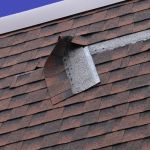 How to Prevent Roof Damage from Improper Storage of Materials