

- 1. Why Roof Vents Are Important
- 2. Steps to Install Roof Vents
- 3. Common Challenges in Installing Roof Vents on a Finished Attic
- 4. How to Choose the Right Roof Vent
- 5. Safety Tips When Installing Roof Vents
- 6. Real-Life Case Study: Roof Vent Installation in a Finished Attic
1. Why Roof Vents Are Important
Proper ventilation is crucial for maintaining a healthy, energy-efficient home. Roof vents, particularly in homes with finished attics, serve an essential role in promoting airflow, preventing moisture buildup, and regulating temperature. Without adequate ventilation, attics can become excessively hot in summer and damp in winter, potentially leading to structural damage, mold growth, and higher energy costs.

Citywide Roofing & Gutters, Inc.
680 Atlantic Ave, Baldwin, NY 11510, USA
1.1 Preventing Moisture Buildup
Moisture is one of the most significant threats to a finished attic. When humidity accumulates in the attic, it can lead to wood rot, mold, and mildew. Roof vents help ensure that moisture has an outlet, reducing the risk of these issues. By allowing proper airflow, the vents ensure that warm air doesn't become trapped and condense into water, which can damage your home’s structure.
1.2 Promoting Energy Efficiency
Proper attic ventilation helps maintain a consistent temperature throughout your home. In summer, roof vents allow hot air to escape, reducing the need for air conditioning. In winter, they prevent the buildup of heat that could otherwise cause ice dams to form on the roof. By managing the temperature and moisture levels in the attic, roof vents contribute to the overall energy efficiency of your home.
2. Steps to Install Roof Vents
Installing roof vents in a house with a finished attic is a bit more complex than doing so in an unfinished attic due to the presence of insulation and drywall. However, with the right tools and careful planning, you can install roof vents that improve your home’s ventilation and energy efficiency. Here are the steps to follow:
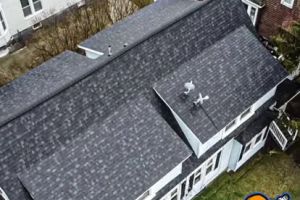
2.1 Choose the Location for the Vents
Before starting the installation, decide where the vents should be placed. Ideally, you want the vents near the highest points of the roof, as this allows hot air to escape naturally. In a finished attic, you will need to consider the layout of the space to ensure you avoid blocking walls, beams, or insulation. If possible, consult a professional to assess the best locations for the vents.
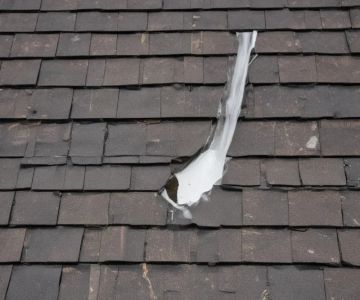
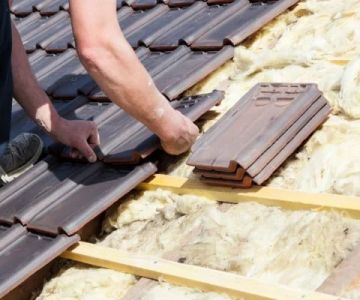
2.2 Cut the Holes for the Vents
Once the location is marked, use a circular saw to carefully cut the holes for the vents. If your attic is finished, make sure to protect the ceiling and insulation from debris. Cut through the roof decking carefully, ensuring that the holes align with the ventilation openings on the roof vents you plan to install. Be sure to use a measuring tape to confirm that the holes are the correct size for the chosen vents.
2.3 Install the Roof Vents
Now that the holes are cut, it's time to install the roof vents. If you're using static vents, simply fit them into the holes and secure them with roofing nails or screws. Ensure that the vent is flush with the roofline and sealed properly to prevent leaks. For powered vents, follow the manufacturer's instructions to connect the vent to the power source, ensuring that wiring is safely installed according to local electrical codes.
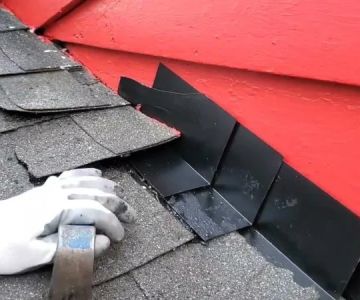
2.4 Seal and Flash the Vents
After the vents are in place, it’s essential to seal the edges and install flashing around the vent openings. This prevents water from seeping into your attic during rain. Use high-quality roofing caulk or butyl tape to seal the edges and apply flashing to protect the vent edges from the elements.
2.5 Inspect and Test the Vents
Once everything is installed, it’s important to inspect the vents and test their function. Check for leaks around the vent openings and ensure that the vents are securely fastened. You can test airflow by checking for air movement inside the attic or using a piece of tissue paper to confirm that the air is flowing properly through the vents.
3. Common Challenges in Installing Roof Vents on a Finished Attic
Installing roof vents in a finished attic presents some challenges due to the existing structure and insulation. Below are some common issues that homeowners face during installation:
3.1 Insulation and Obstructions
Finished attics often contain insulation, beams, and other structural components that may obstruct the placement of vents. Careful planning and possibly modifying the insulation are necessary to ensure the vents are installed without interference. Be sure to check for obstacles like electrical wires or pipes before cutting into the roof.
3.2 Space Limitations
In a finished attic, the available space for installing roof vents may be limited by walls, beams, or other structural elements. This means that you might need to adjust your vent placement or opt for a different type of vent to fit the space available.
3.3 Difficulty Accessing the Roof
If your roof is steep or difficult to access, installing vents can be challenging. Ensure you have the proper safety equipment, such as a sturdy ladder, harnesses, or scaffolding. If you're not comfortable working on a roof, consider hiring a professional to ensure the installation is done safely and correctly.
4. How to Choose the Right Roof Vent
Choosing the right roof vent for your finished attic is crucial for achieving proper ventilation. The type of vent you choose will depend on factors such as your roof’s design, your attic's size, and your local climate conditions. Here are some popular options to consider:
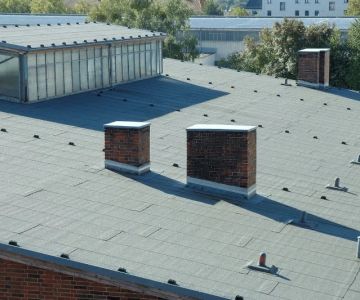
4.1 Static Roof Vents
Static roof vents, also known as box vents or louvered vents, are simple and effective. They work by allowing hot air to rise and escape through the roof. Static vents are ideal for homes in areas with moderate weather, as they don’t require power to function.
4.2 Powered Roof Vents
Powered roof vents are ideal for homes with high humidity or hot climates. These vents use a fan to actively pull air out of the attic, improving airflow. While more expensive, powered vents can be more effective for large or poorly ventilated attics.
4.3 Ridge Vents
Ridge vents are installed along the peak of your roof and allow hot air to escape from the attic while providing continuous ventilation. They are ideal for homes with steep roofs and offer a sleek, low-maintenance option for attic ventilation.
5. Safety Tips When Installing Roof Vents
Roof vent installation can be dangerous if proper safety measures are not taken. Here are some important tips:
5.1 Use Proper Safety Gear
Always wear proper safety equipment, such as non-slip footwear, gloves, a helmet, and a safety harness when working on a roof. Never work alone, and ensure your ladder is secure before climbing.
5.2 Work on a Dry Day
To avoid slips and falls, make sure to work on a dry, sunny day when the roof is not slippery. Wet conditions can increase the risk of accidents.
5.3 Hire a Professional If Needed
If you're uncomfortable with heights or lack experience working on roofs, it's always a good idea to hire a professional roofer. They can ensure the installation is done correctly and safely.
6. Real-Life Case Study: Roof Vent Installation in a Finished Attic
A homeowner in a northern climate faced poor attic ventilation and high energy costs during the summer. After installing ridge vents and a few static roof vents in their finished attic, they noticed a significant reduction in attic temperature and improved air circulation. This helped prevent moisture buildup and lowered their cooling costs, making the investment in proper attic ventilation well worth it.
For expert advice and high-quality products for roof vent installation, visit [BeachCo Roofing Hub](#) for all your roofing needs.


 Paragon Chimney and Roofing5.0 (722 reviews)
 Mighty Roofing & Siding5.0 (74 reviews)
 Parsippany Roofing Pros0.0 (0 reviews)
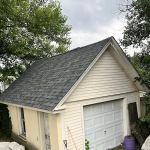 Pete's Roofing and Son LLC4.0 (34 reviews)
 Top G Construction Roofing Repair Co5.0 (1 reviews)
 Roof Experts NJ5.0 (24 reviews)
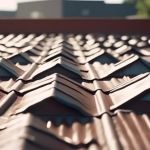 The Importance of Roof Ventilation: How It Prevents Mold and Lowers Energy Bills | BeachCo Roofing Hub
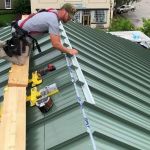 How to Install Roof Shingles in High Wind Conditions: Tips for Secure Installation
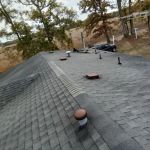 Best Roofing Materials for Mid-Century Modern Homes: Top Options for Style and Durability
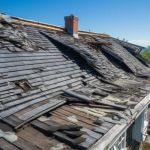 How to Identify and Repair Roof Damage from Sea Spray in Coastal Homes
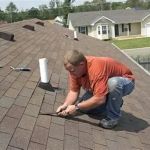 How to Repair a Roof Leak in a Mobile Home or Manufactured Home
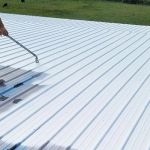 The Lifespan of Roof Coatings: How Often They Need to be Reapplied