
- 1. Understanding Roof Underlayment and Its Role
- 2. Challenges of Installing Underlayment on Roofs with Many Penetrations
- 3. Preparation and Material Selection
- 4. Step-by-Step Installation Process
- 5. Sealing Around Roof Penetrations Effectively
- 6. Professional Tips and Long-Term Maintenance
1. Understanding Roof Underlayment and Its Role
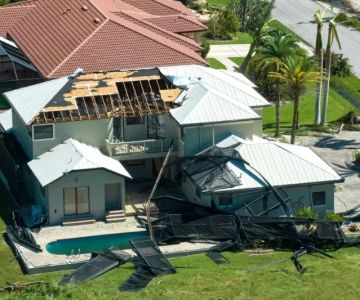
Roof underlayment acts as the unsung hero of any roofing system, sitting beneath shingles or tiles to provide an extra layer of waterproofing and protection. It prevents leaks caused by wind-driven rain, ice dams, or condensation, especially in complex roofing structures. For roofs with multiple penetrations—such as vents, skylights, HVAC units, and solar mounts—underlayment plays a critical role in ensuring long-term waterproof integrity.
In areas prone to heavy rainfall or snow, high-quality underlayment becomes even more essential. It forms a durable barrier that prevents water from infiltrating seams or nail penetrations, giving your roof system resilience against the elements. Roofing experts at BeachCo Roofing Hub often recommend synthetic or self-adhering underlayments for roofs with complex geometries due to their superior flexibility and sealing ability.
2. Challenges of Installing Underlayment on Roofs with Many Penetrations
Installing roof underlayment on a roof filled with penetrations requires precision and planning. Each penetration—such as plumbing stacks, skylights, vents, or satellite mounts—creates a potential weak point for leaks. If improperly sealed, even a small gap can lead to moisture intrusion that damages insulation, sheathing, and interior ceilings.
Common Problem Areas
One of the biggest challenges is maintaining consistent coverage and overlap between underlayment sheets while working around obstructions. Penetrations often disrupt the natural flow of material installation, increasing the risk of wrinkles or cuts that compromise waterproofing. Wind exposure on steep or high-slope roofs can also make it difficult to secure the underlayment correctly without creating tension gaps.
Why Precision Matters
Every opening must be properly integrated into the underlayment layer. This means precise cuts, correct flashing installation, and sealing details that account for both water flow and expansion. Overlapping layers and self-sealing membranes are essential for roofs with multiple features. Investing time in proper detailing now prevents thousands of dollars in future repair costs.
3. Preparation and Material Selection
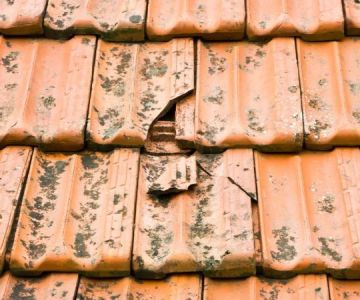
Before installing roof underlayment, ensure the decking is clean, dry, and free of protruding nails or debris. Structural repairs should be completed prior to underlayment installation. Next, choose a material suitable for your roof’s slope and environment.
Choosing the Right Underlayment Type
Synthetic underlayments are preferred for modern installations because they resist tearing and UV degradation, making them ideal for intricate roof surfaces. Self-adhering membranes are excellent for complex roofs with many penetrations—they create a watertight seal around nails and fasteners and conform easily to irregular surfaces. Meanwhile, asphalt-saturated felt remains a cost-effective choice for simpler roof applications.
Tools and Supplies Checklist
Prepare essential tools: utility knives, chalk lines, roofing nails or cap staples, flashing tape, and compatible sealants. Keep safety equipment ready, including roof harnesses and slip-resistant shoes, especially for multi-pitch or high-elevation roofs.
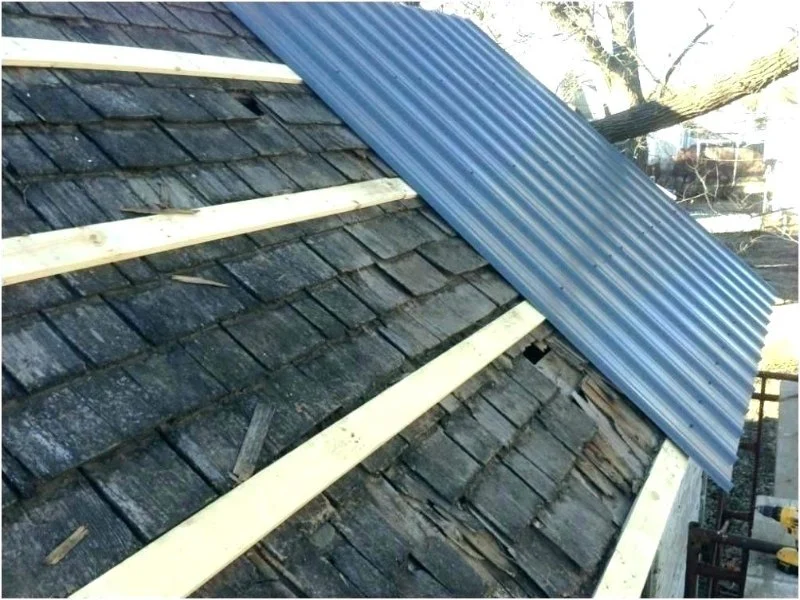
4. Step-by-Step Installation Process
Installing underlayment on a complex roof requires both careful sequencing and meticulous detail work. Below is a step-by-step guide recommended by professional roofers and suppliers from BeachCo Roofing Hub.
Step 1: Start with Drip Edge and Eaves
Begin at the lowest section of the roof, installing a metal drip edge along eaves to guide water into gutters. Overlap edges by at least 2 inches to ensure proper runoff.
Step 2: Lay the First Course of Underlayment
Roll out the underlayment horizontally across the roof deck, ensuring the lower edge aligns straight with the eave. Overlap successive rows by 4 inches, and stagger vertical seams by at least 6 inches. For high-wind areas, increase overlap as needed for added protection.
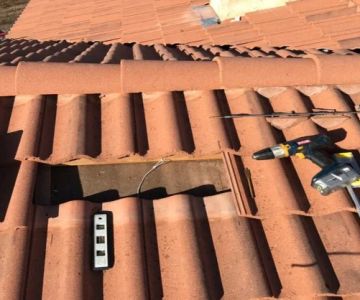
Step 3: Integrate Around Penetrations
When approaching vents, skylights, or chimneys, cut the underlayment carefully to fit around the penetration. Always install the lower side of the underlayment first, then overlap the upper side to shed water downward naturally. Use roofing sealant or flashing tape around each cutout for added reinforcement.
Step 4: Secure and Inspect
Use cap nails or staples spaced 12 to 18 inches apart to fasten the underlayment securely. Avoid overdriving fasteners, as this can tear the material. Once installed, inspect every seam and penetration to verify that overlaps are watertight and free of wrinkles.
5. Sealing Around Roof Penetrations Effectively
Proper sealing around roof penetrations is the most critical part of the installation. Use high-quality flashing membranes that extend several inches beyond each opening. For circular penetrations like vent pipes, pre-cut flashing boots made from flexible rubber or metal work best. Slide the boot over the pipe and seal it with compatible adhesive before integrating it with the underlayment layer.
Double Layer Protection
For extra protection, install a second layer of underlayment or flashing tape above critical areas such as skylights and chimneys. This creates redundancy that prevents water intrusion even if the outer seal fails. Always ensure that the direction of water flow follows the natural slope—never trap water behind or beneath flashing layers.
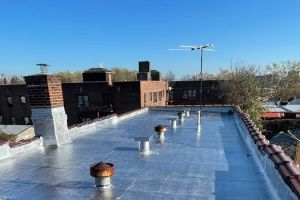
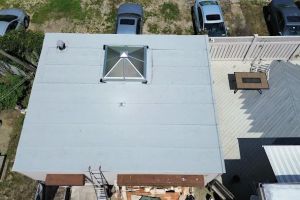
Case Example: Flat Roof HVAC Penetrations
In a recent commercial project, a roofing contractor had to install underlayment around multiple HVAC penetrations. By using self-adhered membranes with 6-inch overlaps and flexible flashing tape, the team successfully achieved a leak-free finish that withstood several storm seasons. The key takeaway: detail work matters more than speed when sealing penetrations.
6. Professional Tips and Long-Term Maintenance
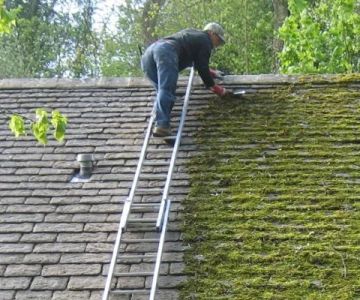
After installation, consistent maintenance helps preserve the integrity of the underlayment system. Check around penetrations every six months, particularly after extreme weather. Look for cracks, lifted flashing, or wear from UV exposure. Prompt repairs can prevent small leaks from escalating into major damage.
Common Mistakes to Avoid
Do not leave underlayment exposed for extended periods, as sunlight can degrade it. Avoid improper overlaps or failing to seal nail heads near penetrations. Finally, ensure compatibility between adhesives, sealants, and the underlayment material—some chemical mismatches can cause membrane deterioration.
For professional-grade materials, installation guides, and expert recommendations, visit BeachCo Roofing Hub. Their curated roofing resources and product lineup are designed to help both DIY enthusiasts and contractors achieve durable, leak-resistant roofs—even on the most complex projects.


 Middle Creek Roofing4.0 (699 reviews)
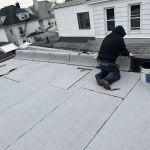 Brooklyn Contracting Group Corp.4.0 (37 reviews)
 Garden State Roofing Flat Roof Specialist5.0 (112 reviews)
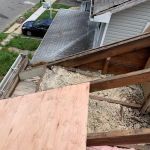 Didier's Construction LLC5.0 (4 reviews)
 Ed Murray Roofing Inc5.0 (6 reviews)
 Henderson Roofing5.0 (7 reviews)
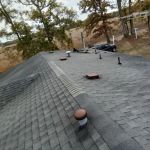 Best Roofing Materials for Mid-Century Modern Homes: Top Options for Style and Durability
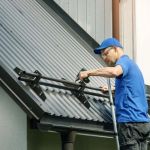 How to Properly Install Roof Snow Fences to Prevent Drifting
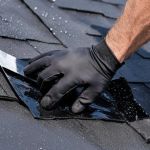 How to Repair a Roof Leak in a Building with a Fabric Membrane Roof
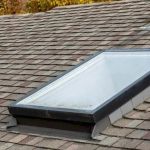 How to Install Roof Flashing on a Roof with Multiple Skylights and Penetrations
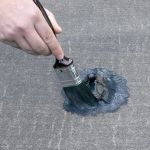 How to Repair a Roof Leak from a Rooftop Water Feature or Pond
 How to Install Roof Shingles in High Wind Conditions: Tips for Secure Installation