
- How-to-Install-a-Roof-Underlayment-on-a-Low-Slope-Roof #install-underlayment-low-slope
- 1-Understanding-Low-Slope-Roof-Underlayment #understanding-underlayment
- 2-Essential-Materials-and-Preparation-Steps #materials-preparation
- 3-Step-by-Step-Guide-to-Installing-Underlayment #step-by-step-installation
- 4-Common-Mistakes-and-Real-World-Examples #mistakes-and-examples
- 5-Professional-Tips-for-a-Long-Lasting-Low-Slope-Roof #pro-tips
- 6-Find-Reliable-Roofing-Resources-at-BeachCo-Roofing-Hub #beachco-roofing-hub
How to Install a Roof Underlayment on a Low Slope Roof
Installing a roof underlayment on a low slope roof requires careful attention to detail, proper material selection, and knowledge of how moisture behaves on low-pitch surfaces. Because low slope roofs are more vulnerable to water intrusion than traditional steep roofs, homeowners and contractors must use the right techniques to ensure long-term protection. This guide provides a comprehensive breakdown of how to install roof underlayment correctly, enriched with practical insights and real-life examples from roofing professionals across the U.S.

1. Understanding Low Slope Roof Underlayment
Low slope roofs—typically those with a pitch under 4:12—require underlayment that performs more like a waterproofing layer than a simple moisture barrier. Water does not shed quickly on these surfaces, increasing the likelihood of pooling and seepage. This is why the material and installation approach differ greatly from traditional roofing systems.
1.1. Why Underlayment Matters More on Low Slopes
On a steeper roof, water naturally runs off. But on a low slope, water lingers. This puts extra pressure on the underlayment to perform flawlessly. A high-quality underlayment acts as a second line of defense against leaks, especially during storms, freeze-thaw cycles, and heavy rainfall.
1.2. Types of Underlayment Suitable for Low Slope Applications
The most reliable underlayment options for low slope roofs include self-adhering membranes, modified bitumen sheets, and synthetic underlayments designed for waterproofing. These products bond tightly to the roof deck and provide excellent resistance to water penetration.
2. Essential Materials and Preparation Steps
Before installing the underlayment, proper preparation ensures a smooth and secure application that can withstand years of weather exposure. Skipping preparation often leads to premature roof failure or costly repairs.
2.1. Tools and Materials You’ll Need
Common items include a utility knife, chalk line, roofing nails or cap fasteners, a roller for pressing adhered membranes, and the chosen underlayment material. High-quality materials significantly improve performance on low slope roofs.
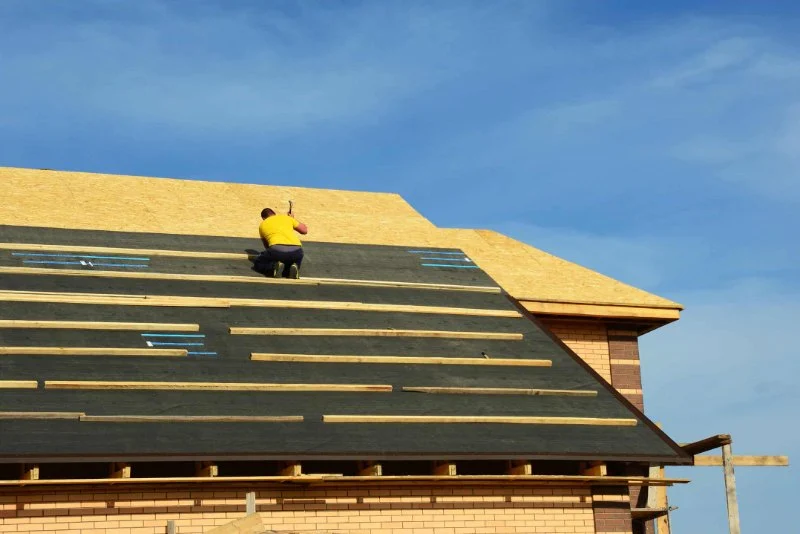
2.2. Preparing the Roof Deck
The roof deck should be clean, dry, and free of protruding fasteners or debris. Even small imperfections can compromise the sealing performance of adhered underlayments. Professionals often describe deck preparation as the “make-or-break” step in achieving a leak-free roof.
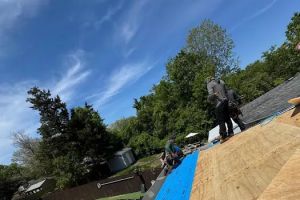
3. Step-by-Step Guide to Installing Underlayment
Installing underlayment on a low slope roof requires deliberate and methodical work. Below is a structured breakdown of how to complete the installation effectively.
3.1. Start with the Drip Edge and Eaves
Begin by securing a drip edge along the eaves. Since low slope roofs experience more standing water, reinforcing the perimeter is crucial. The underlayment should lap over the drip edge to keep water directed away from the deck.
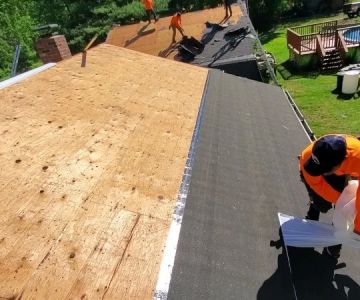
3.2. Laying the Underlayment
Roll out the underlayment horizontally, starting from the lowest edge and working upward. Each row should overlap the previous layer according to manufacturer guidelines—typically between 4 and 6 inches. This overlap creates a watertight barrier essential for low slope applications.
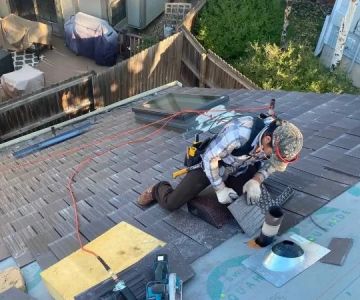
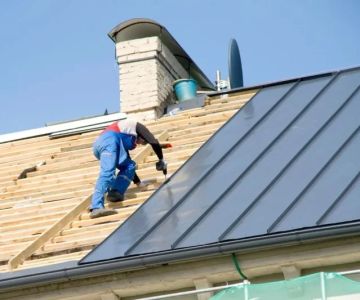
3.3. Securing and Sealing
Depending on the product, fasten the underlayment using cap nails or allow the self-adhesive membrane to bond naturally. Ensure all seams, edges, and penetrations such as vents or pipes are sealed properly. A roller helps remove trapped air and strengthens adhesion.
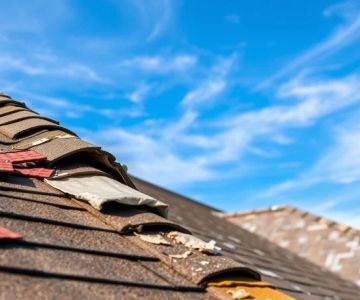
4. Common Mistakes and Real-World Examples
Even experienced DIYers can run into challenges when installing low slope underlayment. Learning from common errors can help prevent major problems.
4.1. Insufficient Overlap
A frequent mistake is underestimating how much overlap is needed. Without proper coverage, water can creep under the membrane. One Texas roofer shared how a homeowner skipped manufacturer instructions, resulting in leaks after the first major rainstorm.
4.2. Ignoring Penetration Sealing
Every pipe, vent, or skylight presents a weak point. Improper sealing often appears fine at first but fails under heavy rainfall. Many viral roofing repair videos online highlight how just one poorly sealed vent can cause thousands in interior water damage.
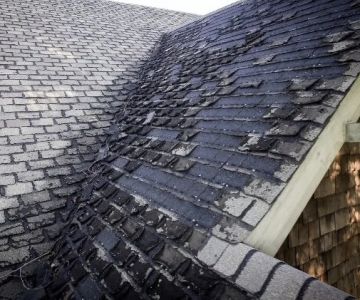
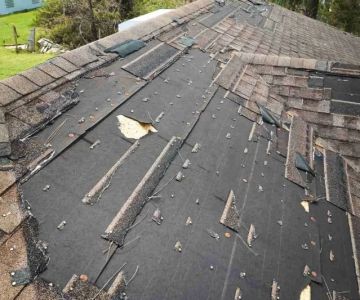
4.3. Installing on a Wet Deck
Moisture trapped beneath the underlayment leads to mold and premature failure. Professionals insist on avoiding installation in humid or wet conditions, even if delays are inconvenient.
5. Professional Tips for a Long-Lasting Low Slope Roof
Low slope roofs require specific strategies to maximize durability. Industry professionals often recommend several key practices that significantly extend lifespan.
5.1. Choose Premium Underlayment
While budget materials work for steep roofs, low slopes demand premium, waterproof membranes. Investing in high-grade materials reduces the risk of future roof repairs and ensures the roof holds up during severe weather.
5.2. Consider a Secondary Waterproof Layer
In climates prone to heavy rain, snow, or high winds, adding an extra waterproof layer or reinforcing valleys can make a noticeable difference. This is especially relevant for homes near coastal areas where storms are more frequent.
5.3. Schedule Routine Inspections
Even when installed perfectly, low slope roofs benefit from seasonal inspections. Early detection of minor damage prevents costly repairs and extends roof longevity.
6. Find Reliable Roofing Resources at BeachCo Roofing Hub
For homeowners looking to upgrade roofing materials, locate trustworthy installers, or explore tool recommendations, BeachCo Roofing Hub offers a wide range of resources. The platform helps you compare products, learn from real roofing experts, and make confident decisions for your home improvement project.
 Weaver Roofing0.0 (0 reviews)
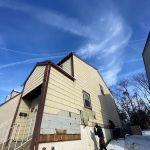 Rhino Exterior Solutions4.0 (82 reviews)
 Superior Siding and Roofing Inc4.0 (26 reviews)
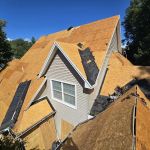 Go4Roof.com5.0 (27 reviews)
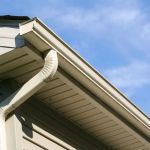 G&V Long Island Roofing0.0 (0 reviews)
 A1-Armor Construction5.0 (2 reviews)
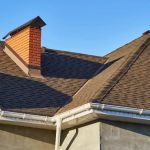 Lifespan of a Roof in High Seismic Activity Areas | BeachCo Roofing Hub
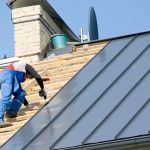 The Cost of Roofing Labor vs. Materials: Breaking Down the Invoice
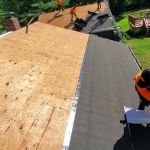 How to Install Ice and Water Shield for Maximum Leak Protection
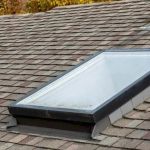 How to Install Roof Flashing on a Roof with Multiple Skylights and Penetrations
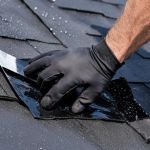 Roof Leak Repair: Temporary Fixes and Permanent Solutions Explained
 What is a Roofing System Health Report? A Proactive Assessment Tool