
- Why Roof Heat Cables Are Important
- Preparing for Roof Heat Cable Installation
- How to Install Roof Heat Cable on a Metal Roof
- Best Practices for Using Roof Heat Cables
- Maintaining Your Roof Heat Cables
1. Why Roof Heat Cables Are Important
Winter weather can bring beautiful snow, but it can also cause significant problems for homeowners, especially when it comes to ice buildup on metal roofs. Roof heat cables are designed to prevent ice dams and reduce the risk of damage caused by ice accumulation, helping to maintain your roof’s integrity. These cables work by keeping the areas where ice is likely to form warm, preventing water from freezing and causing hazardous buildup.
1.1 Ice Dams and Their Dangers
Ice dams form when snow on the roof melts due to warm indoor temperatures, and the water flows down the roof but refreezes at the eaves, creating a dam. This dam traps water, which can seep under shingles, leading to leaks and costly damage to your roof, walls, and insulation. Roof heat cables are an effective solution to prevent ice dams and ensure your roof stays clear of dangerous ice buildup during the winter months.

1.2 Benefits of Roof Heat Cables
Installing roof heat cables can protect your home from water damage and prevent costly repairs. The cables are designed to melt snow and ice in problem areas, maintaining a clear path for water to flow off the roof safely. This provides peace of mind during the colder months, especially for homeowners with steep metal roofs or areas prone to heavy snowfall.
2. Preparing for Roof Heat Cable Installation
Before you begin the installation of roof heat cables on your metal roof, it’s important to ensure that you have all the necessary tools and materials. Here’s what you need to prepare:
2.1 Choosing the Right Roof Heat Cable
There are various types of heat cables available, so it’s important to select the one that’s best suited for your needs. Make sure to choose cables that are specifically designed for metal roofs and are weather-resistant. The two most common types are self-regulating heat cables and constant wattage cables. Self-regulating cables are more efficient as they adjust their heat output based on temperature, while constant wattage cables provide consistent heat.
2.2 Safety Precautions
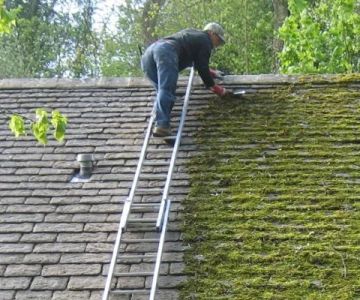
Working on a metal roof can be dangerous, so ensure that you take appropriate safety precautions. Use fall protection gear such as a harness, and ensure that the roof is free of ice or snow to prevent slipping. It’s also a good idea to hire a professional if you’re unsure about working at heights or installing electrical systems.
2.3 Measuring Your Roof
Before installing the heat cables, you’ll need to measure the length of your roof’s eaves where the cables will be installed. This will ensure you purchase the right amount of cable. Make sure to account for any valleys or areas where water tends to accumulate, as these are critical spots for the cable installation.
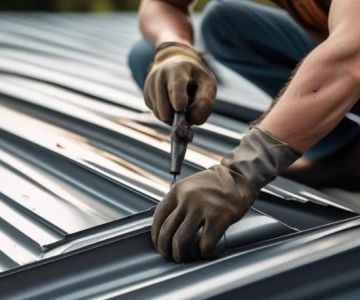
3. How to Install Roof Heat Cable on a Metal Roof
Installing roof heat cables on a metal roof requires careful planning and precision. Follow these steps for a successful installation:
3.1 Start at the Roof’s Eaves
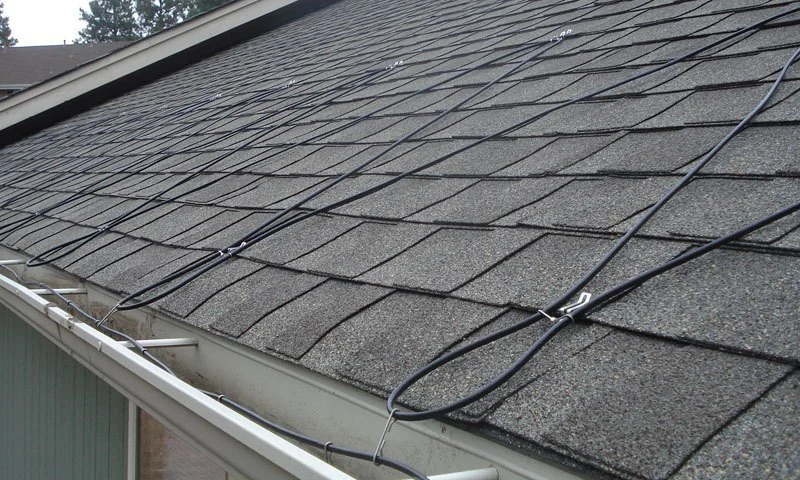
Begin by positioning the heat cables at the edge of the roof, where ice dams are most likely to form. Uncoil the cable and lay it along the eaves, making sure the cable is straight and securely attached to the roof. Some cables come with clips or adhesive pads that allow easy attachment to metal roofs. If needed, use a roof-safe adhesive to ensure the cables stay in place.
3.2 Install in Zigzag Pattern
For maximum efficiency, the heat cables should be installed in a zigzag pattern, covering the length of the eaves and running up the roof’s valleys. This ensures that the heat is distributed evenly across the roof, preventing ice dams in critical areas. Make sure to leave some slack in the cable to allow for expansion and contraction caused by temperature changes.
3.3 Connect the Cables to Power Source
Once the cables are in place, connect them to a weatherproof electrical outlet. Use a GFCI (Ground Fault Circuit Interrupter) outlet for safety, ensuring that the cables are properly wired to avoid any electrical hazards. Some systems come with a thermostat that will turn the cables on when the temperature reaches freezing, providing automatic control over the heat cables.
3.4 Test the System
Before finalizing the installation, test the system to make sure it’s working properly. Check for any areas where the cables may not be securely attached, and ensure the power is functioning correctly. Once everything is in place and working, secure any loose wires and clean up the area.
4. Best Practices for Using Roof Heat Cables
To maximize the effectiveness of your roof heat cables, follow these best practices:
4.1 Use a Thermostat or Timer
Installing a thermostat or timer to control the heat cables can help optimize energy use. These devices allow you to set the temperature at which the cables will turn on and off, ensuring they operate only when necessary. This can save energy and prevent the cables from running unnecessarily during warm spells.
4.2 Regular Inspections
Check the cables regularly for signs of wear and tear, especially after heavy snowstorms or ice buildup. If you notice any damage, it’s important to replace the cables immediately to prevent further issues. Also, ensure that the cables remain securely attached to the roof throughout the winter season.
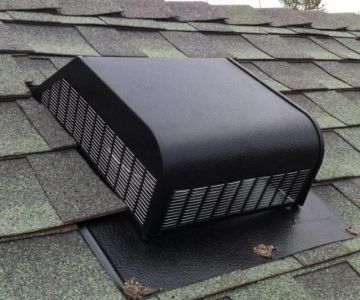
4.3 Keep Roof Clear of Debris
Debris on your roof can obstruct the flow of water, reducing the effectiveness of the heat cables. Keep your roof clear of leaves, branches, and snow buildup to ensure that the heat cables can work efficiently and melt ice as needed.
5. Maintaining Your Roof Heat Cables
Proper maintenance ensures that your roof heat cables continue to function well throughout the winter. Here’s how to maintain them:
5.1 Annual Inspections
Before the cold weather arrives, inspect the heat cables to make sure they are still securely fastened and free of damage. Check the power connections and ensure that the thermostat is functioning properly. Regular inspections will help identify any issues before they become major problems.
5.2 Clean and Store Cables Properly
After the winter season ends, remove the cables carefully and store them in a dry, cool place. Avoid storing cables in damp areas to prevent corrosion. Clean the cables before storage to remove any debris or dirt that could damage them during the off-season.
If you’re looking for quality roof heat cables or need assistance with installation, visit BeachCo Roofing Hub for the best products and expert advice on winter roof care.

 L&S Roofers0.0 (0 reviews)
 New Path Roofing5.0 (47 reviews)
 Safeguard Roofing5.0 (551 reviews)
 All Roofing Contractors5.0 (5 reviews)
 NJ Roofing Specialists0.0 (0 reviews)
 Martin & Sons Roof Repair4.0 (27 reviews)
 What is a Roofing Square? How to Convert Measurements for Your Project
 How to Install a Roof Cricket Behind a Rooftop Stairwell Enclosure
 The Average Cost of a Roof Warranty Transfer When Selling a Home
 What is a Roofing Material Sustainability Certification? (e.g., LEED, Cool Roof)
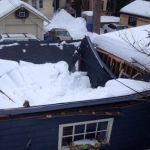 Roof Snow Load Calculation: How to Know if Your Roof is at Risk
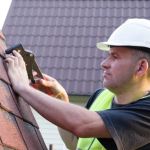 Common Roofing Scams and How to Avoid Them: High-Pressure Sales and Free Inspections