

How to Install Roof Snow Fences to Control Drifting
- Why You Need Roof Snow Fences for Drifting Control
- Choosing the Right Materials for Roof Snow Fences
- Step-by-Step Guide to Installing Roof Snow Fences
- Common Mistakes to Avoid When Installing Snow Fences
- Real-life Story: Preventing Snow Drift with Roof Snow Fences
- Explore More Roofing Solutions at BeachCo Roofing Hub
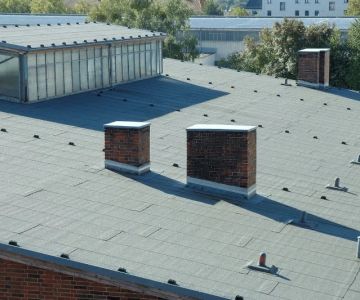
Why You Need Roof Snow Fences for Drifting Control
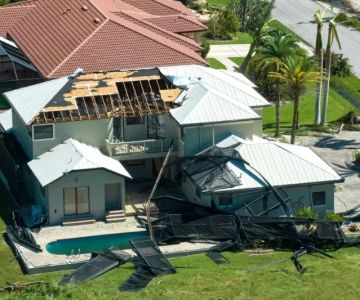
Roof snow fences are an essential tool for homeowners in regions with heavy snowfalls. When snow accumulates on a roof, it can easily slide off and cause damage to the property below, or even create dangerous snow drifts on sidewalks and driveways. Roof snow fences are designed to prevent snow from sliding off suddenly, reducing the risk of avalanches and excessive snow buildup that can harm your home and your property.
Not only do these fences help control snow drifting and sliding, but they also prevent potential damage to gutters, roofs, and exterior walls. By installing a snow fence, you can ensure that the snow stays where it’s supposed to, minimizing the risk of accidents or property damage in winter months.
Sp Roofing LLC
StratfordGreater Bridgeport Planning RegionConnecticut
26 Clover St, Stratford, CT 06614, USA
Choosing the Right Materials for Roof Snow Fences
When selecting materials for your roof snow fence, it's important to choose durable and weather-resistant options. The right material will ensure that the fence stays intact during harsh winter conditions and effectively holds the snow in place. Here are a few material options commonly used for roof snow fences:
1. Metal Snow Fences
Metal snow fences are a popular choice due to their durability and strength. Made from galvanized steel or aluminum, metal snow fences are resistant to corrosion and can withstand the weight of heavy snow and ice. They are also easy to install and can last for many years, making them a cost-effective choice for long-term snow control.
2. Plastic or PVC Snow Fences
Plastic or PVC snow fences are lightweight and easy to handle. These fences are often used in residential areas because they are less bulky and can be installed with minimal effort. While they may not be as strong as metal fences, they are still effective in controlling light to moderate snow drifting and are more affordable than metal options.
3. Wooden Snow Fences
Wooden snow fences, typically made from wooden slats or boards, are an aesthetically pleasing option that blends well with the natural surroundings of your property. While wooden fences are less common than metal or plastic, they provide a rustic and durable solution for those seeking a more natural look. Keep in mind that wooden fences require more maintenance and may be susceptible to weather damage over time.
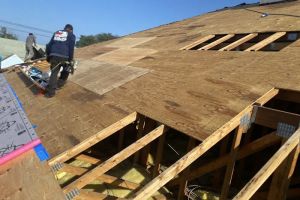
Step-by-Step Guide to Installing Roof Snow Fences
Installing roof snow fences is a relatively straightforward process, but it requires careful planning and attention to detail. Here’s a step-by-step guide to help you get started:
1. Assess Your Roof and Determine Fence Placement
Before you begin installation, assess your roof to determine the best locations for the snow fences. The ideal placement is near the roofline, where snow tends to accumulate and slide off. Take into account factors like the slope of your roof, the average snowfall in your area, and where drifting snow is most likely to occur.
2. Measure and Mark the Installation Area
Measure the length of the roof where you plan to install the snow fence. Mark the areas where the fence will be installed, ensuring that it will be positioned at regular intervals along the roof. If you're installing more than one fence, leave enough space between each section to allow for proper snow control.
3. Install the Brackets or Supports
Depending on the type of fence you’re using, you’ll need to install brackets or supports to hold the snow fence in place. Metal brackets are often used for metal fences, while PVC or wooden fences may require screws or nails to secure them to the roof. Make sure the supports are sturdy and capable of holding the weight of the snow fence throughout the winter months.
4. Attach the Fence Panels
Once the supports are in place, attach the snow fence panels to the brackets or supports. If you're using a metal fence, you may need to bolt the panels into place. For plastic or wooden fences, the panels can be secured using screws or fasteners. Ensure that the panels are evenly spaced and securely attached to prevent them from shifting during heavy snowfalls.
5. Test and Adjust the Fence
After installation, test the fence to make sure it’s securely in place and able to withstand strong winds or snow accumulation. Adjust the height and positioning of the fence if necessary to ensure it’s as effective as possible. It's also a good idea to periodically check the fence throughout the winter months to ensure it remains secure and functional.
Common Mistakes to Avoid When Installing Snow Fences
While installing roof snow fences can be a DIY project, there are some common mistakes that can affect their performance. Here are a few to avoid:
1. Incorrect Placement
Placing the fence in the wrong area can result in poor snow control. Be sure to assess your roof and the surrounding environment carefully to ensure the fence is positioned where it will be most effective.
2. Using Inadequate Materials
Using cheap or unsuitable materials for your snow fence can result in weak structures that may not withstand heavy snowfalls or strong winds. Invest in high-quality materials that are designed to withstand the winter weather.
3. Not Securing the Fence Properly
Ensure that the snow fence is securely fastened to your roof, as any loose panels can cause damage or fail to prevent drifting snow. Double-check all fastenings and support structures before finishing the installation.
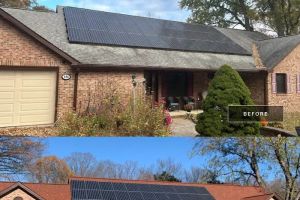
Real-life Story: Preventing Snow Drift with Roof Snow Fences
When the Winters family moved to a house in a region prone to heavy snowfall, they quickly realized the importance of roof snow fences. After struggling with snow drifting onto their driveway and walkway, they decided to install a roof snow fence along the edge of their roofline. By using metal panels and securing them with sturdy brackets, the Winters family was able to prevent snow buildup and reduce the risk of accidents. Their experience highlights the value of roof snow fences in protecting your home and keeping your property safe during the winter months.
Explore More Roofing Solutions at BeachCo Roofing Hub
If you're considering installing roof snow fences or looking for more roofing solutions, visit BeachCo Roofing Hub for the best products and services. We offer everything from snow fences to roof maintenance and repairs to ensure your home stays safe and secure throughout the winter. Visit us today to explore our wide range of roofing products!


 Rps roofing & paving4.0 (13 reviews)
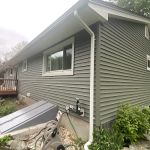 J.T. Burke & Sons4.0 (350 reviews)
 A-Top Roofing & Construction4.0 (260 reviews)
 Pinnacle Roofing Inc.4.0 (311 reviews)
 Js Contractors Inc0.0 (0 reviews)
 Keith Gauvin Roofing5.0 (722 reviews)
 The Lifespan of a Roof Under Constant Freeze-Thaw Cycles – Key Factors to Consider
 The Average Cost of a Roof Warranty Transfer When Selling a Home
 How to Install a Roof Cricket Behind a Skylight: Step-by-Step Guide
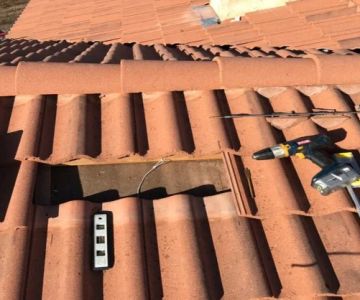
 Tile Roof Repair: How to Handle Cracked and Broken Tiles
 How to Find a Reputable Roofing Contractor Near You: 10 Essential Checks
 How to Install Roof Ice and Water Shield on Complex Roof Details