
- 1. Understanding Venting Requirements for Gas Appliances
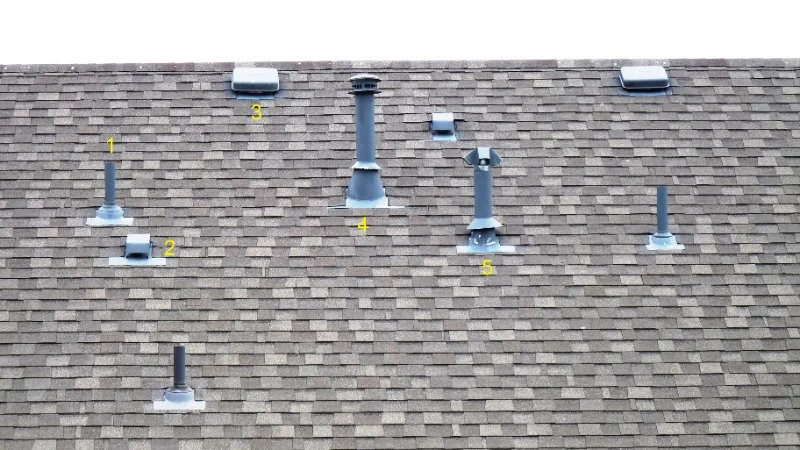
- 2. Choosing the Right Roof Vent for Your Gas Water Heater or Furnace
- 3. Preparing for Roof Vent Installation
- 4. Installing the Roof Vent
- 5. Safety Precautions During Installation
- 6. Final Checks and Maintenance


 Pompton M. Roofing Repair5.0 (12 reviews)
 Grateful Ark Construction4.0 (4 reviews)
 A Plus Exterior LLC5.0 (11 reviews)
 H. Kulak & Son LLC5.0 (1 reviews)
 Sergio's Roofing LLC0.0 (0 reviews)
 Hoboken Roofing Company5.0 (8 reviews)
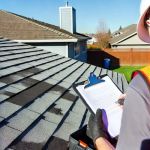 Does Your Homeowner's Insurance Cover Roof Damage? A Comprehensive Guide
 How to Install Roof Ice and Water Shield on Complex Roof Details
 The Complete Guide to Roofing Insurance Claims: How to Get Your Claim Approved
 What is a Roofing System Health Report? A Proactive Assessment Tool
 How to Maintain Roof Valleys and Downspouts to Prevent Ice Dams
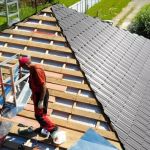 What is a Roofing Material Mock-Up Installation? Visualizing a Small Section