
How to Install a Roof Cricket Behind a Complex Wall Intersection
- Understanding Roof Crickets and Their Importance
- Materials Needed for Roof Cricket Installation
- Step-by-Step Guide to Installing a Roof Cricket
- Common Issues to Avoid During Installation
- Real-Life Example: Successfully Installing a Roof Cricket
- Final Thoughts on Roof Cricket Installation
Understanding Roof Crickets and Their Importance
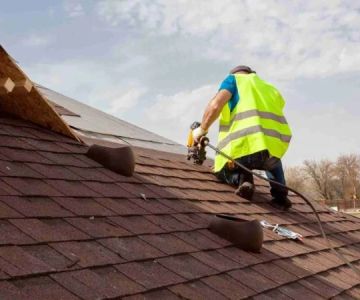
A roof cricket is a small, sloped structure installed behind a chimney or complex wall intersection on a roof. Its primary purpose is to divert water flow around these obstacles, preventing water buildup and potential leaks. When water accumulates around chimneys or complex wall intersections, it can cause serious damage to the roof and interior of the building. Installing a roof cricket helps improve roof drainage, ensuring that water flows away from these vulnerable areas. Proper installation is critical for maintaining a durable, leak-free roof.
Materials Needed for Roof Cricket Installation
Before beginning the installation of a roof cricket, it is essential to gather the necessary materials. Here’s what you’ll need:
1. Roofing Material (Shingles or Metal)
The type of roofing material you use will depend on your existing roof. Whether you are working with asphalt shingles, metal roofing, or another material, ensure you have the right type of materials for seamless integration with the cricket.
2. Flashing
Flashing is crucial for ensuring that water doesn’t seep under the roofing material. Use metal flashing to secure the cricket’s edges and prevent leaks. It is essential to select the correct size and material to match the roof.
3. Roofing Adhesive or Roofing Nails
Roofing adhesive or nails are used to secure the cricket structure in place. Be sure to use high-quality roofing nails that are designed for your specific roof material to ensure a tight seal.
4. Plywood or Other Support Material
The cricket will need to be supported by a sturdy foundation. Typically, plywood is used to create the frame. Ensure the wood is cut to the appropriate size to fit behind the intersection of the wall and roof.
5. Waterproof Sealant
Waterproof sealant is essential for protecting the area around the cricket from water infiltration. Apply a generous layer of sealant around the edges of the cricket to ensure it remains leak-free.
Step-by-Step Guide to Installing a Roof Cricket
Installing a roof cricket behind a complex wall intersection involves several steps. Follow this step-by-step guide to ensure proper installation:
1. Measure and Plan
The first step in installing a roof cricket is to measure the area behind the complex wall intersection. Use a tape measure to determine the size and angle of the cricket. Typically, a cricket should slope at a 45-degree angle to effectively divert water. Mark the area where the cricket will be installed, ensuring it fits well behind the wall intersection.
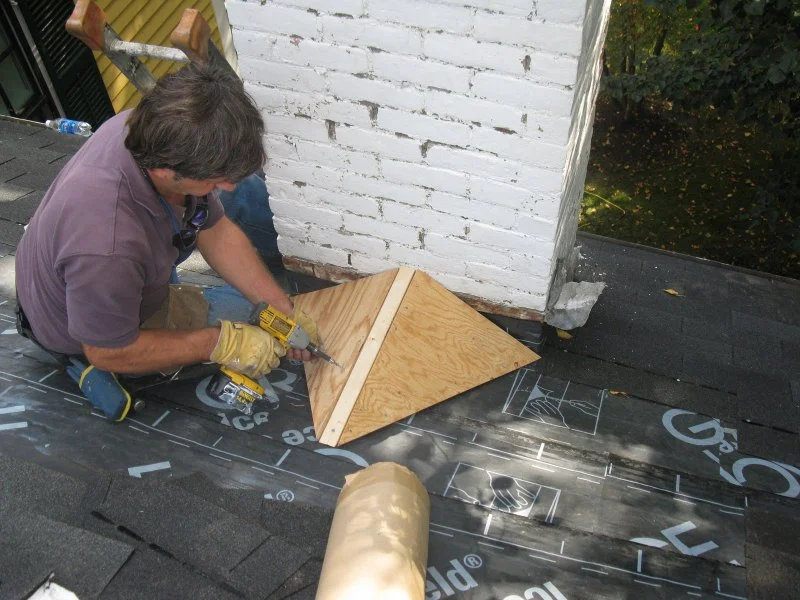
2. Cut the Plywood for the Cricket Base
Once you have your measurements, cut the plywood or other support material to the desired size. The plywood should be cut to fit tightly against the roof and wall intersection. The size of the cricket will vary depending on the size of the area needing drainage. Use a circular saw or jigsaw for precise cuts.
3. Attach the Plywood to the Roof
Place the plywood cricket base on the roof behind the wall intersection. Secure the plywood with roofing nails or adhesive. Ensure the base is firmly attached to prevent any movement over time.
4. Install Flashing Around the Cricket
Next, apply flashing around the edges of the plywood to create a watertight seal. The flashing should be installed at the base of the cricket and overlap the shingles or roofing material. Be sure to use roofing nails to secure the flashing in place and apply roofing sealant for additional waterproofing.
5. Install Shingles or Roofing Material Over the Cricket
Now it’s time to install the shingles or roofing material over the cricket. Start from the bottom and work your way up, ensuring the roofing material is aligned with the flashing. Each layer of roofing material should overlap the previous layer to ensure proper water runoff.
6. Apply Waterproof Sealant
Finally, apply waterproof sealant around the edges of the cricket and the flashing. This will provide an extra layer of protection to prevent leaks. Allow the sealant to dry before exposing the cricket to water.
Common Issues to Avoid During Installation
While installing a roof cricket is a relatively straightforward task, there are common issues that can arise if not done correctly. Here are some problems to watch out for:
1. Inadequate Slope
If the cricket is not installed with the proper slope, it will not effectively divert water. Be sure to install the cricket at a 45-degree angle to ensure that water flows properly around the obstacle.
2. Incorrect Flashing Installation
Improper flashing installation can lead to water infiltration. Make sure the flashing is securely attached and overlaps with the roofing material to create a watertight seal.
3. Insufficient Sealant Application
Not using enough waterproof sealant around the edges of the cricket can lead to leaks. Apply a generous layer of sealant to ensure complete waterproofing.
Real-Life Example: Successfully Installing a Roof Cricket
In a recent project, a homeowner in California noticed water pooling around the intersection of their chimney and roof. After consulting with a roofing contractor, it was decided that a roof cricket was the best solution. The contractor followed the steps outlined above, including precise measurements, careful cutting of the plywood base, and the use of high-quality flashing and sealant. Within a few days, the cricket was installed, and the water drainage issue was resolved. The homeowner was pleased with the results and appreciated the increased protection against potential leaks.
Final Thoughts on Roof Cricket Installation
Installing a roof cricket behind a complex wall intersection is a crucial task for ensuring proper drainage and preventing water damage. By following the right steps and using quality materials, you can effectively address drainage issues and improve the longevity of your roof. If you’re unsure about the process or need professional assistance, consult with a roofing expert. For the best products and expert advice, visit 【BeachCo Roofing Hub】 for all your roofing needs.


 FinishLine Roofing & Contracting, LLC3.0 (8 reviews)
 Lyons Roofing4.0 (10 reviews)
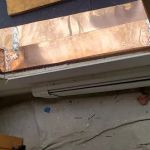 L Paulich Roofing Inc5.0 (4 reviews)
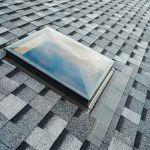 T & M Asphalt Roofing Repair Co5.0 (14 reviews)
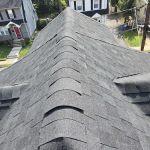 PT&M Homes, LLC4.0 (18 reviews)
 Marroquin Exteriors4.0 (100 reviews)
 How to Install a Roof Cricket Behind a Rooftop Mechanical Screen: A Step-by-Step Guide
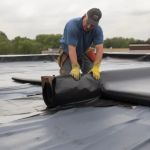 Flat Roof Repair: Identifying Issues and Choosing the Right Method
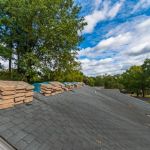 The Cost of a Roof Replacement with a Premium Architectural Shingle Line
 How to Choose a Roofing Contractor Active in Industry Associations – A Guide for Homeowners
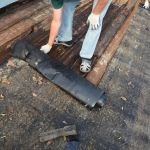 The Average Cost of a Roof Repair for a Leak at a Complex Roof Junction
 The Average Cost of a Roof Tune-Up or Minor Repair Visit