
How to Install a Roof Cricket on a Built-Up Roof (BUR) System
- 1- Why Install a Roof Cricket?
- 2- Steps for Installing a Roof Cricket
- 3- Tips for Effective Roof Cricket Installation
- 4- Common Mistakes to Avoid When Installing a Roof Cricket
1- Why Install a Roof Cricket?
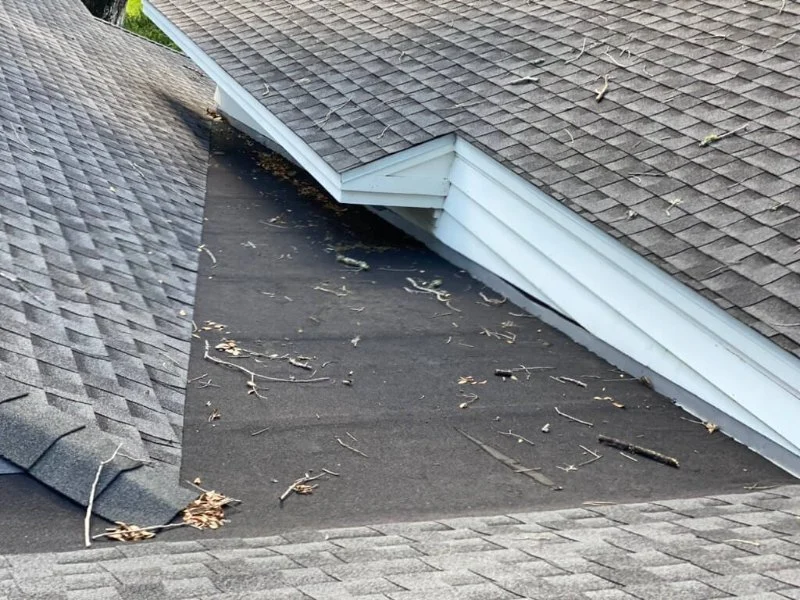
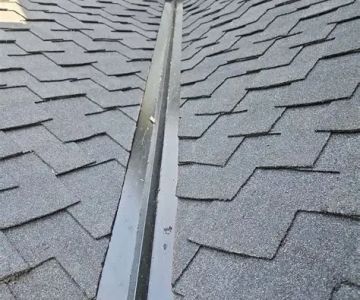
A roof cricket, also known as a saddle, is a sloped structure placed behind a chimney or any other protruding object on a roof. Its primary function is to direct water around the obstruction and prevent water buildup, which can lead to leaks or damage to the roof. Installing a cricket is especially important for built-up roofing (BUR) systems, which are prone to water pooling around obstructions. This simple addition helps to ensure proper drainage and prolongs the lifespan of the roof.

2- Steps for Installing a Roof Cricket
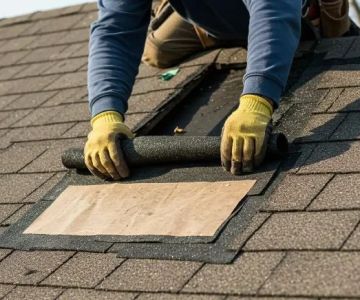
Installing a roof cricket requires careful planning and precise execution. Here’s a step-by-step guide to help you complete the installation successfully:
- Step 1: Prepare the Area - Clear the area around the chimney or obstruction where the cricket will be installed. Ensure there is no debris or old roofing material that may interfere with the new installation.
- Step 2: Measure and Cut the Roofing Material - Measure the required dimensions for the cricket based on the size of the obstruction. Cut the roofing material to size, ensuring a perfect fit around the obstruction.
- Step 3: Install the Base of the Cricket - Begin by installing the base of the cricket. This involves securing the roof deck to the roof structure to ensure a solid foundation for the cricket.
- Step 4: Install the Slope - Next, install the slope of the cricket, which should direct water away from the obstruction. Ensure that the slope is properly aligned to avoid water pooling.
- Step 5: Seal the Edges - Apply roofing sealant to the edges of the cricket to prevent water from seeping underneath the roofing material.
- Step 6: Finish the Installation - Finally, install the roofing material over the cricket, ensuring that it overlaps with the existing roof sections. Seal any gaps to ensure complete waterproofing.
3- Tips for Effective Roof Cricket Installation
To ensure your roof cricket installation is effective and durable, follow these tips:
- Use High-Quality Materials: Opt for roofing materials that are durable and weather-resistant to ensure the cricket withstands the elements over time.
- Ensure Proper Alignment: Properly align the cricket with the slope of the roof to ensure efficient water drainage and prevent pooling.
- Seal All Gaps: Be meticulous about sealing all gaps and joints to prevent leaks. This is especially important for BUR systems, which can be prone to water ingress.
- Hire a Professional: If you are not confident in your ability to install the cricket yourself, consider hiring a professional roofer to ensure the job is done correctly.
4- Common Mistakes to Avoid When Installing a Roof Cricket
Even experienced roofers can make mistakes when installing a roof cricket. Here are some common errors to avoid:
- Improper Slope: An insufficient slope may cause water to pool, defeating the purpose of the cricket. Always ensure the slope is at the correct angle for effective drainage.
- Skipping the Sealing Step: Failing to properly seal the edges of the cricket can lead to water penetration and leaks. Always seal all joints and edges.
- Using Incompatible Materials: Using materials that do not match your existing roofing system can result in poor adhesion and reduced longevity.
- Not Considering the Roof’s Drainage: The cricket should be designed with your roof’s drainage system in mind. Improper design can lead to water backup and increased wear on your roof.
Proper installation of a roof cricket is essential for protecting your roof from water damage. By following these steps and tips, you can ensure that your BUR system remains in top condition and continues to provide reliable protection for years to come. If you’re unsure about how to install a roof cricket, or if you need professional help, consider reaching out to a trusted roofing expert for assistance.
For more information and to find the best products for your roofing needs, visit BeachCo Roofing Hub for expert advice and product recommendations.
 TOOR CONSTRUCTION - Roofing Services in New York4.0 (86 reviews)
 Two Brothers Roofing Co5.0 (32 reviews)
 High Tech Roofing & Siding, LLC4.0 (73 reviews)
 KC Entities Roofing and Siding5.0 (68 reviews)
 Cephalo Roofing0.0 (0 reviews)
 Shane Walters construction Inc.5.0 (7 reviews)
 The Best Roofing Materials for a Barndominium or Pole Barn
 The Lifespan of a Roof in an Area with Frequent Hailstorms
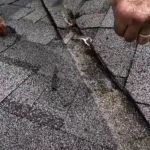 How to Repair a Roof Leak in a Valley
 How to Maintain Roof Valleys and Downspouts to Prevent Ice Dams
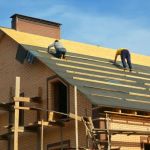 What is a Roof Deck and How to Repair or Reinforce It
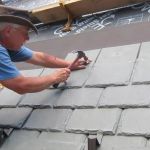 How to Install a Roof Underlayment for a Synthetic Slate Roof: A Complete Guide