
Understanding the Importance of Roof Underlayment for Cedar Shake Roofs
When installing a cedar shake roof, one of the most crucial elements is the underlayment. This material serves as a barrier against water infiltration, moisture buildup, and temperature fluctuations, protecting your home from damage. Proper installation is vital to ensure long-lasting performance and avoid costly repairs.
- Why underlayment is critical for cedar shake roofs
- Types of underlayment materials
- Key considerations for choosing the right underlayment
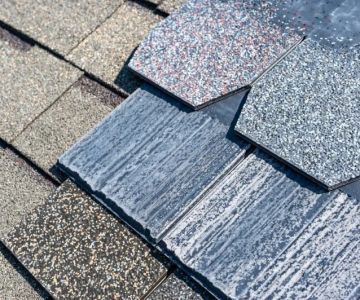
1. Choosing the Right Underlayment for Your Cedar Shake Roof
Before diving into installation, it's important to select the right type of underlayment for your cedar shake roof. The underlayment acts as the second line of defense after the shingles, so durability and waterproofing are essential factors.
- Felt vs. synthetic underlayment: Which is better for cedar shake roofs?
- Advantages of synthetic underlayment: Durability, water resistance, and longevity
- How climate affects underlayment choice: Consider moisture levels, temperature extremes, and wind conditions
2. Preparing for Roof Underlayment Installation
Proper preparation ensures a smooth and successful installation of your underlayment. Follow these steps to prepare your cedar shake roof and underlayment materials.
- Remove old roofing materials if applicable, ensuring a clean and smooth deck surface.
- Inspect the roof decking for damage or rot before installing the underlayment.
- Ensure the deck is dry and free of moisture to prevent mold growth.
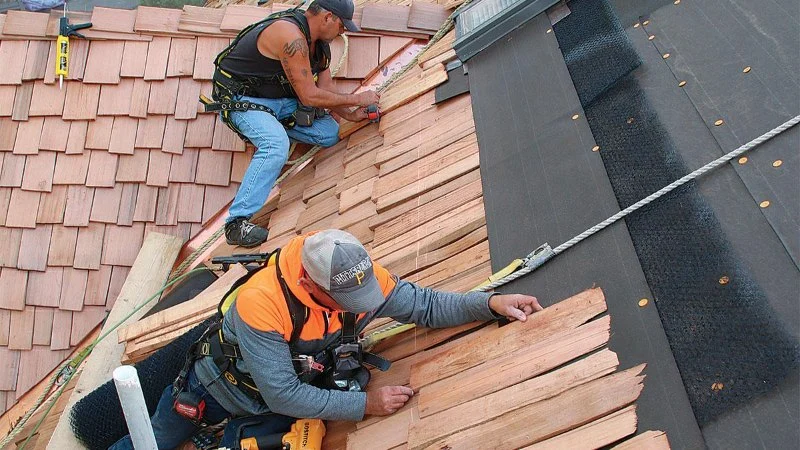
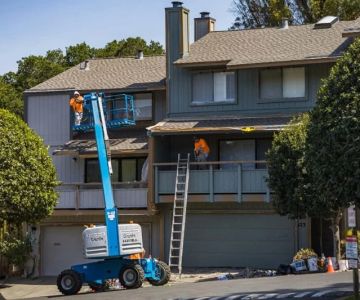
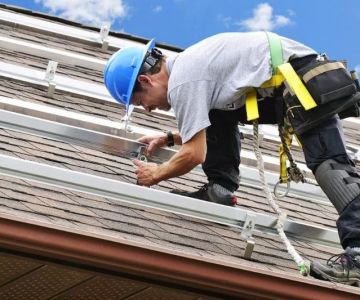
3. Step-by-Step Guide to Installing Roof Underlayment
Follow these steps for a professional-quality installation of your roof underlayment on a cedar shake roof:
All Around Roofing & Siding
BelmarMonmouth CountyNew Jersey
818 16th Ave Suite 1, Belmar, NJ 07719, USA
Step 1: Lay the First Row of Underlayment
Begin at the edge of the roof, starting from the eaves. Roll out the underlayment horizontally, ensuring it overlaps the edge of the roof by at least 2 inches. Secure the material with roofing nails or staples.

Liberty Roofing Center
404 Bethel Ave #3442, Aston Township, PA 19014, USA
Step 2: Overlap Successive Rows
Continue laying rows of underlayment, ensuring each row overlaps the previous one by at least 3-4 inches. This overlap creates a watertight seal, preventing leaks.
Step 3: Install Around Roof Penetrations
For roof penetrations such as vents and chimneys, use special underlayment flashing to seal these areas. This extra precaution ensures moisture doesn’t seep through these vulnerable spots.
Step 4: Final Inspection
Once all underlayment has been installed, inspect the roof to ensure no areas are missed or improperly sealed. Check for loose nails or staples that could cause the material to shift.
4. Common Mistakes to Avoid During Installation
While installing underlayment for a cedar shake roof is straightforward, some common mistakes can undermine the installation process. Be mindful of these errors:
- Not overlapping the rows enough, which can allow water to seep through
- Using the wrong type of underlayment material for your climate or roof style
- Skipping the inspection of the decking before installation
- Improperly securing the underlayment, leading to slippage or loosening
5. Real-Life Case: Installing Underlayment on a Cedar Shake Roof
Many homeowners have found that installing a proper roof underlayment significantly improves the lifespan of their cedar shake roof. For example, one homeowner in California shared their experience of how switching from a felt underlayment to a high-performance synthetic underlayment helped them avoid leaks during the heavy rains last winter.
Conclusion: Protecting Your Cedar Shake Roof with Proper Underlayment Installation
Installing the right underlayment for your cedar shake roof is an investment in the durability and performance of your roofing system. By following these detailed steps and avoiding common mistakes, you'll ensure a secure, water-resistant, and long-lasting roof. If you're looking for quality roofing materials, be sure to check out BeachCo Roofing Hub for the best products and services.


 Power Roofing Long Island City5.0 (3 reviews)
 Power Roofing Renovations Bronx5.0 (5 reviews)
 Progressive Services Inc4.0 (4 reviews)
 RJ Miller Roofing and Siding4.0 (28 reviews)
 JR's Roofing and Gutters LLC4.0 (15 reviews)
 Affordable, LLC5.0 (15 reviews)
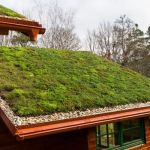 The Pros and Cons of Green Roofs or Living Roofs
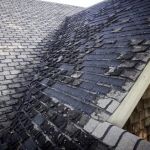 Signs You Need a Roof Replacement: Age, Leaks, Curling Shingles, and More
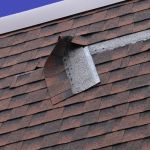 How to Prevent Roof Damage from Improper Storage of Materials
 The Lifespan of Different Types of Roof Coatings: What U.S. Homeowners Should Expect
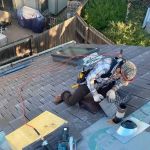 How to Repair a Roof Leak from a Rooftop Patio or Seating Area - Step-by-Step Guide
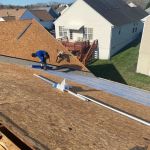 What is a Roofing Scope of Work Document? A Comprehensive Guide