
Understanding Roof Leaks on Rooftop Patios
A roof leak in a rooftop patio or seating area can be a frustrating problem for homeowners. Whether you use the space for relaxation or entertaining guests, a leak can cause significant damage to both the structure and the furniture. Understanding the causes and solutions for these leaks is crucial to keeping your space safe and comfortable.
vbnet复制代码Why Roof Leaks Occur in Rooftop Patios
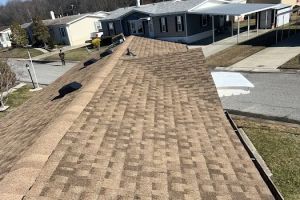
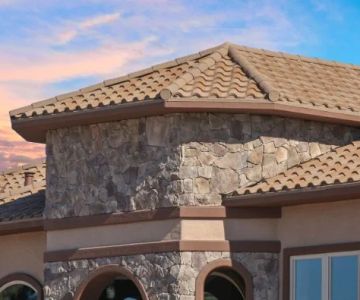
Rooftop patios often experience leaks due to the exposure to weather elements and their unique construction. The flat surface of a rooftop patio can collect water, which may eventually seep into the structure. Additionally, the materials used, such as wood, tiles, or membrane roofing, can degrade over time and contribute to leaks. Properly addressing leaks promptly is essential to avoid costly repairs in the future.
S&P Roofing and Construction pros
PhiladelphiaPhiladelphia CountyPennsylvania
727 Marley Rd, Philadelphia, PA 19124, USA
Common Causes of Leaks in Rooftop Patios
Before jumping into repair work, it's essential to understand the common causes of leaks in rooftop patios to help prevent them in the future. Below are some of the most frequent culprits:
Deegan Brothers Roofing & Siding
ClintonHunterdon CountyNew Jersey
9 Old Hwy 22, Clinton, NJ 08809, USA
1. Poor Installation or Design
Improper installation of the roofing system or inadequate design can lead to structural weaknesses, leaving areas vulnerable to leaks. If the patio roof was not installed with adequate drainage, water could accumulate, causing damage over time.
2. Weathering and Age
As with any part of a home, the materials on a rooftop patio will wear out over time. UV rays from the sun, rain, snow, and ice all take their toll on roofing materials, causing cracks, holes, and other issues that can lead to leaks.
3. Clogged Drains or Gutters
If the drainage system on your rooftop patio is blocked by debris, water can pool and begin to seep into cracks in the roofing material, leading to leaks. Regular cleaning and maintenance of drains and gutters can help prevent this issue.
4. Damaged Flashing
Flashing is the metal strip used to seal the edges of your roof and areas where joints or seams are located. If flashing becomes damaged or corroded, water can leak through these seams and cause significant damage to the roofing structure.
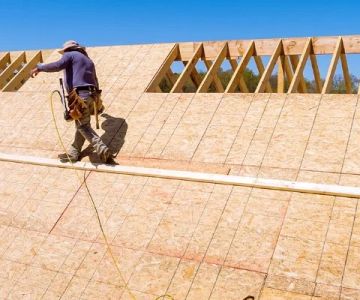
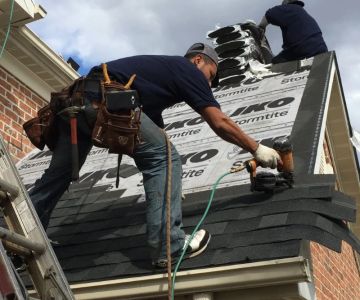
Tools Needed for Repairing the Leak
Before you start repairing the roof leak, you'll need to gather the right tools and materials to ensure the job is done correctly. Here are some of the essential tools you'll need:
1. Roofing Cement or Sealant
Roofing cement is used to seal cracks and holes in the roof. It helps prevent water from entering the structure. Ensure you choose a waterproof sealant specifically designed for outdoor roofing use.
2. Utility Knife
A utility knife is essential for cutting through roofing material when you need to access the leak. It's also useful for removing old, damaged sections of roofing before applying new sealant.
3. Putty Knife or Trowel
To apply the roofing cement or sealant effectively, you’ll need a putty knife or trowel to spread the material evenly over the leak area.
4. Ladder
You'll need a sturdy ladder to access the rooftop patio safely. Make sure the ladder is secure and positioned properly before climbing.
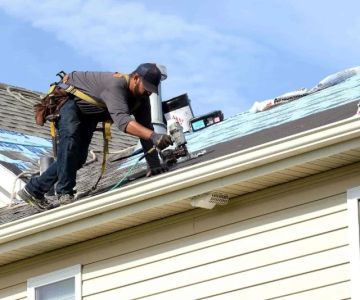
5. Roof Patching Material (If Necessary)
If the leak has caused damage to a section of the roof, you may need to replace that part with new roofing material, such as shingles, tiles, or a patching membrane, depending on the roofing type.
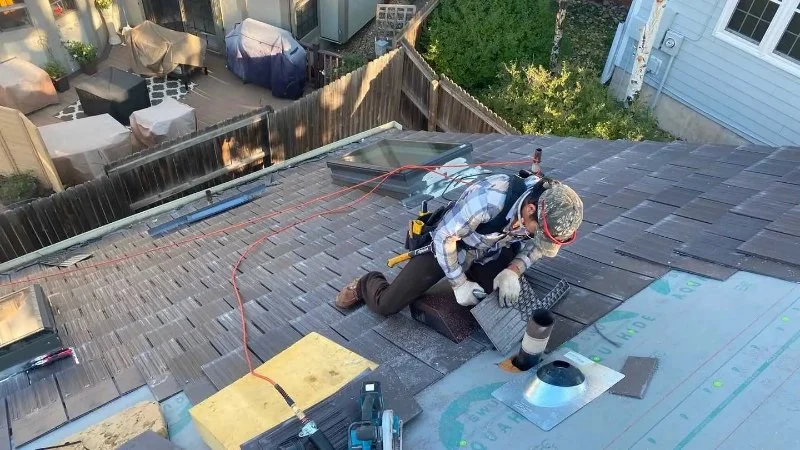
Step-by-Step Guide to Repairing a Roof Leak
Once you have gathered the necessary tools, follow these steps to repair the roof leak effectively:
1. Locate the Leak
Start by identifying the source of the leak. Inspect the roof for visible signs of damage, such as cracked or missing shingles, exposed seams, or holes in the roof membrane. If you can't find the leak easily, check for water stains on the ceiling beneath the patio.
2. Clean the Area Around the Leak
Before applying any patching material, clean the area around the leak. Use a brush or cloth to remove any dirt, debris, or loose roofing material that could prevent the sealant from adhering properly.
3. Apply Roofing Cement or Sealant
Once the area is clean, use a putty knife or trowel to apply a generous amount of roofing cement or sealant to the damaged area. Make sure to cover the entire affected area to prevent further leaks.
4. Replace Damaged Sections (If Necessary)
If the leak has caused significant damage, you may need to replace a portion of the roof. Cut the damaged section away and replace it with a new piece of roofing material. Seal the edges of the new material with roofing cement to ensure a tight seal.
5. Inspect the Work
After completing the repair, inspect the area to ensure that the leak has been sealed properly. Test the repair by simulating rainfall with a hose and checking for any signs of leaking.
Real-Life Case Studies and Expert Advice
Real-life case studies can help homeowners understand the impact of leaks and the effectiveness of their repairs. Let’s take a look at a few stories from individuals who have successfully repaired their rooftop patio leaks.
Case Study 1: "The DIY Success Story"
Jessica, a homeowner in San Diego, faced a leaking rooftop patio for months. After several unsuccessful attempts to find a professional contractor, she decided to tackle the repair herself. Using roofing cement and a patching membrane, she was able to repair the leak and stop the water from entering her home. Jessica now checks her roof regularly and says that her repair has lasted for over a year with no further issues.
Case Study 2: "Professional Repair Saved the Patio"
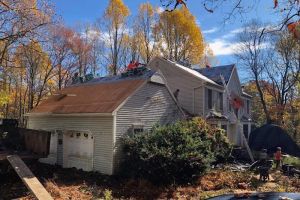
Mike and Sarah, homeowners in Miami, discovered a serious leak after a heavy rainstorm. Their roof had deteriorated over time, causing significant water damage in their rooftop seating area. They hired a roofing professional from BeachCo Roofing Hub to fix the leak, replace damaged sections of the roof, and install proper drainage. The repair was completed quickly, and their patio is now waterproof and safe for use.
Whether you choose to DIY or hire a professional, repairing a rooftop patio leak is an essential part of home maintenance. For expert roofing services and top-quality materials, visit BeachCo Roofing Hub for all your roofing needs.


 Granite State Roofing5.0 (46 reviews)
 American Way Home Improvements0.0 (0 reviews)
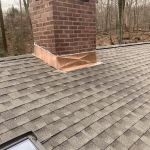 Pesantez home Renovations inc.5.0 (5 reviews)
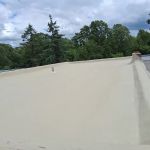 Meadowview Roof Coatings LLC0.0 (0 reviews)
 6D Roofing and Chimney Repair5.0 (28 reviews)
 Affordable Slate Roofing5.0 (2 reviews)
 The Best Roofing Materials for a Home in a Forested Area with High Moisture
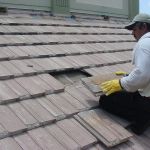 Tile Roof Repair: How to Handle Cracked and Broken Tiles
 How to Choose a Roofing Material for a Steep Slope Roof
 How to Install a Roof Vent for a Gas Water Heater or Furnace
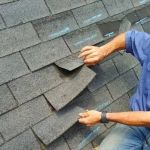 DIY Roof Inspection Checklist: How to Safely Assess Your Roof's Condition
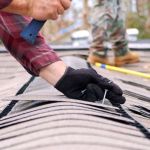 How to Choose a Roofing Contractor That Specializes in Complex Historic Restoration