
How to Install Roof Decking (Sheathing) Properly: A Comprehensive Guide
- 1. Understanding Roof Decking (Sheathing)
- 2. Preparing for Roof Decking Installation
- 3. Step-by-Step Guide to Installing Roof Sheathing
- 4. Tips for Successful Roof Decking Installation
- 5. When to Call Professionals for Roof Installation
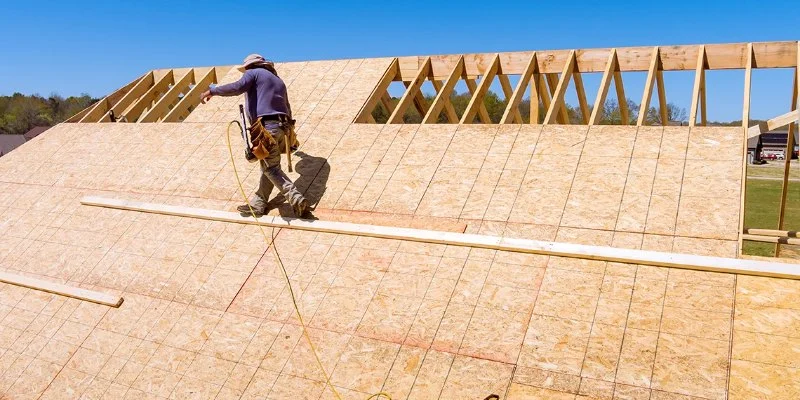
1. Understanding Roof Decking (Sheathing)
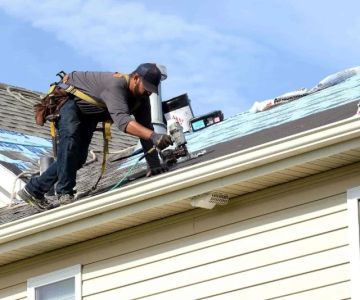
Roof decking, also known as sheathing, is a critical component of a roof structure. It forms the base layer that supports roofing materials such as shingles or metal panels. Sheathing is typically made from plywood or oriented strand board (OSB) and is installed directly over the roof rafters. The primary function of roof sheathing is to provide strength, stability, and a surface for attaching the final roofing material. Additionally, it serves as a barrier against the elements, contributing to the insulation and waterproofing of the home.

AA & B Builder
West Long BranchMonmouth CountyNew Jersey
265 NJ-36 Suite 102, West Long Branch, NJ 07764, USA
2. Preparing for Roof Decking Installation
Before you begin installing roof decking, it’s essential to properly prepare the area and gather the necessary tools and materials. Here are the steps to ensure a smooth installation process:
- Inspect the Roof Frame: Ensure that the roof rafters or trusses are in good condition. Any damaged or weakened rafters should be replaced before proceeding with the installation.
- Gather Tools and Materials: You will need plywood or OSB sheathing, nails or screws, a hammer or nail gun, a tape measure, a circular saw, and a level. It’s also important to have safety gear such as gloves, a hard hat, and safety glasses.
- Check the Weather: Avoid installing roof decking during rainy or windy weather. Ideal conditions are dry, calm days to ensure safety and prevent the sheathing from becoming damaged during installation.
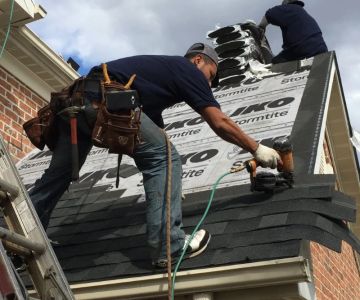
3. Step-by-Step Guide to Installing Roof Sheathing
Follow these steps to install your roof decking properly and securely:
- Measure and Cut the Sheathing: Begin by measuring the length and width of the roof. Use these measurements to cut the sheathing panels to the appropriate size. Remember to leave a small gap (approximately 1/8 inch) between the edges of the panels to allow for expansion.
- Start at the Bottom Edge: Begin installing the first row of sheathing at the bottom edge of the roof. Make sure the panel is flush with the eaves of the roof and that it is square to the rafters. Secure the panel with nails or screws every 6 to 8 inches along the rafters.
- Install Remaining Panels: Continue installing the panels, working your way up the roof. Stagger the seams of the panels so that they do not line up from row to row, which will add strength and stability to the roof.
- Ensure Proper Alignment: Use a level to check that each row of sheathing is aligned properly. This will help ensure the roofing materials will be installed correctly later on.
- Secure the Panels: After all the panels are in place, go over the entire roof and double-check that all panels are securely fastened to the rafters. Make sure there are no loose or improperly fastened areas.
4. Tips for Successful Roof Decking Installation
To ensure a successful roof decking installation, here are a few tips to keep in mind:
- Use Quality Materials: Choose high-quality plywood or OSB that is rated for roofing. This will ensure durability and prevent future issues with the roof.
- Take Your Time: Don’t rush the installation process. Properly installing the sheathing is essential for the overall integrity of the roof. Take time to measure, cut, and align the panels accurately.
- Work in Pairs: If possible, work with a partner. Lifting and positioning large sheathing panels can be challenging, and having an extra set of hands will help ensure everything goes smoothly.
- Seal the Gaps: If you are installing the sheathing in a coastal area or a location that is prone to extreme weather, consider sealing the gaps between panels with a high-quality roofing adhesive or flashing tape to prevent moisture from seeping into the roof structure.
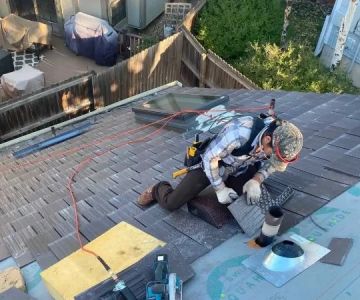
5. When to Call Professionals for Roof Installation
While installing roof decking can be a DIY project for experienced homeowners, there are situations where it’s best to call a professional roofing contractor. If you encounter significant damage to the roof frame, have difficulty aligning the sheathing, or are dealing with extreme weather conditions, a professional roofer can ensure that the job is done correctly and safely. If you’re looking for expert roofing services, BeachCo Roofing Hub offers quality roofing solutions for coastal homes. They can help you with both roof decking installation and roof repairs to ensure your home is protected from the elements.


 Granite State Roofing5.0 (46 reviews)
 American Way Home Improvements0.0 (0 reviews)
 Pesantez home Renovations inc.5.0 (5 reviews)
 Meadowview Roof Coatings LLC0.0 (0 reviews)
 6D Roofing and Chimney Repair5.0 (28 reviews)
 Affordable Slate Roofing5.0 (2 reviews)
 The Best Roofing Materials for a Home in a Forested Area with High Moisture
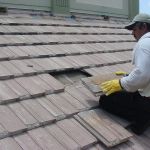 Tile Roof Repair: How to Handle Cracked and Broken Tiles
 How to Choose a Roofing Material for a Steep Slope Roof
 How to Install a Roof Vent for a Gas Water Heater or Furnace
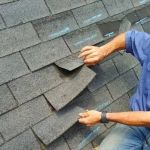 DIY Roof Inspection Checklist: How to Safely Assess Your Roof's Condition
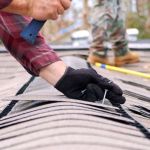 How to Choose a Roofing Contractor That Specializes in Complex Historic Restoration