
- 1-Why Underlayment Is Crucial for Metal Roofs
- 2-Choosing the Right Underlayment Material
- 3-Step-by-Step Guide to Installing Metal Roof Underlayment
- 4-Common Mistakes to Avoid
- 5-Why Omnia Roofing Hub Is Your Best Resource
1. Why Underlayment Is Crucial for Metal Roofs
Installing underlayment beneath a metal roof is essential for long-term durability and protection. The underlayment acts as a secondary barrier against moisture, preventing water from seeping through the metal panels and into the interior of your home. While metal roofing itself is highly resistant to water, the underlayment helps mitigate potential issues such as leaks, condensation, and ice dams in colder climates.
Additionally, the underlayment provides extra insulation, making your home more energy-efficient. It also protects the metal panels from direct contact with the roof deck, preventing rust and corrosion over time. Whether you're installing a new metal roof or replacing an existing one, using a high-quality underlayment is a crucial step in ensuring the longevity and performance of your roof.
2. Choosing the Right Underlayment Material
Choosing the right underlayment material is key to ensuring that your metal roof performs optimally. Here are some factors to consider when selecting the best underlayment for your project:
Just Improvements, LLC
Newtown SquareDelaware CountyPennsylvania
3621 Chapel Rd, Newtown Square, PA 19073, USA
2.1. Synthetic vs. Felt Underlayment
Traditionally, felt underlayment has been a common choice for roofing. It’s affordable and widely available, but it’s also more vulnerable to moisture absorption and UV degradation. Synthetic underlayment, on the other hand, offers superior durability and resistance to water and UV rays. It’s lightweight, easier to handle, and can withstand harsher conditions, making it a better choice for metal roofs.
2.2. Weight and Durability
Another consideration is the weight of the underlayment. Lighter materials, like synthetic options, are easier to install and handle but should still provide durability. Make sure the material you choose is strong enough to withstand foot traffic during installation and long-term exposure to the elements.
2.3. Waterproofing Capabilities
Waterproofing is the most important feature of roof underlayment. Choose a material that provides excellent moisture resistance to prevent leaks. Some synthetic underlayments are designed with a waterproof layer, while others feature high water resistance to protect against heavy rain and snow. Look for underlayments with a high degree of water resistance for added peace of mind.
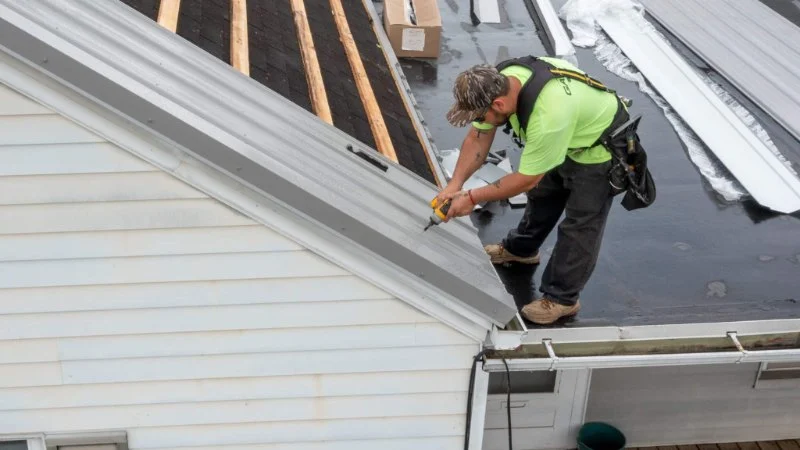
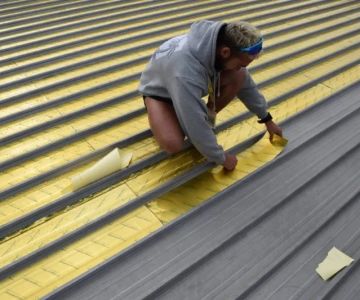
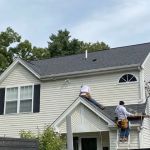
3. Step-by-Step Guide to Installing Metal Roof Underlayment
Installing underlayment for a metal roof is a straightforward process, but it requires attention to detail. Follow these steps to ensure a proper installation:
3.1. Prepare the Roof Deck
Before installing the underlayment, ensure that your roof deck is clean, dry, and free of debris. Check for any damage or irregularities that could affect the installation, and repair them as necessary. If you're installing on an existing roof, remove any old materials like shingles or tar paper to ensure a smooth surface.
3.2. Lay the First Layer of Underlayment
Start by unrolling the first layer of underlayment along the lower edge of the roof, overlapping the edge of the roof deck by about 2-3 inches. Secure the underlayment with roofing nails or staples every 6 to 8 inches along the edges. Make sure the material is smooth and taut, with no wrinkles or slack.
3.3. Install Additional Layers
After the first layer is secured, continue laying additional rows of underlayment, overlapping each row by about 6 inches. Be sure to stagger the seams of each layer to prevent water from seeping through. Repeat this process until the entire roof deck is covered. Pay attention to the edges, ensuring they are properly sealed to prevent water infiltration.
3.4. Secure the Final Layer
Once the underlayment is fully installed, go over the edges and seams to ensure everything is secure. If needed, use roofing tape to seal any gaps or overlaps. The final layer should be flat and free of air pockets to ensure maximum protection against water and moisture.
4. Common Mistakes to Avoid
While installing a roof underlayment for a metal roof is relatively simple, there are a few common mistakes to avoid:
4.1. Incorrect Overlapping
Failing to overlap the underlayment properly is one of the most common mistakes. Without a proper overlap, water can seep through the seams and cause leaks. Be sure to follow the manufacturer's recommendations for overlapping each layer.
4.2. Not Sealing the Edges
Many homeowners overlook the importance of sealing the edges of the underlayment. Without a proper seal, water can easily get under the material, leading to mold, mildew, or rot. Use roofing tape to seal the edges and overlaps for added protection.
4.3. Using the Wrong Underlayment for the Climate
Choosing the wrong underlayment material for your climate can result in poor performance and potential roof damage. In areas with heavy rainfall or snow, choose an underlayment with superior water resistance. For hot climates, ensure the underlayment can withstand prolonged exposure to UV rays.
5. Why Omnia Roofing Hub Is Your Best Resource
If you're looking for the best roofing materials and underlayments for your metal roof, Omnia Roofing Hub is your trusted source. We offer high-quality, durable underlayment materials that are specifically designed for metal roofing. Our products are built to last and provide superior protection against the elements, ensuring your roof stays in excellent condition for years to come.
Visit Omnia Roofing Hub for all your roofing needs, and get expert advice and products to make your roofing project a success!

 Trident Home Solutions5.0 (42 reviews)
 Teaneck Roofing Co LLC3.0 (6 reviews)
 Neighborhood Roofing Howell Township5.0 (22 reviews)
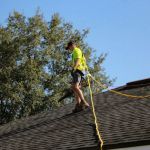 Premier Roofing & Leak Repair Garfield5.0 (9 reviews)
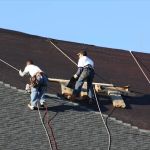 S&K Roofing, Siding and Windows4.0 (42 reviews)
 Quality Roofing & Siding4.0 (36 reviews)
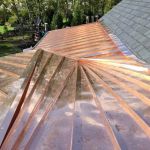 The Cost of a Roof Replacement with a Long-Lasting Copper Standing Seam System
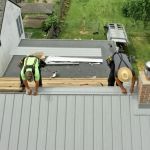 Roofing Manufacturer's Approved Installer Program: What You Need to Know
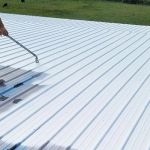 The Lifespan of Roof Coatings: How Often They Need to be Reapplied
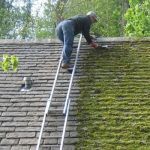 The Cost of Roof Moss Removal and Prevention Treatments: A Complete Guide
 What is a Roofing System Health Report? A Proactive Assessment Tool
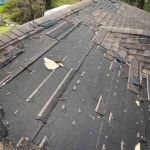 Roof Repair vs Roof Restoration | Key Differences Explained | BeachCo Roofing Hub