
- 1. Why Roof Ventilation is Important
- 2. Understanding the Hip Roof Design
- 3. Types of Roof Vents for a Hip Roof
- 4. Step-by-Step Guide to Installing Roof Vents on a Hip Roof
- 5. Common Mistakes to Avoid During Roof Vent Installation
- 6. How BeachCo Roofing Hub Can Help You
1. Why Roof Ventilation is Important
Proper roof ventilation is crucial for maintaining the health of your home. When it comes to roofs, inadequate ventilation can lead to a host of problems, including moisture buildup, poor energy efficiency, and even structural damage over time. A well-ventilated roof allows for the free flow of air, preventing heat and moisture accumulation that can cause roof deterioration, mold, and even insulation damage.
When installing roof vents, it’s important to select the right system for your roof design. Specifically, a hip roof design presents unique challenges and requires a slightly different approach compared to gable or flat roofs. In this guide, we'll walk you through how to install roof vents on a hip roof design to ensure your home stays comfortable and your roof remains in optimal condition.
2. Understanding the Hip Roof Design
A hip roof is a type of roofing design where all sides slope downward towards the walls, creating a gentle slope from all four sides. This design is highly popular due to its aesthetic appeal and ability to withstand harsh weather conditions. However, because the roof slopes on all sides, it can be trickier to install ventilation compared to other types of roofs.
The key to effective ventilation on a hip roof lies in ensuring that air flows freely throughout the attic space. Proper venting ensures that hot air and moisture can escape, preventing damage to the roofing materials and improving the energy efficiency of the home. It's essential to plan carefully and consider the placement of vents to ensure the best airflow.
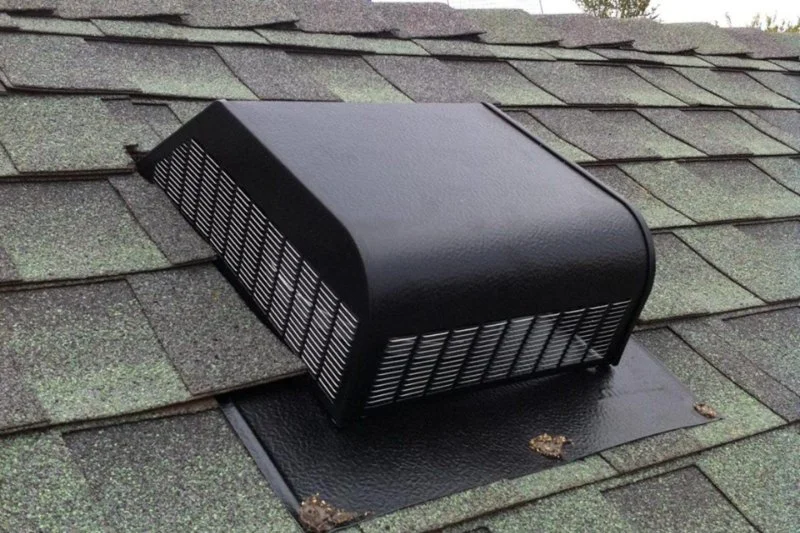
3. Types of Roof Vents for a Hip Roof
There are several types of roof vents available, and choosing the right one for your hip roof is crucial for optimal performance. The most common types include:
1. Ridge Vents
Ridge vents run along the peak of the roof, allowing warm air to escape from the highest point. They are ideal for hip roofs as they provide continuous ventilation and work in tandem with soffit vents (located along the eaves) to create a natural airflow system.
2. Soffit Vents
Soffit vents are located under the eaves of the roof, allowing fresh air to enter the attic space. When used with ridge vents, soffit vents create an ideal passive ventilation system by allowing cool air to enter and pushing hot, moist air out through the ridge vent.
3. Gable Vents
Although not as common on hip roofs, gable vents can be used if the design includes a gable. These vents are located in the triangular end walls of the house and allow hot air to escape. They are often used in combination with ridge or soffit vents for enhanced airflow.
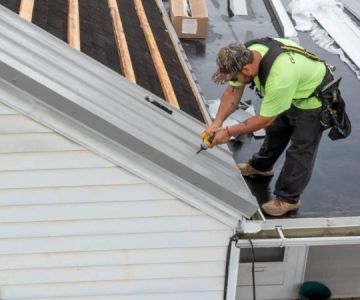
4. Step-by-Step Guide to Installing Roof Vents on a Hip Roof
Installing roof vents on a hip roof can be a manageable DIY project if you have the right tools and materials. Below is a step-by-step guide to help you with the process:
Step 1: Plan the Vent Placement
Start by determining the best locations for your roof vents. Ideally, you'll want to place a ridge vent along the peak of the roof and soffit vents near the eaves. Ensure the vents are evenly spaced to allow for optimal airflow. The number of vents you need will depend on the size of your roof and the square footage of your attic.
Step 2: Gather Your Tools and Materials
You'll need the following tools:
- Roofing nails or screws
- Measuring tape
- Hammer or drill
- Shingle cutter
- Roof vent kits (for ridge and soffit vents)
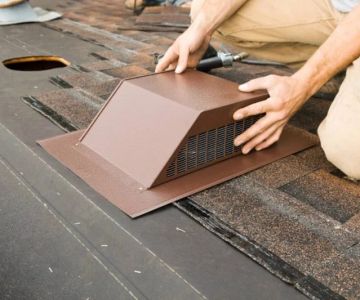
Step 3: Install the Soffit Vents
Start by installing the soffit vents under the eaves. Use the measuring tape to ensure they are evenly spaced, and secure them with roofing nails or screws. These vents allow cool air to enter the attic and begin the ventilation process.
Step 4: Install the Ridge Vent
Once the soffit vents are in place, move to the ridge of the roof. Carefully measure and cut a slot along the ridge to fit the ridge vent. Secure the vent in place, ensuring it's sealed properly to prevent leaks. Ridge vents are often installed with specialized ridge vent caps to ensure durability and waterproofing.
Step 5: Check the Airflow
After installing the vents, check the airflow inside the attic by using a smoke test or an anemometer. Proper airflow should be consistent, and you should be able to feel air entering through the soffit vents and exiting through the ridge vent.
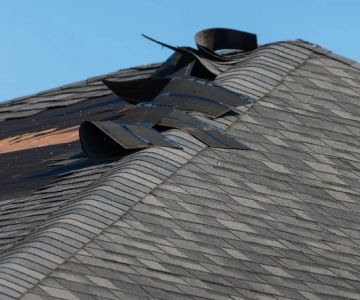
5. Common Mistakes to Avoid During Roof Vent Installation
While installing roof vents is a straightforward task, there are a few common mistakes that homeowners make. Avoid these errors to ensure your roof ventilation system works effectively:
1. Improper Vent Placement
One of the biggest mistakes is placing vents in areas where they don’t allow for proper airflow. Ensure vents are spaced evenly and strategically placed to promote airflow throughout the entire attic space.
2. Using the Wrong Type of Vents
Choosing the wrong type of vent can result in inadequate ventilation. Be sure to select vents that are designed for your roof type and climate. Ridge and soffit vents work best for hip roofs.
3. Neglecting to Seal Vents Properly
Failing to properly seal your vents can lead to leaks and water damage. Use high-quality sealants and ensure that all vents are securely fastened to prevent any gaps or drafts.
6. How BeachCo Roofing Hub Can Help You
If you're looking for top-quality roofing materials or need help with roof vent installation, BeachCo Roofing Hub is here to assist. We offer a range of products, from ridge and soffit vents to roofing tools and materials, designed to meet your specific needs. Our experts can also provide professional advice or help you find a reliable contractor to handle your installation.
Visit BeachCo Roofing Hub today for the best roofing products and expert assistance to ensure your roof is well-ventilated and protected for years to come!


 GQ ROOFING SERVICES5.0 (4 reviews)
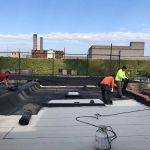 Industrial roofing2.0 (4 reviews)
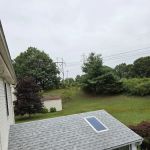 Wellington Roof and Repair5.0 (7 reviews)
 George Parsons Roofing0.0 (0 reviews)
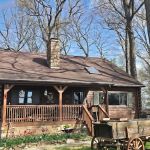 American Remodeling Enterprises Inc.5.0 (61 reviews)
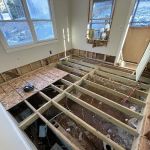 Atlas Builders Group5.0 (41 reviews)
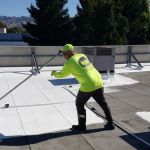 The Average Cost of a Roof Coating with a 10-Year Warranty
 How to Prevent Roof Damage from Lack of Maintenance and Save Money
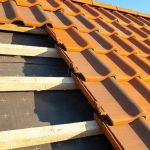 How to Install a Roof Underlayment for a Clay Tile Roof
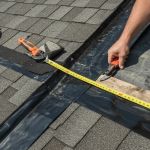 How to Install Roof Flashing on a Complex Roof with Multiple Pitches
 How to Choose a Certified Roofing Contractor for Your Roof
 How to Choose a Roofing Material for High Wind Areas