
- Understanding Roof Underlayment
- Why Water Protection Matters
- Materials and Tools Required for Installation
- Step-by-Step Guide to Install Roof Underlayment
- Common Mistakes to Avoid During Installation
- Post-Installation Maintenance and Care
1. Understanding Roof Underlayment
Roof underlayment is a crucial part of your roofing system. It is a layer of material placed directly on the roof deck before the shingles or other roofing materials are installed. The primary function of the underlayment is to provide an extra layer of protection against water, snow, and ice infiltration. This protective barrier ensures that your home stays dry even when the outer roofing layer is damaged or compromised.

New Dominion Exteriors Inc.
ChantillyFairfax CountyVirginia
4270 L Henninger Ct, Chantilly, VA 20151, USA
1.1. Types of Roof Underlayment
There are several types of roof underlayment materials available, including:
- Asphalt-Saturated Felt: The most traditional type, often referred to as roofing felt. It is affordable but may degrade faster over time compared to newer materials.
- Rubberized Asphalt: A more advanced option that is highly water-resistant and often used in areas prone to heavy rain or ice.
- Synthetic Underlayment: Made from polypropylene or polyester, this option is durable, lightweight, and resistant to tearing, making it a popular choice for modern roofing projects.
2. Why Water Protection Matters
Water infiltration is one of the leading causes of roof damage and can lead to costly repairs if left untreated. Water can seep into the roof decking, causing rot, mold, and mildew, which can weaken the structure of your home. Properly installing a high-quality roof underlayment ensures that water is kept away from the roof deck, thus protecting the integrity of your home.

Homecrafters Roofing and Contracting
BaltimoreBaltimore CountyMaryland
7605 E Battle Grove Rd, Baltimore, MD 21222, USA
2.1. Preventing Ice Dams
In colder climates, ice dams can form when melted snow refreezes at the eaves of the roof. Without a proper underlayment, water can back up under the shingles, leading to leaks inside your home. Installing a high-quality underlayment helps to prevent this issue by acting as a barrier against water infiltration.
3. Materials and Tools Required for Installation
Before beginning the installation process, it’s important to gather the right materials and tools. Here’s what you’ll need:
- Roof Underlayment: Choose a high-quality underlayment material suitable for your climate and roof type.
- Roofing Nails: Use nails that are corrosion-resistant to ensure the underlayment stays in place for years to come.
- Roofing Hammer or Nail Gun: A hammer or nail gun will help you efficiently install the nails into the underlayment.
- Utility Knife: A sharp knife for cutting the underlayment to the correct size and shape.
- Measuring Tape: To ensure accurate measurements and alignment during installation.
- Ladder and Safety Gear: Ensure you have a sturdy ladder and the appropriate safety gear, including gloves and a harness.
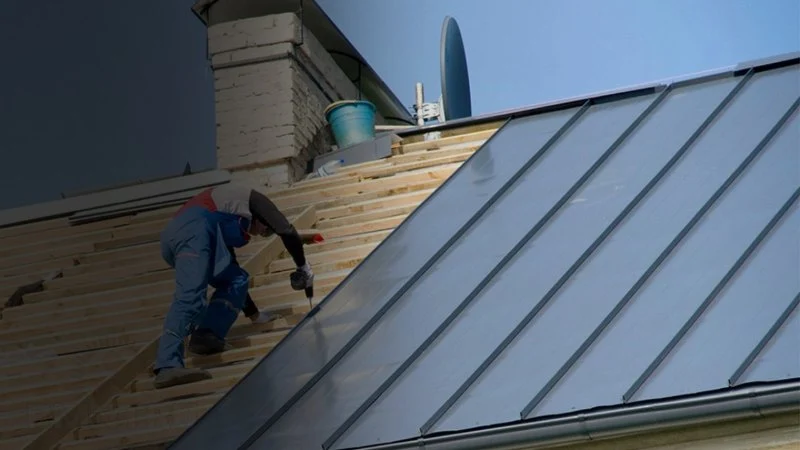
4. Step-by-Step Guide to Install Roof Underlayment
Now that you have the materials and tools ready, follow these steps to properly install your roof underlayment:
4.1. Prepare the Roof Deck
Start by cleaning the roof deck to remove any debris or nails that may have been left behind from the old roofing materials. This ensures that the underlayment adheres properly and creates a smooth surface for the next layer.
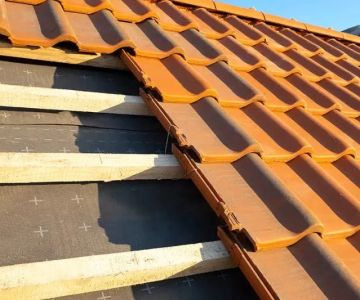
4.2. Roll Out the Underlayment
Begin at the bottom edge of the roof, rolling out the underlayment horizontally along the length of the roof. Leave a slight overlap of 2 to 3 inches between each row of underlayment to ensure a watertight seal. Use nails or staples to secure the underlayment in place, working your way up to the ridge of the roof.
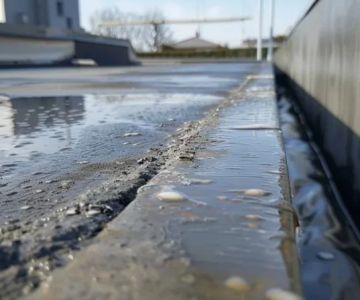
4.3. Seal the Seams
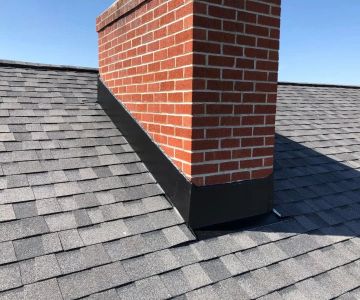
Ensure that all seams are sealed with roofing cement or tape, especially at the joints and around vents and chimneys. This prevents any water from slipping through gaps and causing damage.
4.4. Install the Upper Layers
Once the underlayment is in place, install the next layer of roofing materials such as shingles or tiles according to manufacturer instructions. The underlayment should act as a secondary barrier to protect the roof structure.
5. Common Mistakes to Avoid During Installation
While installing roof underlayment is a straightforward process, there are common mistakes to avoid:
- Improper Overlap: Ensure that the underlayment layers overlap correctly to prevent water from getting through the seams.
- Wrong Material Choice: Choosing the wrong underlayment material for your climate can result in poor performance and premature damage.
- Insufficient Fastening: Avoid using too few nails or staples to secure the underlayment, as it may shift or come loose over time.
6. Post-Installation Maintenance and Care
Once the underlayment is installed, regular maintenance will help extend its lifespan and maintain its performance:
6.1. Regular Roof Inspections
Conduct regular roof inspections to check for any damage or wear on the underlayment. This is especially important after major storms or changes in weather conditions.
6.2. Keep Gutters Clean
Clogged gutters can lead to water backup and damage the roof underlayment. Regularly clean your gutters to ensure proper water drainage and protect your roof from water damage.
6.3. Promptly Repair Any Roof Damage
If you notice any damage to the roof or underlayment, address it immediately to prevent further issues. Small problems can escalate quickly if left untreated.
Properly installing roof underlayment is an essential step in safeguarding your home from water damage. With the right materials, techniques, and maintenance, your roof will remain durable and watertight for years. For more roofing tips and professional services, visit BeachCo Roofing Hub for guidance and recommendations.


 Power Roofing Williamsburg4.0 (46 reviews)
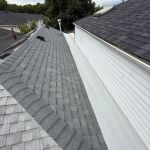 CALCO ROOFING / SEAMLESS GUTTERS5.0 (157 reviews)
 PRG LLC5.0 (264 reviews)
 Nationwide Roofers of Kintnersville5.0 (6 reviews)
 Long Home4.0 (4424 reviews)
 Willard Roofing Company4.0 (16 reviews)
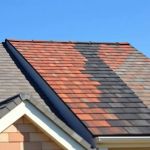 The Best Roofing Materials for Homes in Remote Locations with Limited Access
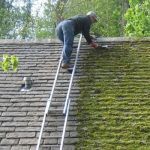 The Cost of Roof Moss Removal and Prevention Treatments: A Complete Guide
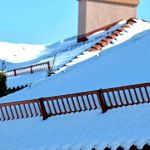 How to Install Roof Snow Guards on a Tile Roof for Winter Safety
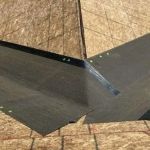 How to Install Roof Ice and Water Shield on a Roof with a Very Low Pitch
 How to Prevent Roof Damage from Nesting Birds and Pests
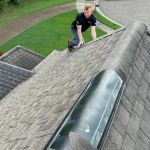 How to Choose a Roofing Contractor That Offers a Comprehensive Maintenance Program