
- 1. Understanding the Importance of Roof Ventilation
- 2. Preparation for Installing the Roof Vent
- 3. Step-by-Step Guide to Installing a Roof Vent
- 4. Maintaining Your Roof Vent System
- 5. Preventing Future Ventilation Issues
1. Understanding the Importance of Roof Ventilation
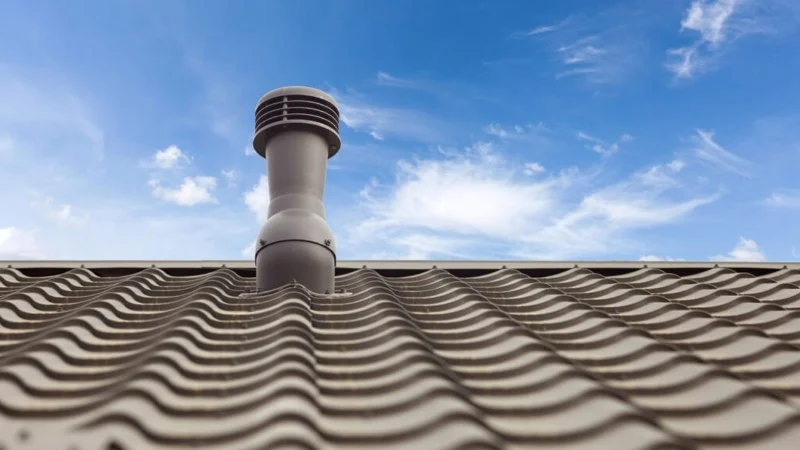
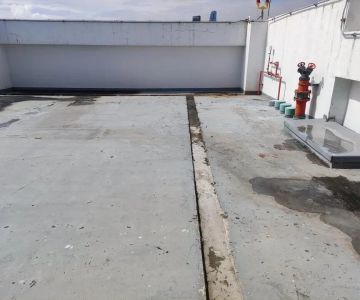
In industrial environments where high temperatures are generated, maintaining proper airflow is crucial for both safety and efficiency. High-temperature industrial processes often involve machinery that produces a significant amount of heat. Without adequate ventilation, this heat can build up, leading to overheating, equipment malfunctions, and an uncomfortable working environment. Installing a roof vent is one of the most effective ways to address these issues by allowing hot air to escape and maintaining optimal conditions inside.

B.M. Construction Service LLC
MechanicvilleSaratoga CountyNew York
5 Avenue E, Mechanicville, NY 12118, USA
2. Preparation for Installing the Roof Vent
Before beginning the installation process, it’s important to properly prepare and gather the necessary tools and materials. Here’s a checklist to guide your preparations:
- Assess the Space: Determine the size and placement of the vent. Ideally, it should be placed where heat accumulates most, such as above high-heat machinery or in the center of the roof.
- Choose the Right Roof Vent: For high-temperature industrial applications, it’s essential to select a vent designed to withstand extreme conditions. Look for a durable vent made of materials such as aluminum or stainless steel, which can resist heat and corrosion.
- Safety Equipment: Ensure you have the proper personal protective equipment (PPE), such as gloves, goggles, and a hard hat, to safely install the vent.
- Tools Needed: You will need basic tools such as a drill, measuring tape, a jigsaw or saw, roofing screws, a caulk gun, and a ladder for accessing the roof.
3. Step-by-Step Guide to Installing a Roof Vent
Once you’ve prepared your materials and assessed the space, you can begin the installation of the roof vent. Follow these steps for a successful installation:
- Mark the Location: Using a measuring tape and pencil, mark the area on the roof where you want to install the vent. Make sure it’s placed in a location where heat naturally rises or gathers.
- Cut the Opening: Use a jigsaw or saw to cut a hole in the roof where the vent will be placed. The hole should be slightly smaller than the vent’s dimensions to ensure a snug fit.
- Install the Vent Base: Position the vent base over the hole and secure it with roofing screws. Ensure that the base is level and properly aligned.
- Seal the Edges: Apply roofing sealant around the edges of the vent to prevent water leaks. Use a caulk gun to apply a generous amount of sealant, ensuring that no gaps are left around the edges.
- Attach the Vent Cover: Once the base is secure, attach the vent cover to the base, following the manufacturer’s instructions. This cover will ensure the vent remains in place and is protected from external elements.
- Test the Vent: After the installation is complete, test the vent to ensure it is functioning properly. Check for airflow and make sure no hot air is trapped inside the space.
4. Maintaining Your Roof Vent System
Proper maintenance is crucial to ensure your roof vent continues to function effectively over time. Here’s how you can keep your roof vent system in good condition:
- Regular Inspections: Check the vent regularly for signs of damage or wear, such as cracks in the vent cover or sealant. Inspect for debris buildup that may block airflow.
- Clean the Vent: Remove any debris, dirt, or leaves that may have accumulated inside the vent. Cleaning the vent helps maintain optimal airflow and prevents clogs that can cause overheating.
- Check for Leaks: Ensure that the sealant around the vent is intact and that there are no signs of water leaks inside the building.
5. Preventing Future Ventilation Issues
Once your roof vent is installed, it’s important to take preventive measures to avoid future ventilation issues. Here are some tips to maintain optimal performance:
- Ensure Proper Vent Placement: When installing a roof vent, make sure it is placed in an area where hot air naturally rises or accumulates, such as near machinery that generates heat.
- Use Multiple Vents: In large industrial spaces, it may be necessary to install multiple vents to ensure proper airflow throughout the entire area.
- Improve Insulation: Proper insulation in your building can help prevent heat buildup and reduce the strain on the ventilation system.
- Monitor Temperature Regularly: Use temperature monitoring systems to track the heat levels inside your facility. This will help you detect any issues with ventilation before they become serious problems.
Installing a roof vent for a high-temperature industrial process is a critical step in ensuring the safety and efficiency of your operations. By following these steps and performing regular maintenance, you can keep your facility’s ventilation system in top condition. For high-quality products and expert advice on roof vent installations, visit BeachCo Roofing Hub.

 Best American Roofing LLC5.0 (8 reviews)
 Andrea’s Remodeling LLC Company1.0 (2 reviews)
 DJS Home Remodeling, LLC2.0 (9 reviews)
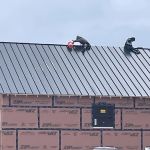 Kent Hollow Siding3.0 (9 reviews)
 Costello Roofing5.0 (76 reviews)
 J.O.N. Construction, Inc.4.0 (19 reviews)
 How to Prevent Roof Damage from Tree Root Systems Underneath the Structure
 The Cost of Roof Replacement in Different US Regions: What You Need to Know
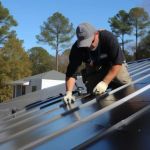 How to Choose a Roofing Material for a Building in a Noise-Sensitive Area
 Understanding Roofing Nail Guns: How to Use Them Safely and Effectively
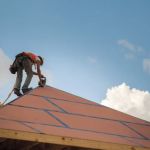 What is a Roofing System Design Professional? When to Hire an Engineer
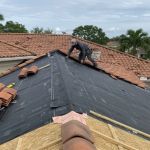 How to Install Roof Underlayment for High-Wind Roofs: A Step-by-Step Guide