
- Why Rooftop Telecommunications Tower Mounts Cause Leaks
- Identifying the Leak Source from a Telecom Tower Mount
- Tools and Materials Needed for Roof Leak Repair
- Step-by-Step Guide to Repairing Roof Leaks from Telecom Tower Mounts
- Common Mistakes to Avoid During Roof Leak Repairs
- When to Call a Professional for Roof Leak Repairs
- Where to Buy Roof Repair Materials
1. Why Rooftop Telecommunications Tower Mounts Cause Leaks
Telecommunications towers mounted on rooftops are essential for modern communication but can be a significant cause of roof leaks. The mounting structure, cables, and equipment can create weak points where water can seep into the roof, leading to leaks. Over time, the rubber seals and flashing around the tower mount may deteriorate, leading to water infiltration.
These leaks are particularly common in areas where the mount is attached to the roof with screws or bolts, as these points can create holes in the roofing material. Additionally, debris or aging components may obstruct proper drainage, increasing the risk of water accumulation. It's crucial to address leaks from telecom mounts promptly to prevent extensive water damage to your home or commercial building.
2. Identifying the Leak Source from a Telecom Tower Mount
Before you can repair a roof leak from a telecommunications tower mount, it’s important to accurately identify the source of the leak. Here's how to assess the situation:
- Inspect the Mounting Area: Check around the base of the tower mount for any visible cracks, gaps, or deteriorating seals. Look for any points where the mount is connected to the roof, such as bolts or screws, as these can be entry points for water.
- Check for Water Stains: Inside the building, look for signs of water stains on the ceiling or walls below the tower mount. These stains can indicate where the leak is entering the roof and provide a clue about the extent of the damage.
- Examine Flashing and Sealants: Inspect the flashing around the tower mount. Flashing is designed to divert water away from the roof, but if it’s damaged or improperly installed, it can allow water to seep through. Similarly, any sealants around the mount or pipes should be checked for cracks or wear.
3. Tools and Materials Needed for Roof Leak Repair
To repair a roof leak from a telecommunications tower mount, you'll need the right tools and materials. Here’s a list of what you’ll need:
- Roofing Sealant: High-quality roofing sealant is essential for sealing gaps and cracks around the mount. Make sure to use a product designed for outdoor use that can withstand the elements.
- Roofing Cement: Roofing cement is ideal for repairing small cracks and gaps around the mount where the flashing may have failed.
- Caulking Gun: A caulking gun is necessary for applying roofing sealant and cement to the affected areas around the telecom tower mount.
- Roofing Flashing: If the flashing around the mount is damaged or worn out, you may need to replace it. New flashing can be purchased at any hardware store and should be chosen based on the roof's material.
- Tools for Tightening Bolts: A wrench or screwdriver will be needed to tighten any loose bolts or screws around the telecom tower mount.
- Roofing Ladder: For safe access to the roof, a sturdy roofing ladder is essential. Make sure the ladder is positioned securely before climbing.
4. Step-by-Step Guide to Repairing Roof Leaks from Telecom Tower Mounts
Once you've identified the source of the leak and gathered your tools and materials, follow this step-by-step guide to repair the leak:
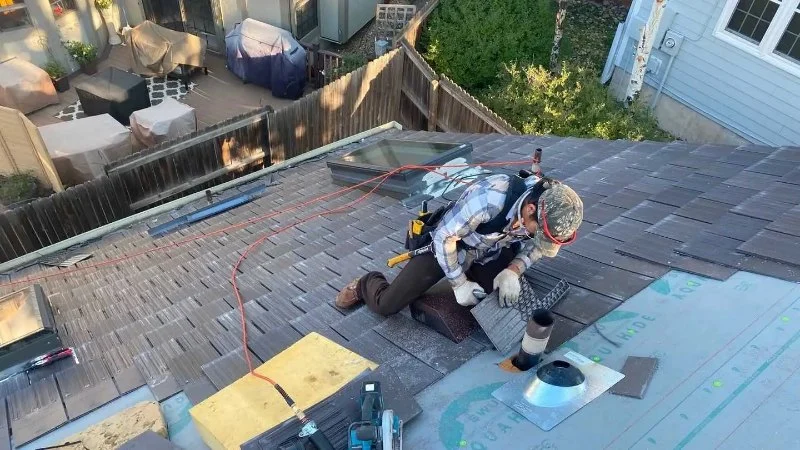
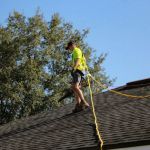
- Step 1: Safety First
Before you begin, make sure you have proper safety equipment. Wear a harness, gloves, and non-slip shoes. Set up your ladder securely to access the roof safely. - Step 2: Inspect the Roof Area
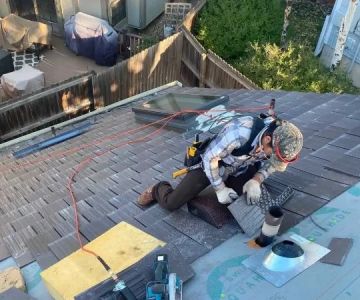
Carefully inspect the area around the telecom tower mount. Look for any damaged or missing flashing and check that all the bolts are tightly secured. - Step 3: Clean the Area
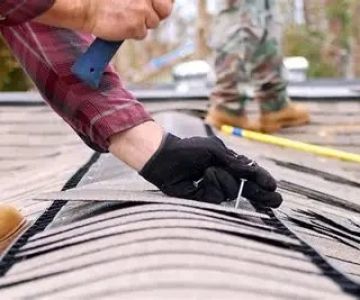
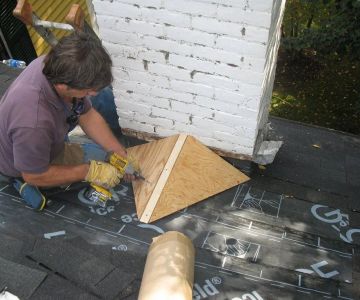
Clean the surface around the mount, removing any debris, dirt, or old sealant. This ensures that the new sealant or flashing will adhere properly to the roof. - Step 4: Apply Roofing Sealant
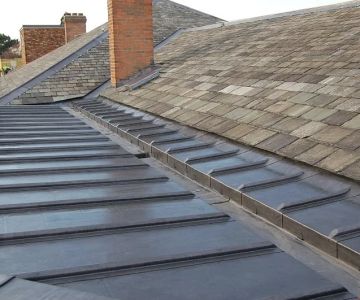
Using a caulking gun, apply a generous amount of roofing sealant around the mount, covering any gaps or cracks. Ensure that the sealant is spread evenly and covers the entire area where water may enter. - Step 5: Replace Flashing if Necessary
If the flashing is damaged, remove the old flashing and replace it with new material. Secure the new flashing around the telecom tower mount to create a watertight seal. - Step 6: Re-tighten Bolts
Check all bolts and screws around the telecom tower mount. Tighten any loose connections to ensure the mount is securely fastened to the roof. - Step 7: Test the Repair
After the repair, check the area inside the building for any signs of moisture. It’s important to ensure that no leaks are still present after sealing the roof. If necessary, apply additional sealant to any remaining gaps.
5. Common Mistakes to Avoid During Roof Leak Repairs
Here are some common mistakes to avoid when repairing a roof leak from a telecommunications tower mount:
- Not Properly Sealing the Gaps: A common mistake is not applying enough roofing sealant or not covering all gaps and cracks. Make sure to apply the sealant generously and ensure that all potential entry points are sealed.
- Skipping the Flashing Replacement: Flashing is crucial for preventing water from entering around the mount. Don’t skip this step, especially if the flashing is old or damaged.
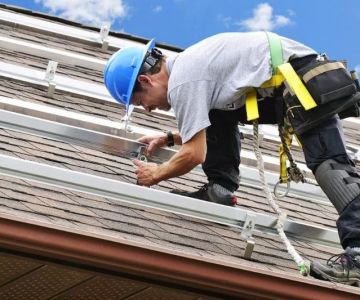
- Ignoring Proper Safety Measures: Working on a roof can be dangerous, so it’s essential to follow safety protocols, use proper ladders, and wear protective equipment to avoid accidents.
6. When to Call a Professional for Roof Leak Repairs
While DIY roof repairs can be effective, there are cases where it’s best to call a professional. If you are unable to access the roof safely, if the leak is extensive, or if you are unsure about the proper techniques, hiring a professional roofer may be the best option. A professional will have the experience and tools needed to make a permanent and safe repair to your roof.
7. Where to Buy Roof Repair Materials
If you’re ready to make repairs, visit BeachCo Roofing Hub for all your roof repair material needs. From roofing sealants to flashing and tools, BeachCo Roofing Hub offers high-quality products designed to help you maintain your roof and protect your home.

 Premier Roofing & Leak Repair Garfield5.0 (9 reviews)
 Eric's Roofing3.0 (4 reviews)
 Patrick Kelly Roofing & Siding5.0 (157 reviews)
 Exterior Surface-Brite Inc. / Roof Shampoo0.0 (0 reviews)
 Harbor Restoration Services LLC4.0 (5 reviews)
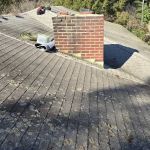 Madera's Roofing LLC5.0 (44 reviews)
 How to Install a Roof Vent for a Commercial Kitchen Exhaust System
 The Best Roofing Materials for a Home in a Forested Area with High Moisture
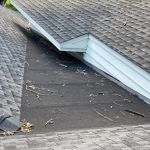 How to Install a Roof Cricket on a Built-Up Roof (BUR) System
 How to Prevent Roof Damage from Overflowing Gutters During Heavy Rain
 The Best Roofing Materials for Homes in Remote Locations with Limited Access
 How to Choose a Roofing Material for a Noisy Urban Environment – Best Noise-Reducing Solutions