
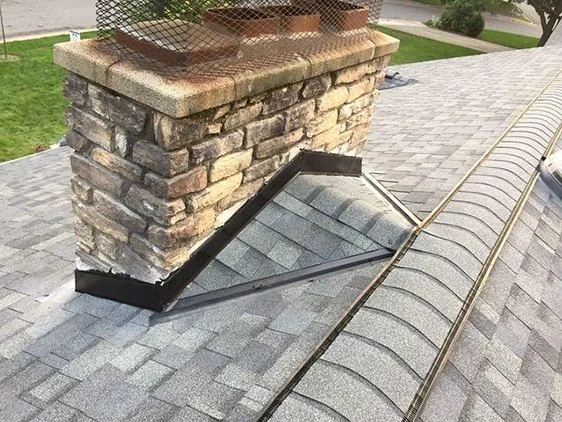
Why Install a Roof Cricket Behind a Large Equipment Curb?
Roof crickets are essential components in roofing systems, particularly when it comes to managing water drainage around large equipment curbs, such as HVAC units, exhaust fans, or other rooftop equipment. The primary purpose of a roof cricket is to redirect water away from these curbs to prevent water pooling, which could lead to leaks and long-term roof damage.
Water accumulation behind a large equipment curb can create significant issues, including roof membrane damage, structural weakening, and mold growth. Installing a roof cricket ensures that water flows away from these vulnerable areas, enhancing the lifespan of the roof and preventing costly repairs.
Tools and Materials Needed for Roof Cricket Installation
Before beginning the installation process, gather all the necessary tools and materials to ensure a smooth and efficient job. Here’s a list of what you’ll need:

1. Tools
- Measuring tape
- Utility knife
- Hammer
- Roofing nails or screws
- Caulking gun and roofing sealant
- Roofing adhesives
- Safety harness and gear
- Ladder or scaffolding (depending on roof height)
2. Materials
- Roofing membrane (modified bitumen or TPO, depending on your roof type)
- Wooden or metal framing (if constructing the cricket frame)
- Flashings (usually metal) to cover the cricket and prevent water seepage
- Sealant for waterproofing
- Drip edge (optional, for added protection)
Step-by-Step Guide to Installing a Roof Cricket
Follow this step-by-step guide to install a roof cricket behind a large equipment curb. This process can be completed by both professionals and DIYers, but safety should always be your top priority when working on a roof.
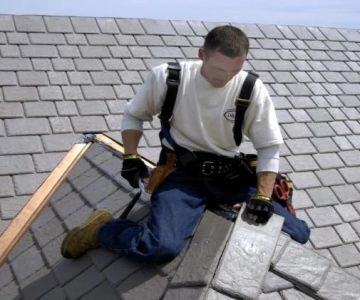
1. Preparation and Safety Measures
Before starting the installation, ensure the work area is clear of any debris. Put on your safety gear, including a harness, and secure the ladder or scaffolding. Make sure the roof is dry and free of any obstructions that may hinder the installation process.
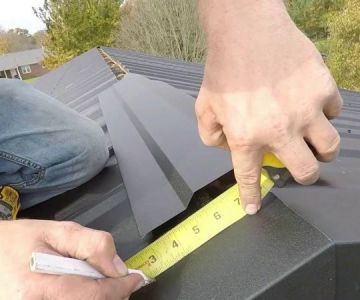
2. Measure and Mark the Area
Using your measuring tape, determine the size of the roof cricket you need. Typically, a cricket should be placed directly behind the equipment curb, with the point of the cricket facing downward to direct water away from the curb. Mark the area where the cricket will be installed, ensuring that the dimensions of the cricket are correct for the equipment curb's size.
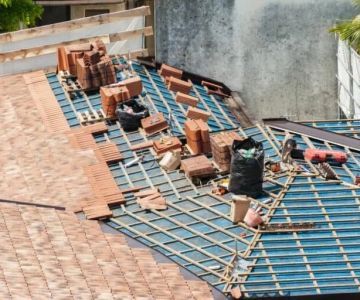
3. Build the Cricket Frame
If you are constructing the cricket from scratch, use wood or metal framing to create the desired slope and shape. The cricket frame should slope at a slight angle (usually 3-4 inches for every foot of horizontal distance) to ensure water flows away efficiently. Secure the frame using roofing nails or screws, making sure it is firmly attached to the roof deck.
4. Install the Flashing and Roofing Membrane
Once the cricket frame is in place, install the flashing around the cricket’s edges. This flashing should overlap with the edges of the equipment curb to ensure a watertight seal. Apply roofing adhesive to the flashing to secure it in place. Next, roll out the roofing membrane over the cricket, making sure to overlap the edges with the existing roofing material. Cut the membrane to fit the cricket's shape and seal it with roofing sealant to prevent water from seeping through the seams.
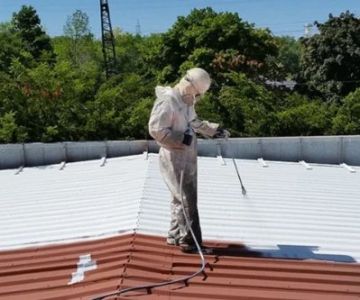
5. Seal and Waterproof
After installing the roofing membrane, use a caulking gun to apply sealant around the edges of the cricket and equipment curb. This will prevent water from leaking between the flashing and the membrane. Double-check all seams and edges to ensure that the cricket is properly sealed and waterproofed. If needed, install a drip edge to guide water further away from the equipment curb.
6. Final Inspection
Once the installation is complete, inspect the roof cricket carefully. Ensure that all seams are properly sealed, and the slope is correct to allow water to flow away from the equipment curb. It’s also important to check for any gaps or vulnerabilities in the roofing system. Perform a water test by gently pouring water behind the equipment curb to observe how well the cricket redirects the water.
Common Issues and Helpful Tips for Roof Cricket Installation
While installing a roof cricket behind a large equipment curb is a manageable task, there are common issues that may arise during installation. Here are some tips to address those problems and ensure a successful outcome:
1. Uneven Slopes
One common issue is creating an uneven slope for the cricket, which can prevent water from flowing correctly. Always double-check the slope measurements before securing the frame. A level or laser level can be particularly useful to ensure accuracy.
2. Flashing Leaks
Improperly installed flashing can result in leaks, which may cause water damage over time. Be sure to overlap the flashing properly and use roofing sealant on all seams. If using metal flashing, ensure it is bent to fit snugly against the equipment curb and cricket frame.
3. Weather Delays
Weather can often delay roofing projects. Make sure the weather conditions are dry and safe before starting your installation. Installing roofing material in rainy or windy conditions can compromise the effectiveness of the cricket and waterproofing.
If you're unsure about tackling this project yourself, don't hesitate to consult a professional roofer. Sometimes, expert assistance can help avoid costly mistakes and ensure the job is done right the first time.
For the best roofing tools and materials, check out BeachCo Roofing Hub, where we offer a wide range of products designed for successful roofing projects!

 Siar Construction5.0 (7 reviews)
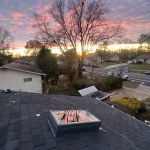 Impact Roofing & Renovations5.0 (21 reviews)
 Nugent Roofing, Inc.5.0 (28 reviews)
 Ramiro roofing0.0 (0 reviews)
 Fonseca Contractors Inc.2.0 (4 reviews)
 SmartRoof - Roofing and Solar4.0 (88 reviews)
 The Average Cost of a Roof Repair for a Leak at a Complex Roof Junction
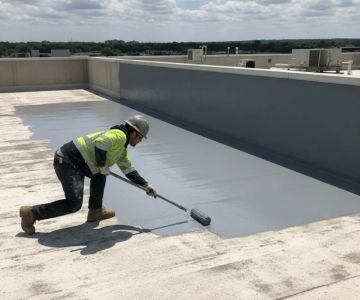
 The Lifespan of Roof Coatings: How Often They Need to be Reapplied
 What is a Roofing Scope of Work Document? A Comprehensive Guide
 The Cost of Roof Moss Removal and Prevention Treatments: A Complete Guide
 How to Install a Roof Vent for a Commercial Kitchen Exhaust System
 Choosing the Right Roofing Materials for Green Roof Systems