
- 1. The Importance of Ridge Caps in Roofing
- 2. Tools and Materials Needed for Installation
- 3. Step-by-Step Installation Guide
- 4. Common Mistakes to Avoid When Installing Ridge Caps
- 5. Real-Life Roofing Case Study
- 6. Recommended Products from BeachCo Roofing Hub
1. The Importance of Ridge Caps in Roofing
Roof ridge caps play a critical role in ensuring your roof is sealed properly and looks visually appealing. These caps are designed to cover the ridge—the highest point of the roof—protecting it from moisture infiltration and enhancing its overall appearance. Installing ridge caps not only ensures a weatherproof finish but also gives your roof a sleek, polished look that increases curb appeal.
Whether you're a professional roofer or a DIY enthusiast, learning how to install roof ridge caps correctly can make all the difference in both the durability and aesthetics of your roofing project.
2. Tools and Materials Needed for Installation
Before starting the installation, gather the necessary tools and materials. Here’s a list of what you’ll need:
- Roof Ridge Caps: Ensure you select the right style and size for your roof's pitch and design.
- Roofing Nails: Strong, weather-resistant nails designed for roofing tasks.
- Hammer or Nail Gun: To secure the ridge caps in place.
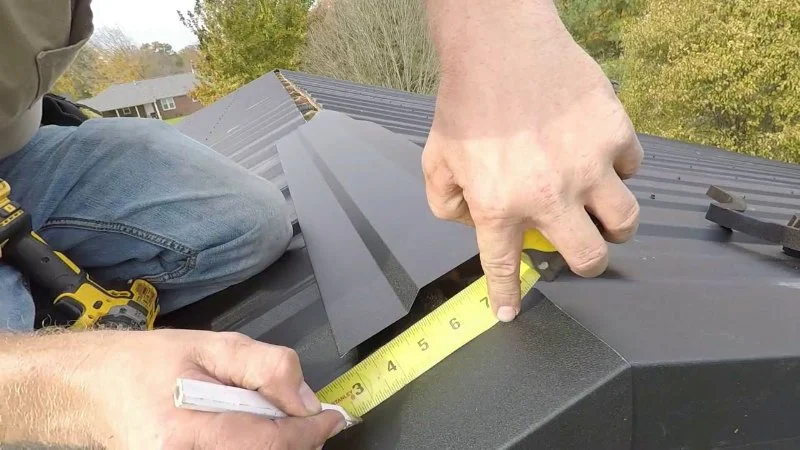
- Measuring Tape: To measure and cut ridge caps accurately.
- Utility Knife: For trimming any overhangs on the ridge caps.
- Ladder: To reach the roof safely and work at the ridge.
- Roofing Underlayment: For additional protection against water and moisture.
Having all of these materials prepared will make the installation process smoother and more efficient.
3. Step-by-Step Installation Guide
Follow this simple, step-by-step guide to install your roof ridge caps and achieve a professional, finished look:
Step 1: Prepare the Ridge
Before installing the ridge caps, ensure that the ridge is clean and free from any debris or old materials. You can use a broom to clear off any dust or dirt, making sure the surface is smooth and ready for the new caps.
Step 2: Lay the Underlayment
Install roofing underlayment along the ridge of your roof. This will provide an extra layer of protection against moisture that may seep through the caps. Lay the underlayment evenly and secure it using roofing nails.
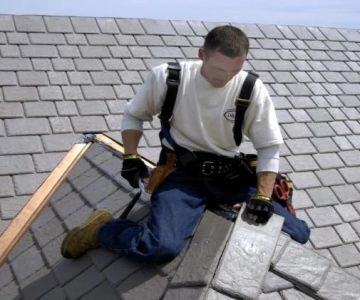
Step 3: Position the Ridge Caps
Start at one end of the ridge and carefully position the first ridge cap. Ensure it aligns correctly with the edge of the roof, leaving no gaps between the cap and the shingles. It’s important that the cap is flush with the roof to avoid water leakage.
Step 4: Secure the Caps with Nails
Using your hammer or nail gun, drive nails through the ridge cap to secure it firmly to the roof. Place the nails about every 6 inches along the edge of the cap, making sure they are evenly spaced and driven into the underlying roof decking. Do not overdrive the nails, as this can cause damage to the material.
Step 5: Continue Across the Ridge
Repeat the process, placing each new ridge cap directly over the previous one. Overlap the caps to ensure a tight seal. This overlap helps prevent water from entering through gaps, which can cause damage to your roof over time.
Step 6: Trim and Finish
Once you’ve covered the entire ridge, use a utility knife to trim any excess material from the ends of the caps. Finally, check the alignment one last time to ensure everything is perfectly straight and secure.
4. Common Mistakes to Avoid When Installing Ridge Caps
While installing ridge caps might seem like a simple task, there are common mistakes that many DIYers make. Here are a few to watch out for:
- Improper Alignment: If the ridge caps are not aligned properly, it can create gaps that allow water to seep in, leading to roof damage over time.
- Incorrect Nail Placement: Overdriving nails or not using enough nails can cause the caps to loosen or warp, potentially leading to leaks.
- Skipping Underlayment: Failing to install underlayment can result in inadequate moisture protection, especially during heavy rainstorms.
- Ignoring the Overlap: Overlapping ridge caps ensures a weather-tight seal. Skipping this step can cause the roof to be less weatherproof.
Avoiding these mistakes will help ensure your roof remains secure and looks great for years to come.
5. Real-Life Roofing Case Study
Take the case of John from Florida, who decided to install ridge caps on his roof after noticing a few leaks during rainstorms. With some research and guidance, John followed a similar process to the one outlined here. By using high-quality ridge caps and paying close attention to detail, he successfully sealed his roof, preventing further leaks. His home now has an improved appearance and better protection against the elements.
John’s story highlights how important it is to take your time with installation and invest in quality materials to avoid costly repairs later on.
6. Recommended Products from BeachCo Roofing Hub
If you’re looking for high-quality ridge caps and roofing materials, BeachCo Roofing Hub offers a wide range of products that can help ensure your roof installation is a success. From premium ridge caps to underlayment and tools, we have everything you need to get the job done right. Explore our selection today for top-rated roofing supplies.


 Siar Construction5.0 (7 reviews)
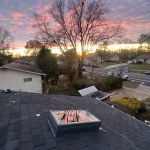 Impact Roofing & Renovations5.0 (21 reviews)
 Nugent Roofing, Inc.5.0 (28 reviews)
 Ramiro roofing0.0 (0 reviews)
 Fonseca Contractors Inc.2.0 (4 reviews)
 SmartRoof - Roofing and Solar4.0 (88 reviews)
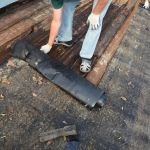 The Average Cost of a Roof Repair for a Leak at a Complex Roof Junction
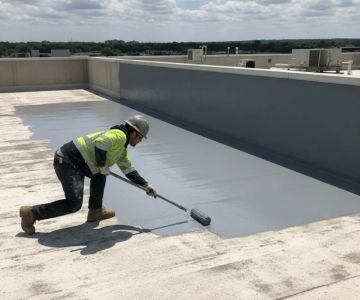
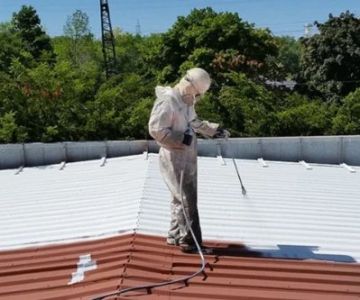
 The Lifespan of Roof Coatings: How Often They Need to be Reapplied
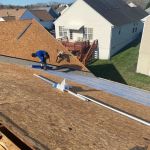 What is a Roofing Scope of Work Document? A Comprehensive Guide
 The Cost of Roof Moss Removal and Prevention Treatments: A Complete Guide
 How to Install a Roof Vent for a Commercial Kitchen Exhaust System
 Choosing the Right Roofing Materials for Green Roof Systems