

How to Install Roof Heat Cable on an EPDM Rubber Roof
If you live in an area prone to heavy snow and ice buildup, installing a roof heat cable system on your EPDM rubber roof can be a game changer. EPDM (Ethylene Propylene Diene Monomer) roofs are durable, but they require proper maintenance to ensure they handle winter conditions effectively. Roof heat cables can prevent the formation of ice dams, reduce snow buildup, and protect your roof from long-term damage. In this article, we will guide you through the steps to install roof heat cables on an EPDM rubber roof, providing tips to ensure your installation is both effective and safe.
Patriot Roofing Inc
SpringfieldBurlington CountyNew Jersey
2083 Jacksonville Jobstown Rd, Jobstown, NJ 08041, USA
1. Why Install Roof Heat Cables on EPDM Roofs?
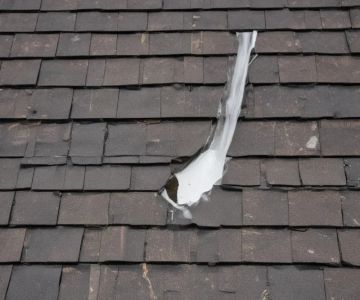
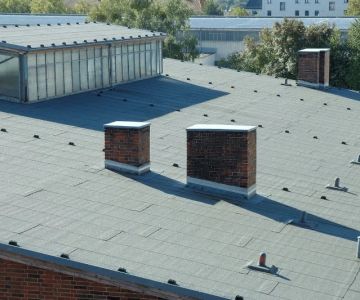
EPDM roofs are commonly used for both residential and commercial buildings due to their resistance to weathering, UV rays, and temperature extremes. However, during winter months, they are still susceptible to ice dams and water buildup caused by snow and ice melting unevenly. Here’s why installing a roof heat cable system is important:
- Prevents Ice Dams: Heat cables melt snow and ice along the roof's edge, preventing the formation of ice dams that can cause water to back up under the shingles.
- Protects Roof Integrity: By keeping the roof edge clear of ice, heat cables help preserve the structural integrity of the roof, avoiding damage from water infiltration.
- Improves Drainage: Heat cables assist in ensuring proper drainage by preventing the formation of blockages in the gutters and downspouts caused by ice and snow buildup.
2. Preparing for Installation
Before you begin installing the roof heat cables, you’ll need to gather all the necessary tools and materials. Here’s what you’ll need:
- Roof Heat Cable Kit: Choose a kit designed specifically for EPDM roofing. Look for a system that is durable, flexible, and rated for outdoor use.
- Power Source: Ensure that you have access to an electrical outlet or power source near your roof for the heat cable connection.
- Ladder or Scaffold: You will need a safe way to access the roof, especially if it’s steep or has multiple levels.
- Roof Clips or Fasteners: These are used to secure the heat cable along the roof and gutters.
- Weatherproof Extension Cords: For connecting the heat cable to the power source, you will need an outdoor-rated extension cord.
3. Steps to Install Roof Heat Cable on EPDM Roof
Once you have your tools ready, follow these steps to install the roof heat cables safely and effectively:
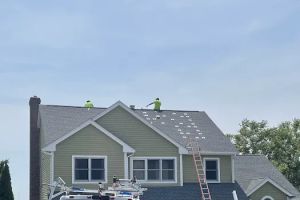
1. Position the Cables Along the Roof Edge
The primary location for heat cable installation is along the roof’s edge, where snow and ice tend to accumulate. Begin by laying the heat cables along the edge of the roof, starting at the lowest point near the gutters. Make sure the cables are spaced according to the manufacturer’s guidelines—usually, a spacing of 6 to 12 inches is recommended for optimal heat distribution.
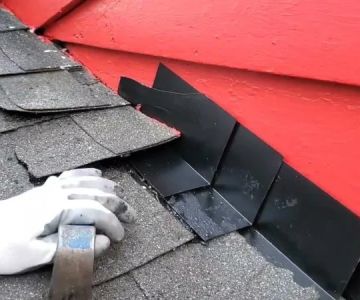
2. Attach the Cables Securely
Use the roof clips or fasteners to secure the heat cables to the roof. These clips will keep the cables in place without damaging the EPDM surface. Be careful not to overtighten the clips, as this could cause unnecessary pressure on the roof membrane. Attach the clips every few feet to ensure the cables are evenly spaced and secure.
3. Connect the Cables to the Power Source
Once the cables are securely fastened, it’s time to connect them to a power source. Make sure the extension cord you use is rated for outdoor use and can handle the load of the heat cables. Plug the cables into the appropriate electrical outlet, ensuring that the connections are weatherproof to prevent electrical hazards.
4. Test the System
Before securing everything and finishing the installation, it’s important to test the system. Turn on the heat cables and check that they are warming up along the roof edge. Ensure that the cables are functioning properly and that they are warming evenly. You can check for heat by gently touching the cables with your hand or by using a thermal camera to verify their operation.
5. Secure the Power Connections
Once you’ve confirmed that the system is working, make sure to secure the power connections. You can use weatherproof electrical boxes or enclosures to protect the connections from the elements. Make sure there’s no exposed wiring or power cords that could be damaged by rain or snow.
4. Maintaining Your Roof Heat Cable System
After installing the roof heat cables, it’s important to regularly inspect and maintain the system to ensure it continues to function properly:
- Check for Damage: Regularly inspect the cables for any signs of wear or damage. Replace any sections that are frayed or exposed.
- Clean the Roof: Keep your roof clean and free of debris that could obstruct the heat cables. Remove fallen branches, leaves, and other debris that could block heat flow.
- Test Annually: Before the winter season, test the system to ensure it’s working properly. Consider having a professional inspect the cables to check for any potential issues.
5. When to Call a Professional
While installing roof heat cables can be a manageable DIY project, it’s always wise to call a professional if you encounter any issues, especially with electrical connections or the roof’s structural integrity. A professional roofer can help ensure that the system is installed correctly and safely, reducing the risk of damage to your EPDM roof.
Conclusion
Installing roof heat cables on an EPDM rubber roof is an effective way to prevent ice dams and reduce snow buildup. By following the proper steps, you can safeguard your roof and ensure its longevity through harsh winter conditions. Regular maintenance and testing will keep your system running smoothly and protect your home from potential water damage caused by ice and snow.
For expert roofing services and advice, visit BeachCo Roofing Hub for everything you need to maintain and enhance your roof.


 Approved Roofing5.0 (4 reviews)
 Brooklyn Power Roofing5.0 (9 reviews)
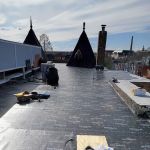 CJ Roofing, LLC5.0 (57 reviews)
 Allstate Contracting | Roofing Siding Windows & Gutters5.0 (12 reviews)
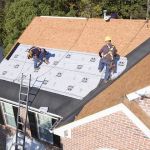 Al's Group Roofing4.0 (55 reviews)
 Power Roofing & Gutters4.0 (52 reviews)
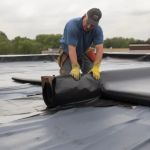 Flat Roof Repair: Identifying Issues and Choosing the Right Method
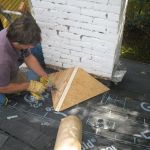 How to Install a Roof Cricket Behind a Rooftop Stairwell Enclosure
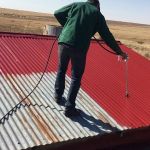 How to Paint a Roof: Is It a Good Idea and What Paint to Use?
 How to Choose a Roofing Material for High Wind Areas
 What is a Roofing System Health Report? A Proactive Assessment Tool
 The Cost of a New Roof with Enhanced Algae Resistance Warranty