
1. Why Install Roof Ice and Water Shield?
Installing an ice and water shield on your roof deck is a crucial step in protecting your home from water damage, particularly in regions with freezing temperatures and heavy snow. Ice dams can form when warm air from the attic melts the snow on the roof, causing water to seep under shingles and leak into the house. This can lead to mold, rot, and costly repairs. A high-quality ice and water shield acts as a barrier, preventing water from entering your home and offering peace of mind during the winter months.
Beyond protecting your roof from ice dams, a roof ice and water shield can also enhance the longevity of your roofing materials, reduce the risk of leaks, and increase your home’s overall energy efficiency by preventing heat loss. If you live in a climate prone to winter weather, this installation is an essential part of your roofing system.

2. Preparing Your Roof Deck for Installation
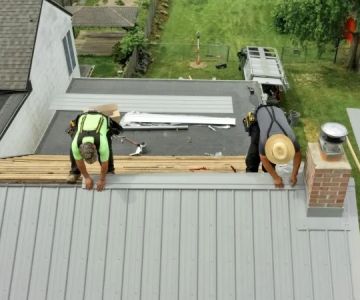
Before beginning the installation process, proper preparation of the roof deck is crucial to ensure that the ice and water shield adheres properly and provides maximum protection. Here are the key steps for preparing your roof deck:
- Clean the Roof Surface: Start by removing any dirt, debris, old roofing materials, or nails from the roof deck. A clean surface ensures the ice and water shield will bond properly and adhere securely.
- Inspect the Decking: Check for any areas of damage or wear on the roof deck. Repair any rotting wood, holes, or other issues before proceeding with the installation.
- Measure and Cut: Measure the dimensions of your roof and cut the ice and water shield to fit. The shield should cover the entire deck, especially in areas where ice dams are most likely to form, such as eaves, valleys, and around chimneys.
3. Steps to Install Ice and Water Shield on Your Roof Deck
Now that your roof deck is prepped and ready, it’s time to install the ice and water shield. Follow these steps to ensure a successful installation:
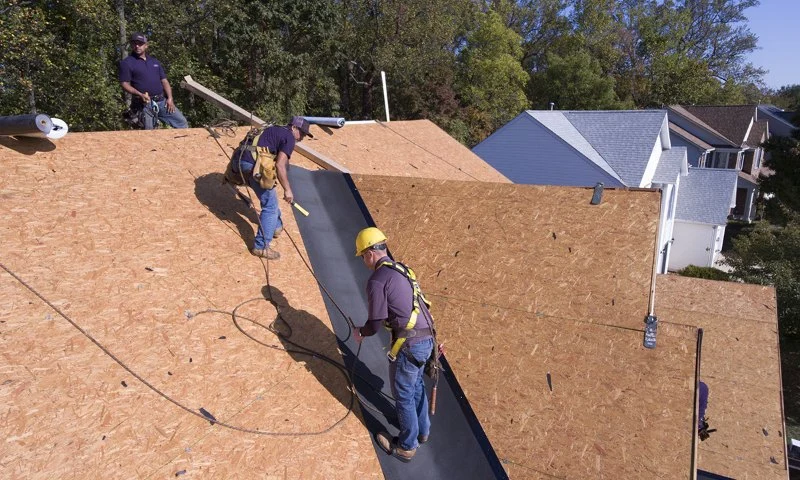
- Step 1: Start at the Eaves
Begin installing the ice and water shield at the lowest point of the roof (the eaves). Unroll the shield and position it along the roof's edge. The shield should extend at least 24 inches up from the eaves, although some experts recommend going higher for additional protection. Make sure the shield is straight and evenly applied across the surface. - Step 2: Unroll and Adhere the Shield
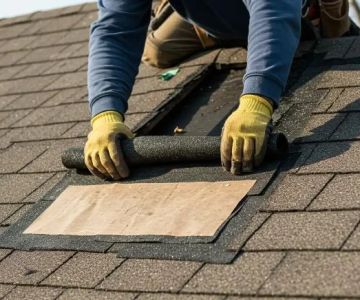
As you unroll the ice and water shield, press it firmly onto the roof deck, making sure there are no wrinkles or air pockets. The adhesive backing will help it stick, but you may need to use a roller or press the material down by hand to ensure a secure bond. - Step 3: Overlap the Shield
When applying the shield, be sure to overlap the edges by about 6 inches. This overlap ensures that the shield covers any gaps and prevents water from seeping through the seams. - Step 4: Work Up the Roof
Continue unrolling and applying the shield upward, row by row. Make sure each row is properly aligned and securely pressed into place. For maximum protection, install the shield under the shingles, allowing the shingles to cover the top edge of the ice and water shield. - Step 5: Secure the Shield at the Top
Once you’ve reached the peak of the roof, cut the shield to fit and secure it in place. Ensure that the top edge is fully covered and sealed to prevent any leaks from entering the attic.
4. Common Installation Mistakes to Avoid
While installing a roof ice and water shield is a relatively straightforward process, there are some common mistakes that can lead to poor performance or damage. Avoid these pitfalls:
- Skipping Proper Surface Preparation: Not cleaning the roof deck or inspecting it for damage can result in poor adhesion, which may cause the ice and water shield to peel or shift over time.
- Insufficient Overlap: Failing to overlap the seams of the shield by at least 6 inches can leave gaps where water can seep through. Proper overlap is essential for ensuring full coverage and preventing leaks.
- Not Extending the Shield High Enough: For maximum protection, extend the ice and water shield higher up the roof, especially in areas prone to ice dams, such as valleys, chimneys, and eaves.
- Not Properly Securing the Top Edge: The top edge of the shield must be properly secured to ensure it doesn’t lift or allow water to penetrate. Be sure to apply shingles directly over the top edge for a secure seal.
5. Maintaining Your Roof Ice and Water Shield
Once the ice and water shield is installed, it’s important to maintain it properly to ensure its continued effectiveness. Here are some maintenance tips:
- Regular Roof Inspections: Check your roof regularly for signs of damage, such as loose shingles or tears in the ice and water shield. Early detection can prevent costly repairs down the line.
- Clean Gutters and Downspouts: Clogged gutters can contribute to ice dam formation, so be sure to keep them clean and free of debris. This will help your ice and water shield perform optimally.
- Repair Any Damages Promptly: If you notice any damage to the ice and water shield or shingles, make repairs as soon as possible to avoid leaks or water damage.
If you’re unsure about installing an ice and water shield on your roof or need professional help, visit BeachCo Roofing Hub for expert roofing services, quality materials, and comprehensive advice on protecting your roof from water damage and ice dams.


 Home Crafters Roofing & Contracting5.0 (2776 reviews)
 FERDI LLC5.0 (1 reviews)
 Mighty Dog Roofing of Essex and Passaic4.0 (9 reviews)
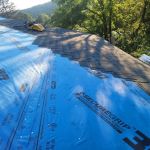 Storm Guard Roofing, LLC4.0 (15 reviews)
 High Point Roofing and Remodeling4.0 (468 reviews)
 United Home Experts4.0 (571 reviews)
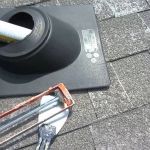 How to Replace a Roof Vent Pipe Boot: A Common Source of Leaks
 The Average Cost of a Roof Coating with Elastomeric Properties
 The Pros and Cons of Green Roofs or Living Roofs
 How to Prevent Roof Damage from Inadequate Fireproofing in High-Risk Areas
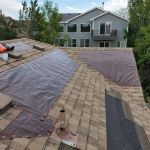 How to Repair a Roof Leak in a Building with a Fabric Tensile Roof Structure
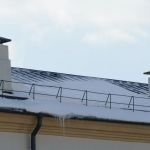 How to Install Roof Ice and Water Shield on Complex Roof Details