
How to Repair a Roof Leak from a Rooftop Walkway or Bridge
- Understanding Rooftop Leaks from Walkways and Bridges
- Common Causes of Roof Leaks in Walkways and Bridges
- Tools and Materials Needed for Repair
- Step-by-Step Roof Leak Repair Process
- Preventative Maintenance Tips for Rooftop Walkways
- BeachCo Roofing Hub: Quality Roofing Solutions
Understanding Rooftop Leaks from Walkways and Bridges
Rooftop walkways or bridges provide essential access for maintenance and other building needs, but they can also be a potential source of roof leaks if not properly constructed or maintained. These walkways are typically installed on flat or low-slope roofs, which makes them vulnerable to water pooling and wear over time.
Leaks from a rooftop walkway or bridge can occur at various points, including the joints between the walkway and the roof, the flashings around the walkway, or any areas where the walkway is attached to the building. Understanding how these elements contribute to leaks is essential for pinpointing the source of the issue and carrying out an effective repair.
Common Causes of Roof Leaks in Walkways and Bridges
There are several common causes of leaks in rooftop walkways and bridges, and identifying the root cause is crucial for performing the correct repair. Here are some of the most frequent culprits:

1. Damaged Flashing
Flashing is used to seal joints and edges where the roof meets other structures, such as walkways or bridges. Over time, flashing can degrade or become dislodged due to weather exposure, leading to gaps where water can enter the roof system.
2. Wear and Tear on Walkway Membranes
The surface material of the walkway itself can wear out due to foot traffic, environmental factors, or general aging. As the material degrades, it may crack or create holes, allowing water to penetrate beneath the surface and leak into the building.
3. Poor Installation or Design
Improper installation of the walkway or roof membrane is another common cause of leaks. If the walkway was not installed with sufficient slope or if there were issues with waterproofing, water may collect in low areas and leak into the building. Additionally, improper sealing around joints and edges can lead to future issues.
4. Blocked Drains or Gutters
Rooftop drainage systems, including gutters and downspouts, are essential for directing water away from the roof. If these drains become blocked by debris, water can accumulate and increase the risk of leaks in areas where the walkway meets the roof.
Tools and Materials Needed for Repair
Before starting any roof leak repair, it’s important to gather the right tools and materials to ensure a successful fix. Below is a list of the essentials you’ll need for repairing a roof leak from a rooftop walkway or bridge:
- Roof ladder or scaffolding for safe access
- Rubber gloves and safety goggles
- Roofing sealant or waterproofing membrane
- Caulking gun
- Utility knife or scissors (for cutting materials)
- Brush or scraper (for cleaning surfaces)
- Roof patching materials (if necessary)
- Cleaning materials (soap, water, and rags)
Step-by-Step Roof Leak Repair Process
Once you have all the necessary tools and materials, follow these steps to repair a roof leak from a rooftop walkway or bridge:
1. Inspect the Roof and Locate the Leak
Start by inspecting the area where the leak is most noticeable. Look for signs of water damage or areas that may have accumulated standing water. Carefully inspect the flashing, seams, and walkway surface for any visible cracks or damage. If the leak is not immediately visible, follow the path of the water damage to find the source.
2. Clean the Area
Before applying any repairs, clean the affected area thoroughly. Use a brush or scraper to remove any debris, dirt, or loose material from the leak site. This ensures that your sealant or patch will adhere properly to the surface.
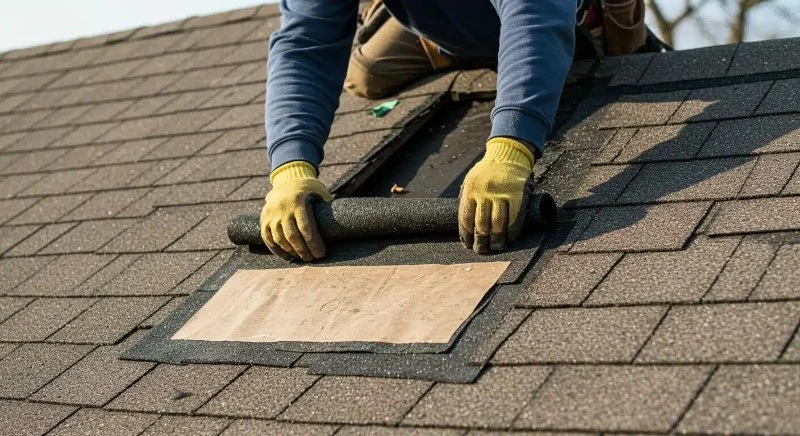
3. Apply Waterproof Sealant or Patch
If the leak is small and localized, apply a generous amount of roofing sealant to the damaged area. Use a caulking gun to evenly distribute the sealant, making sure to cover any cracks or gaps. For larger leaks, you may need to apply a waterproof membrane or roof patching material to seal the area effectively.
4. Check and Replace Flashing
If the leak is caused by damaged flashing, carefully remove the old flashing and replace it with new, properly sealed flashing. Ensure that the flashing is securely fastened to prevent future leaks.
5. Test the Repair
Once the repair has dried, test the area by running water over it or waiting for rainfall. Ensure that the repair holds up and that no water is entering the building.
Preventative Maintenance Tips for Rooftop Walkways
Regular maintenance is key to preventing future roof leaks, especially for rooftop walkways and bridges. Here are some tips to keep your roof in top condition:
- Inspect the roof and walkway regularly for damage or wear, particularly after storms or heavy foot traffic.
- Clean gutters and drains to ensure proper water drainage.
- Apply protective coatings or waterproofing agents to the roof surface to prevent wear and water damage.
- Replace damaged or degraded flashing immediately to prevent water from entering the building.
- Address small issues promptly before they turn into major leaks.
BeachCo Roofing Hub: Quality Roofing Solutions
If you’re looking for professional help with your rooftop leak repair or need quality materials for your project, visit BeachCo Roofing Hub. They offer a wide range of roofing solutions, products, and expert services to help you maintain a leak-free rooftop and ensure long-lasting protection for your building.


 Second Generation Contractors LLC4.0 (3 reviews)
 Lama Painting and Drywall Co, Inc5.0 (3 reviews)
 MB ROOFING LLC4.0 (110 reviews)
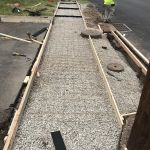 All County Professional5.0 (16 reviews)
 Star Roofing & Restoration4.0 (320 reviews)
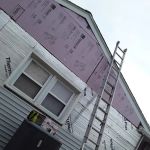 B&E roofing and siding5.0 (3 reviews)
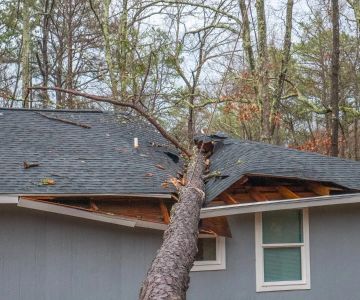
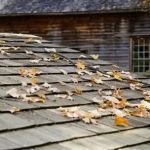 How to Handle Roof Damage Caused by Fallen Tree Branches
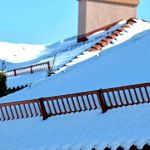 How to Install Roof Snow Guards on a Tile Roof for Winter Safety
 What is a Roofing Warranty Transfer and How Does it Work When You Sell?
 How Agricultural Chemicals Affect the Lifespan of Your Roof
 The Average Cost of a Roof Warranty Extension Beyond Standard Terms
 How to Install Roof Vents on a House with a Shallow Attic Space