
How to Repair a Roof Leak from a Rooftop Solar Array Mounting System
- Common Causes of Roof Leaks from Solar Array Mounting Systems
- How to Identify Leaks in a Solar-Paneled Roof
- Steps to Repair a Roof Leak from Solar Array Mounting
- Tools Needed for Repairing Roof Leaks
- Real-Life Examples of Solar Panel Roof Leak Repairs
1. Common Causes of Roof Leaks from Solar Array Mounting Systems
When you install a solar array on your roof, the mounting system plays a critical role in securing the panels in place. However, improperly installed or aged mounting systems can lead to roof leaks. The primary causes of these leaks are:
- Improper Installation: If the mounting system is not securely attached to the roof or if the roof penetration is poorly sealed, water can infiltrate the space around the mounting system.
- Worn-out Seals: Over time, the seals around the mounting brackets may degrade, allowing water to seep through and cause leaks.
- Damaged Flashing: Flashing that directs water away from the roof penetration may get damaged during installation or over time, contributing to leaks.
- Clogged Drains: If the drainage systems on the roof are clogged, water can pool around the mounting brackets, leading to leaks.
2. How to Identify Leaks in a Solar-Paneled Roof
Detecting a roof leak caused by the solar array mounting system requires a systematic approach. Here are the steps to identify the leak:
- Inspect the Roof Surface: Look for any visible signs of water damage on the roof, including discoloration, wet spots, or mold growth around the mounting brackets.
- Check the Mounting Points: Inspect the points where the solar panels are attached to the roof. If there are gaps or damaged seals around these areas, they could be the source of the leak.
- Water Test: On a dry day, use a garden hose to spray water over the solar panel mounting system. Have someone inside the attic or the affected area of the house to watch for signs of water intrusion. This method will help you pinpoint the leak's location.
3. Steps to Repair a Roof Leak from Solar Array Mounting
Once you've identified the source of the leak, it’s time to begin the repair process. Here are the steps you can follow:
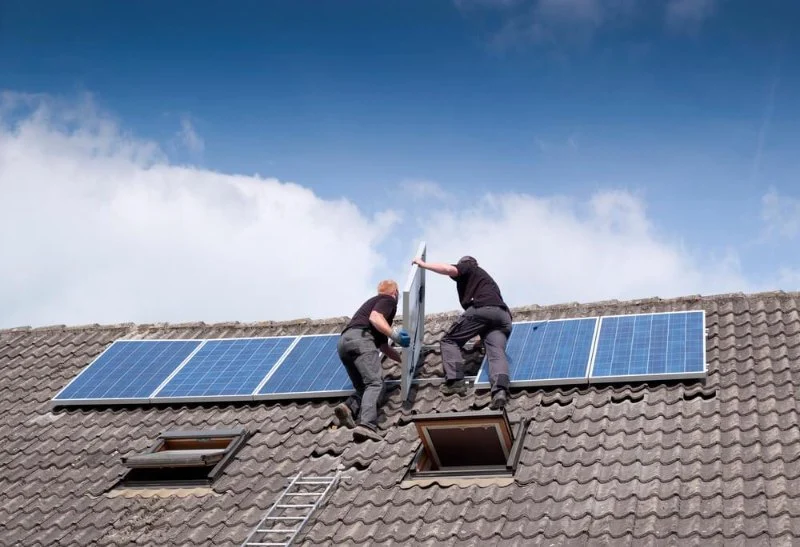
- Remove the Solar Panels: Carefully disconnect the solar panels from the mounting system to expose the roof penetration areas where the leak is occurring. It’s essential to ensure no electrical components are damaged during the process.
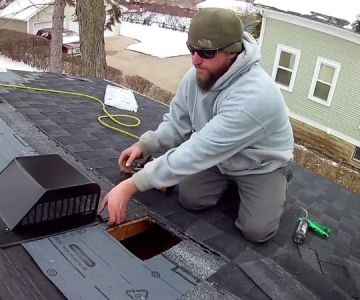
- Inspect the Mounting System: Check the mounting brackets, screws, and seals around the area for any damage or degradation. Tighten any loose screws and replace any seals that show signs of wear.
- Fix the Roof Penetration: If the roof penetration (the hole where the mounting brackets go through the roof) is the source of the leak, apply a high-quality roofing sealant or flashing around the hole. Ensure the sealant is compatible with your roof type.
- Replace Damaged Flashing: If the flashing around the mounting brackets is damaged, replace it with new flashing that redirects water away from the penetration.
- Reinstall the Solar Panels: Once all repairs are made and the roof is sealed, reinstall the solar panels securely, ensuring the mounting system is tight and leak-free.
4. Tools Needed for Repairing Roof Leaks
Repairing a roof leak from a rooftop solar array mounting system requires specific tools to ensure the job is done properly:
- Roofing sealant or flashing material
- Power drill with screwdriver attachments
- Safety harness and roof ladder
- Sealant gun
- Utility knife for cutting flashing and sealant material
- Waterproof roofing tape (if needed for temporary repairs)
- Solar panel disconnect tool
5. Real-Life Examples of Solar Panel Roof Leak Repairs
One homeowner, John, had a solar array installed on his roof a few years ago. Over time, he noticed water spots appearing on his ceiling. After inspecting the roof, he found that the mounting brackets were not properly sealed, causing water to leak around them. By following the repair steps, he was able to fix the leak by resealing the brackets and replacing the damaged flashing. This simple repair not only stopped the leak but also ensured that his solar system continued to operate efficiently.
Another example comes from Sarah, who had her solar array installed by a contractor who did not properly check for potential water drainage issues. As a result, water accumulated around the mounting points, causing a leak. After consulting a roofing professional, she had the panels removed, the roof sealed, and the flashing replaced. The leak was fixed, and Sarah felt much more secure knowing her roof and solar system were properly protected.
Conclusion:
Repairing a roof leak from a rooftop solar array mounting system can seem daunting, but by following the right steps and using the correct tools, you can effectively address the issue. Ensuring proper sealing, checking for damage, and replacing worn-out materials will help maintain both the integrity of your roof and the efficiency of your solar panels. If you need expert advice or services, visit BeachCo Roofing Hub for the best roofing solutions and professional services.


 D Project inc.5.0 (1 reviews)
 NE CONTRACTORS, INC4.0 (48 reviews)
 Nations Home Remodelers3.0 (7 reviews)
 Cachis roofing, llc0.0 (0 reviews)
 Vintage Copper & Slate5.0 (1 reviews)
 K. Howard Contracting LLC5.0 (5 reviews)
 Common Roofing Scams and How to Avoid Them: High-Pressure Sales and Free Inspections
 How to Install a Roof Underlayment for a Clay Tile Roof
 How to Choose a Roofing Contractor That Uses Energy-Efficient Materials
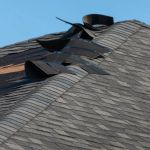 How to Prevent Roof Damage from Wind-Driven Rain | BeachCo Roofing Hub
 What is a Roofing Material Sustainability Certification? (e.g., LEED, Cool Roof)
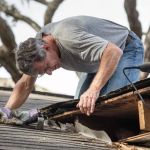 How Much Does It Cost to Repair a Roof Leak Around a Vent Pipe?