
- 1. Understanding Low Slope Roofs
- 2. Choosing the Right Shingles for Low Slope Roofs
- 3. Steps to Install Roof Shingles on a Low Slope Roof
- 4. Common Mistakes to Avoid During Shingle Installation
- 5. Maintenance and Care for Low Slope Roof Shingles
1. Understanding Low Slope Roofs
Low slope roofs, often referred to as "flat roofs," typically have a pitch of less than 3:12, meaning they rise only 3 inches for every 12 horizontal inches. While they are commonly seen in commercial buildings, low slope roofs are also used in residential homes, particularly in modern designs. These roofs require specialized installation techniques and materials, as they are more prone to water accumulation due to their minimal incline.
Understanding the structure of a low slope roof is crucial when installing roof shingles. Unlike steep-slope roofs, which easily shed water and debris, low slope roofs can experience water pooling. This increases the risk of leaks and damage. Choosing the right materials and installation methods is essential for ensuring long-term durability and effectiveness.
2. Choosing the Right Shingles for Low Slope Roofs
When installing shingles on a low slope roof, it’s important to choose the right type of roofing material. Standard asphalt shingles, which are commonly used on steep roofs, may not be the best choice for low slope applications. Instead, opt for shingles designed specifically for low slope roofs. These shingles are more durable and resistant to the issues caused by water pooling.
Here are a few types of shingles that work well on low slope roofs:
- Modified Bitumen Shingles: These shingles are made from asphalt and rubber or plastic, offering flexibility and water resistance. They are ideal for low slope roofs due to their ability to resist moisture and wear.
- EPDM (Ethylene Propylene Diene Monomer): EPDM is a synthetic rubber roofing material that is highly effective for low slope roofs. It offers excellent waterproofing capabilities and is easy to install.
- TPO (Thermoplastic Olefin) Shingles: TPO is a heat-weldable material that provides a strong, waterproof seal. It’s a good option for low slope roofs due to its resistance to UV rays, heat, and water.
Make sure to consult with a roofing professional at stores like BeachCo Roofing Hub to select the best shingles for your roof's needs.
3. Steps to Install Roof Shingles on a Low Slope Roof
Installing roof shingles on a low slope roof requires careful preparation and proper techniques to ensure a secure, waterproof finish. Here’s a step-by-step guide to installing shingles on your low slope roof:
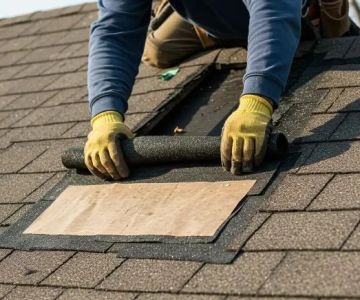
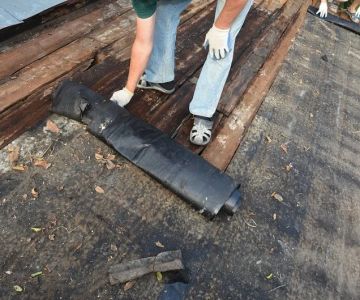
- Prepare the Roof Deck: Begin by cleaning the roof surface and ensuring it's free of debris. Repair any damage or imperfections in the deck to provide a solid base for the shingles.
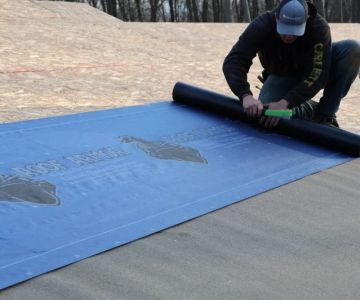
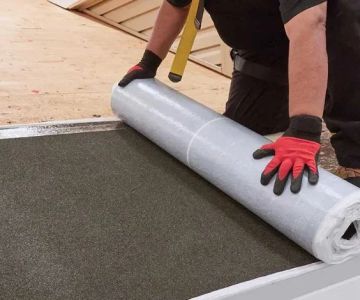
- Install a Waterproof Membrane: Apply a layer of self-adhesive waterproof membrane across the roof deck. This membrane acts as a barrier against water and is essential for low slope roofs, where water can easily pool.
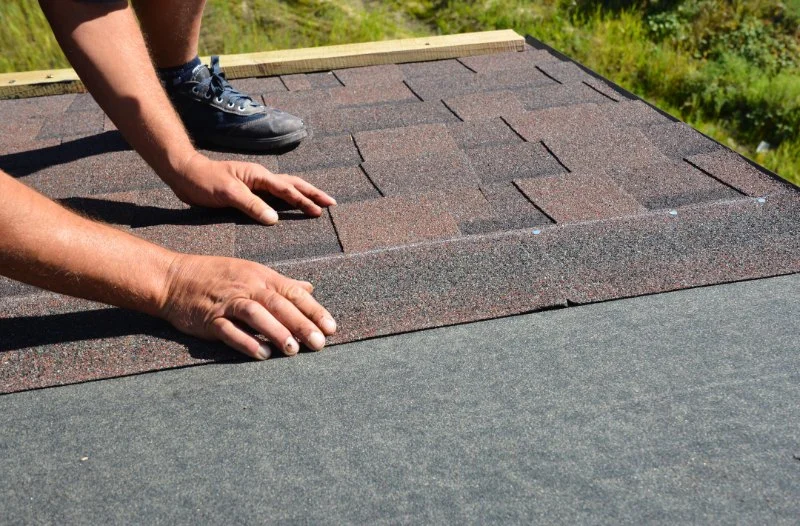
- Install Starter Shingles: Start by installing a row of starter shingles along the edge of the roof. These shingles should be nailed securely to prevent wind damage and to ensure they form a solid foundation for the rest of the shingles.
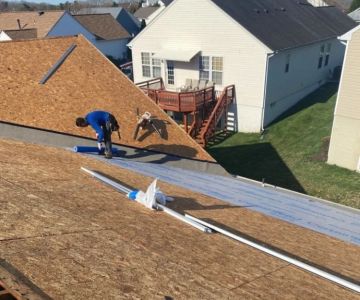
- Place the Shingles: Begin installing the shingles, starting from the eaves and working your way up. Overlap each row to ensure proper water shedding. For low slope roofs, use adhesive to help seal the shingles together and prevent leaks.
- Seal the Shingles: Apply roofing sealant along the seams and edges of the shingles to ensure waterproofing. Make sure there are no gaps or exposed areas where water can penetrate.
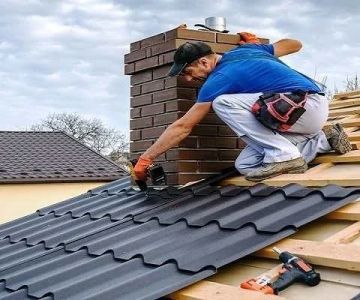
- Install Flashing and Trim: Flashing around vents, chimneys, and roof edges is essential to prevent water from entering through these openings. Install the flashing, and then add trim pieces for a finished look.
4. Common Mistakes to Avoid During Shingle Installation
While installing shingles on a low slope roof is manageable with the right techniques, there are common mistakes that can compromise the roof’s integrity. Avoid the following pitfalls:
- Incorrect Shingle Overlap: Failing to properly overlap shingles can lead to gaps where water can enter. Ensure that each row is securely overlapped to maintain a watertight seal.
- Neglecting to Use Waterproofing Membrane: Skipping the installation of a waterproof membrane can lead to leaks and water damage. Always use a high-quality membrane to protect the roof deck.
- Improper Flashing Installation: Flashing around roof penetrations must be installed correctly to prevent leaks. Improperly installed flashing is a common cause of roof leaks.
- Using the Wrong Type of Shingles: Always select shingles that are appropriate for low slope roofs. Standard asphalt shingles may not provide adequate waterproofing for low slope applications.
5. Maintenance and Care for Low Slope Roof Shingles
Once your shingles are installed, proper maintenance is key to extending the lifespan of your low slope roof. Regular inspections, cleaning, and repairs can prevent costly damage. Here are a few maintenance tips:
- Inspect Regularly: Check the roof at least twice a year, especially after heavy storms, to ensure there are no loose or damaged shingles.
- Clean Debris: Keep the roof free of debris, leaves, and branches that can cause water to pool or block drainage.
- Repair Damaged Shingles: If you notice any missing or damaged shingles, replace them immediately to prevent water damage.
With proper care and attention, your low slope roof with shingles will continue to protect your home for many years to come.
 Starzec Builders4.0 (4 reviews)
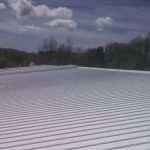 New York Central Spray Coat LLC0.0 (0 reviews)
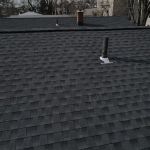 Simple Roofing5.0 (77 reviews)
 Valley Roofing and Restoration5.0 (199 reviews)
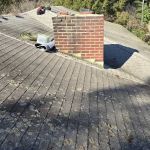 Madera's Roofing LLC5.0 (44 reviews)
 R&S Construction Services Inc.3.0 (4 reviews)
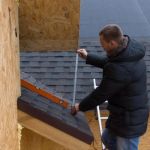 How to Calculate Roof Pitch: A Simple Guide for Homeowners
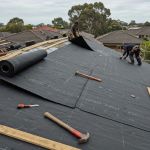 How to Install Roofing Felt Underlayment Correctly
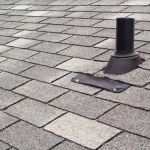 How to Install Roof Vents on a House with No Soffits
 How to Choose a Roofing Contractor That Uses Energy-Efficient Materials
 The Best Roofing Materials for a Home in an Area with Frequent Sandstorms
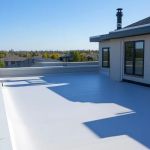 How to Install a Roof Cricket on a PVC Roof Membrane