
1. Why Install a Roof Vent for Gas Appliances?
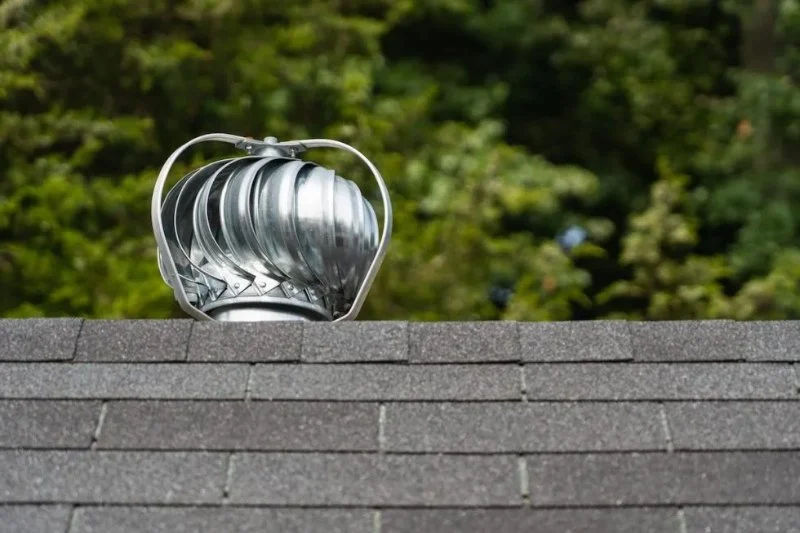
Installing a roof vent for your gas water heater or furnace is essential for ensuring proper ventilation and preventing dangerous gas buildup inside your home. Without proper venting, gas appliances can produce harmful byproducts like carbon monoxide, which is a silent and deadly gas. A roof vent helps to expel these gases safely outside, protecting both your family and the integrity of your home. In addition, proper ventilation improves the efficiency of your appliances, helping them work better and last longer.
2. Steps to Install a Roof Vent for a Gas Water Heater or Furnace
Installing a roof vent for a gas appliance may seem like a complicated task, but with the right instructions, it can be manageable. Below is a step-by-step guide to help you get the job done:
- Step 1: Assess the Existing Venting System – Before starting, check the existing venting system to ensure that it’s suitable for your new appliance. You may need to replace an old vent or install a new one if there isn’t one in place.
- Step 2: Measure and Mark the Spot – Determine where the vent will exit your roof. Measure the distance from the gas appliance to the location on the roof where the vent will be installed. Mark the spot on the roof for cutting.
- Step 3: Cut the Hole in the Roof – Using the appropriate cutting tool, carefully cut a hole in the roof where you’ve marked it. This hole should be large enough to accommodate the vent pipe.
- Step 4: Install the Roof Flashing – The flashing is designed to prevent water from leaking into the roof around the vent pipe. Apply roofing sealant and fit the flashing over the vent pipe, securing it to the roof surface.
- Step 5: Attach the Vent Pipe – Install the vent pipe from the gas appliance to the roof, ensuring that it’s securely connected at both ends. The pipe should slope upward toward the roof to allow gases to escape freely.
- Step 6: Seal the Installation – Apply roofing sealant around the vent pipe and flashing to create a watertight seal. This will prevent leaks and ensure that your roof is properly sealed.
- Step 7: Inspect and Test the Vent – Once the vent is installed, turn on your gas appliance to ensure that it is venting properly. Check for any signs of leaks and ensure that the gases are being expelled safely.
3. Tools and Materials Needed for Installation
Before starting your roof vent installation, make sure you have the following tools and materials:
- Roofing sealant
- Vent pipe and flashing kit
- Measuring tape
- Cutting tools (e.g., reciprocating saw or jigsaw)
- Drill with appropriate bits
- Ladder or scaffolding for safe access to the roof
- Roofing nails or screws
4. Common Mistakes to Avoid When Installing a Roof Vent
While installing a roof vent is a straightforward process, several common mistakes can compromise the effectiveness of the venting system. Here are a few to watch out for:
- Improper Vent Sizing: Ensure that the vent pipe is the correct size for your appliance. An undersized vent will cause poor airflow and increase the risk of dangerous gas buildup.
- Incorrect Sealant Application: Always apply sealant correctly to prevent leaks. Failing to properly seal around the vent pipe and flashing can lead to water damage inside your home.
- Improper Vent Placement: Make sure that the vent is placed in the right location. It should not exit near windows, doors, or other air intakes to prevent harmful gases from entering the home.
- Failure to Test: After installation, thoroughly test the venting system to ensure it works properly. A lack of testing can lead to serious safety issues later on.
5. Real-World Example: Successful Roof Vent Installation
Consider the case of a homeowner in Arizona who installed a roof vent for their gas water heater. After following the correct installation steps, including proper sealant application and vent placement, they noticed an immediate improvement in their water heater’s performance. The homeowner was also relieved knowing that the installation was done properly, ensuring that carbon monoxide and other gases were safely vented outside. This successful installation helped maintain both the appliance’s efficiency and the safety of the household.
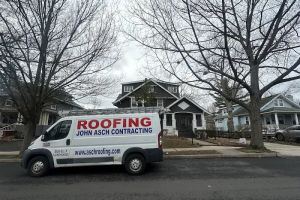
Asch Roofing
South Brunswick TownshipMiddlesex CountyNew Jersey
10 Pierson St, Monmouth Junction, NJ 08852, USA
6. Conclusion
Installing a roof vent for a gas water heater or furnace is an important step in ensuring proper ventilation and maintaining a safe home environment. By following the correct installation steps, using the right materials, and avoiding common mistakes, you can ensure that your roof vent works effectively and safely. For expert advice on roofing and venting systems, visit BeachCo Roofing Hub for the best products and services to help you with your roof maintenance.


 Rock Roofing & Siding, LLC0.0 (0 reviews)
 NorthStar Construction Services Corporation3.0 (8 reviews)
 Shane Walters construction Inc.5.0 (7 reviews)
 American Eagles Contractor Corp4.0 (1 reviews)
 London General Contractor4.0 (38 reviews)
 Fleischer Roofing and Exteriors5.0 (2 reviews)
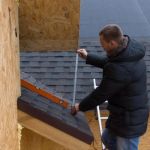 How to Calculate Roof Pitch: A Simple Guide for Homeowners
 How to Install a Roof Access Hatch for Easy Attic Entry
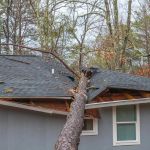 How to Handle Roof Damage Caused by Fallen Tree Branches
 How to Repair a Roof Leak in a Building with a Seamless Metal Roof
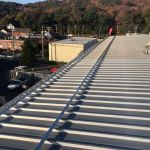 How to Install Roof Snow Fences on a Low Slope Commercial Roof
 How to Install a Roof Cricket on a Fluid-Applied Roof System – Expert Roofing Techniques